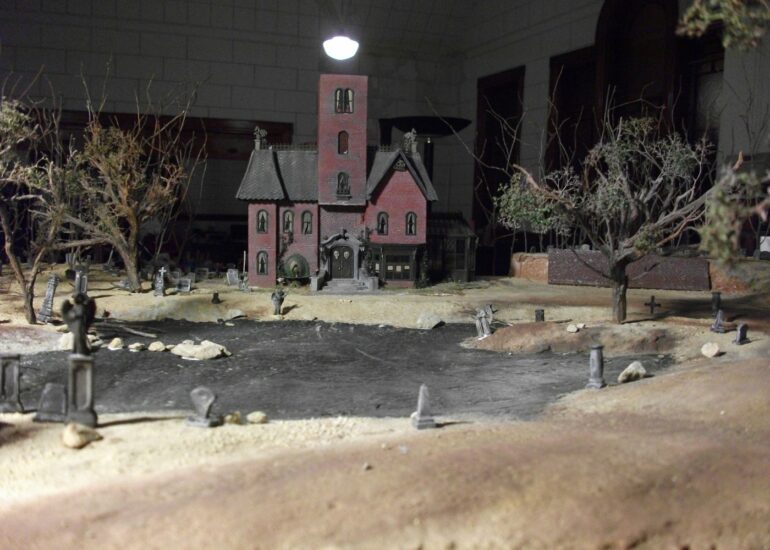
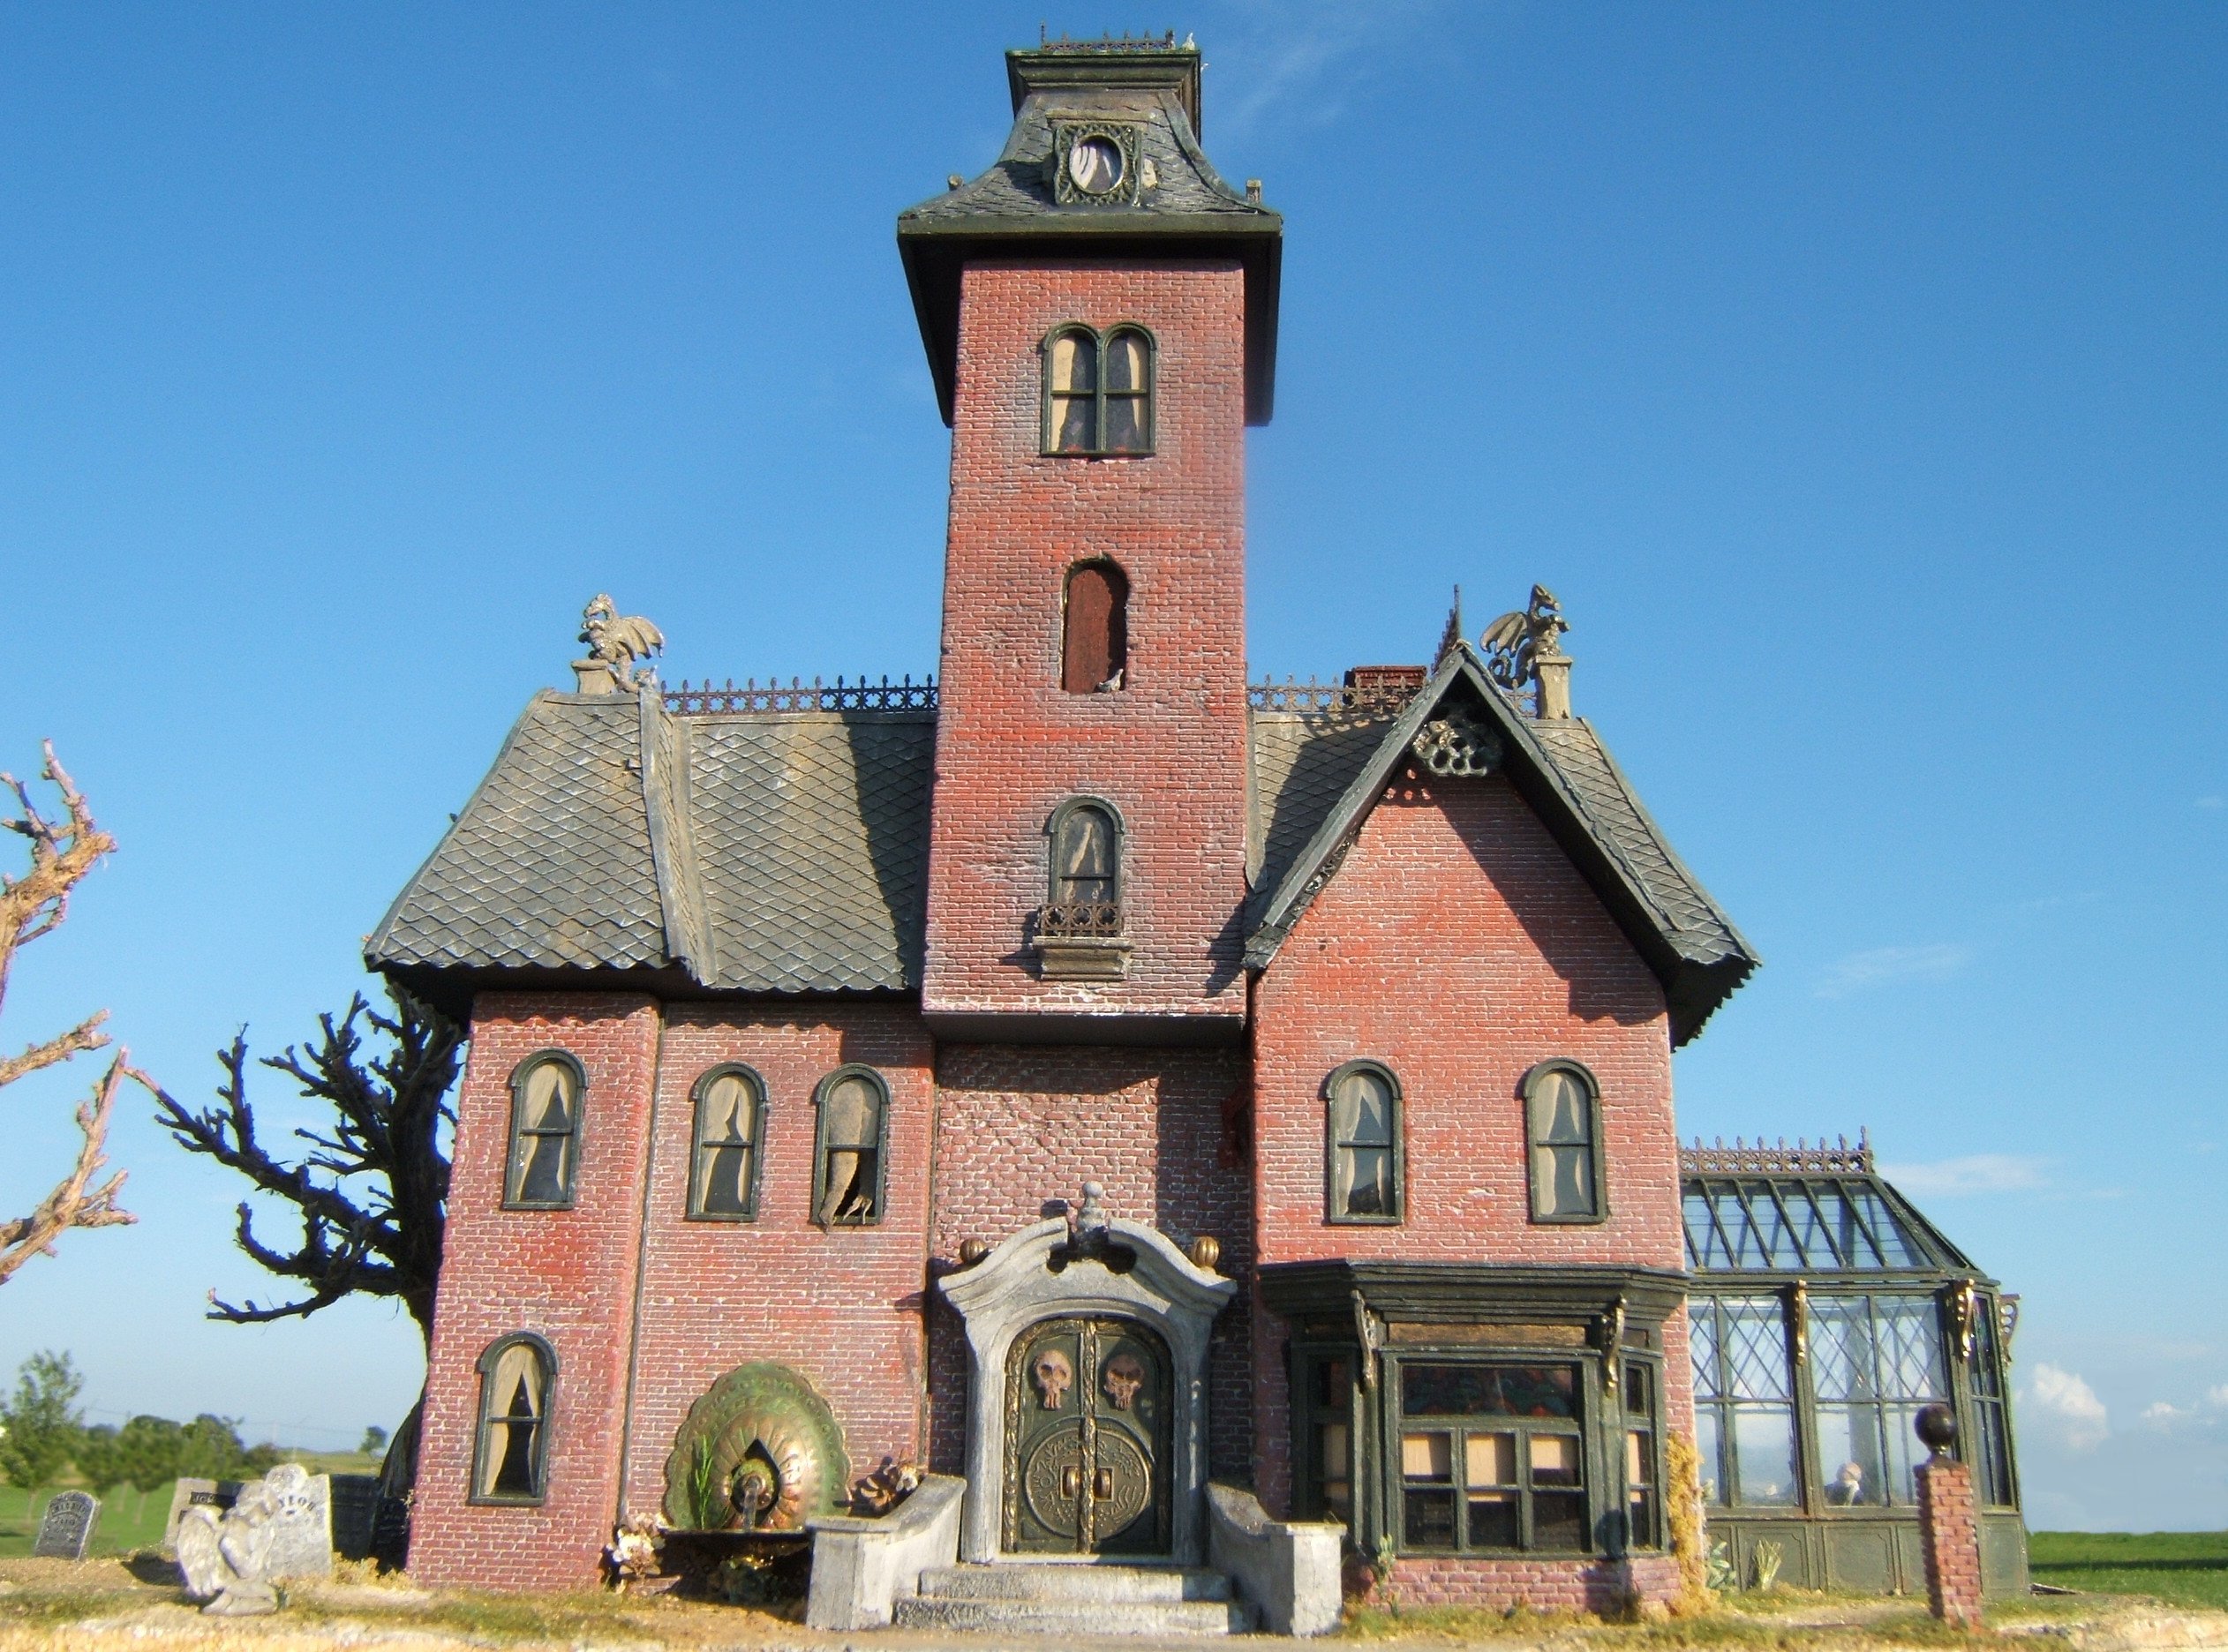
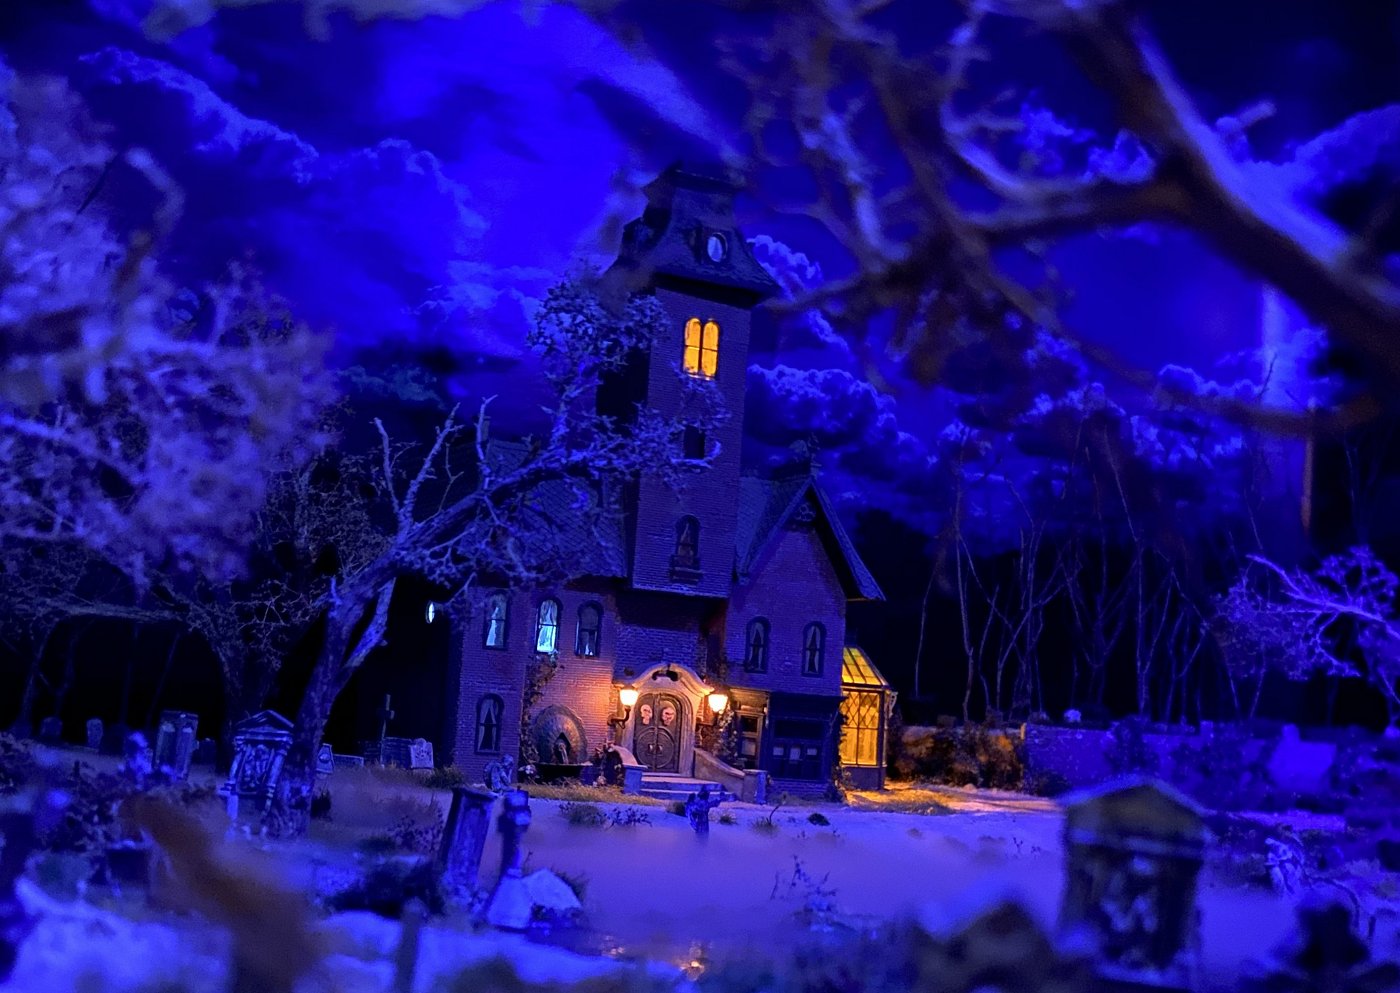
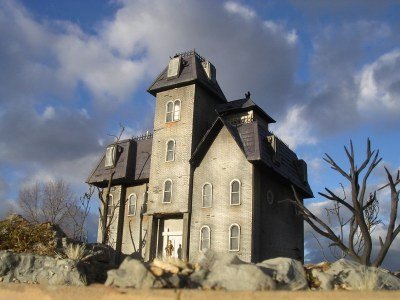
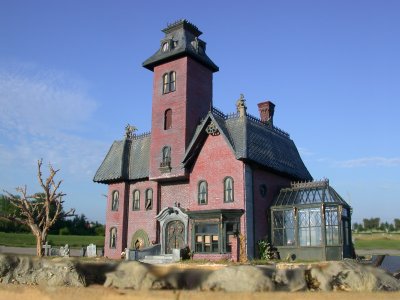
Way back in 2009 Randy at Downtown Deco decided to run a contest with his latest kit: Grimm's Funeral Home. Being a fan of haunted mansions, building kits and contests, I snapped one up right away. I was doing some plaster casting back at the time and decided to go for a kitbash of Randy's kit. So, I changed up the front tower, added the bay window and conservatory and set out to add lots of creepy details. Building the kit was pretty involved and I decided to document it with a series of build photos; which is what you will find in the following galleries.
A couple notes: There were so many pictures and different "parts" of the structure that I decided to split the photos up into related subjects to make it easy to digest. This is certainly not how the model was built - nope, I was all over the place! So you will notice all sorts of stuff going on in the background that seems out of order.
Next, this model was built using crappy workbench lighting. I hadn't learned that lesson yet and thus my main (and only) work light was a very yellow-based fluorescent lamp. I have tried to color correct the photos to get rid of the yellow tint, sometimes with great success and sometimes not.
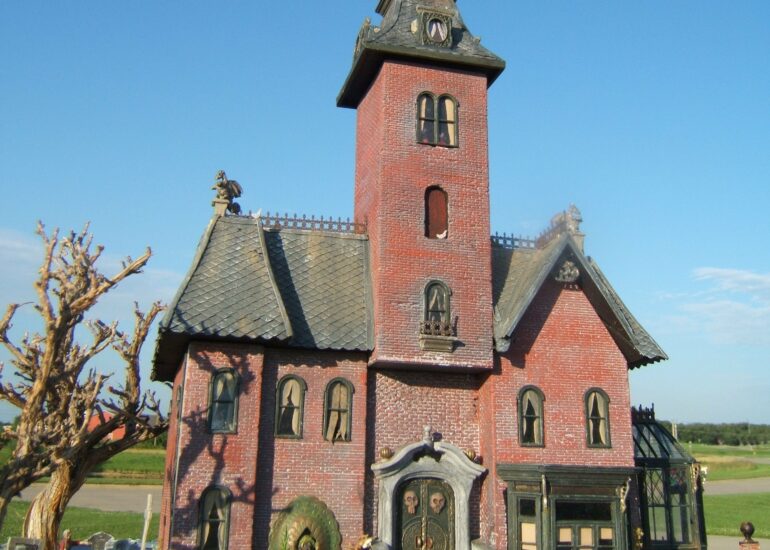
I hope you enjoy the process as much as I did and maybe you'll pick up a tip or two along the way. To start, use the slider on the before and after image below to see Randy's pilot model versus my finished one. Enjoy! ~MCG
See how the tower was custom built for spookiness
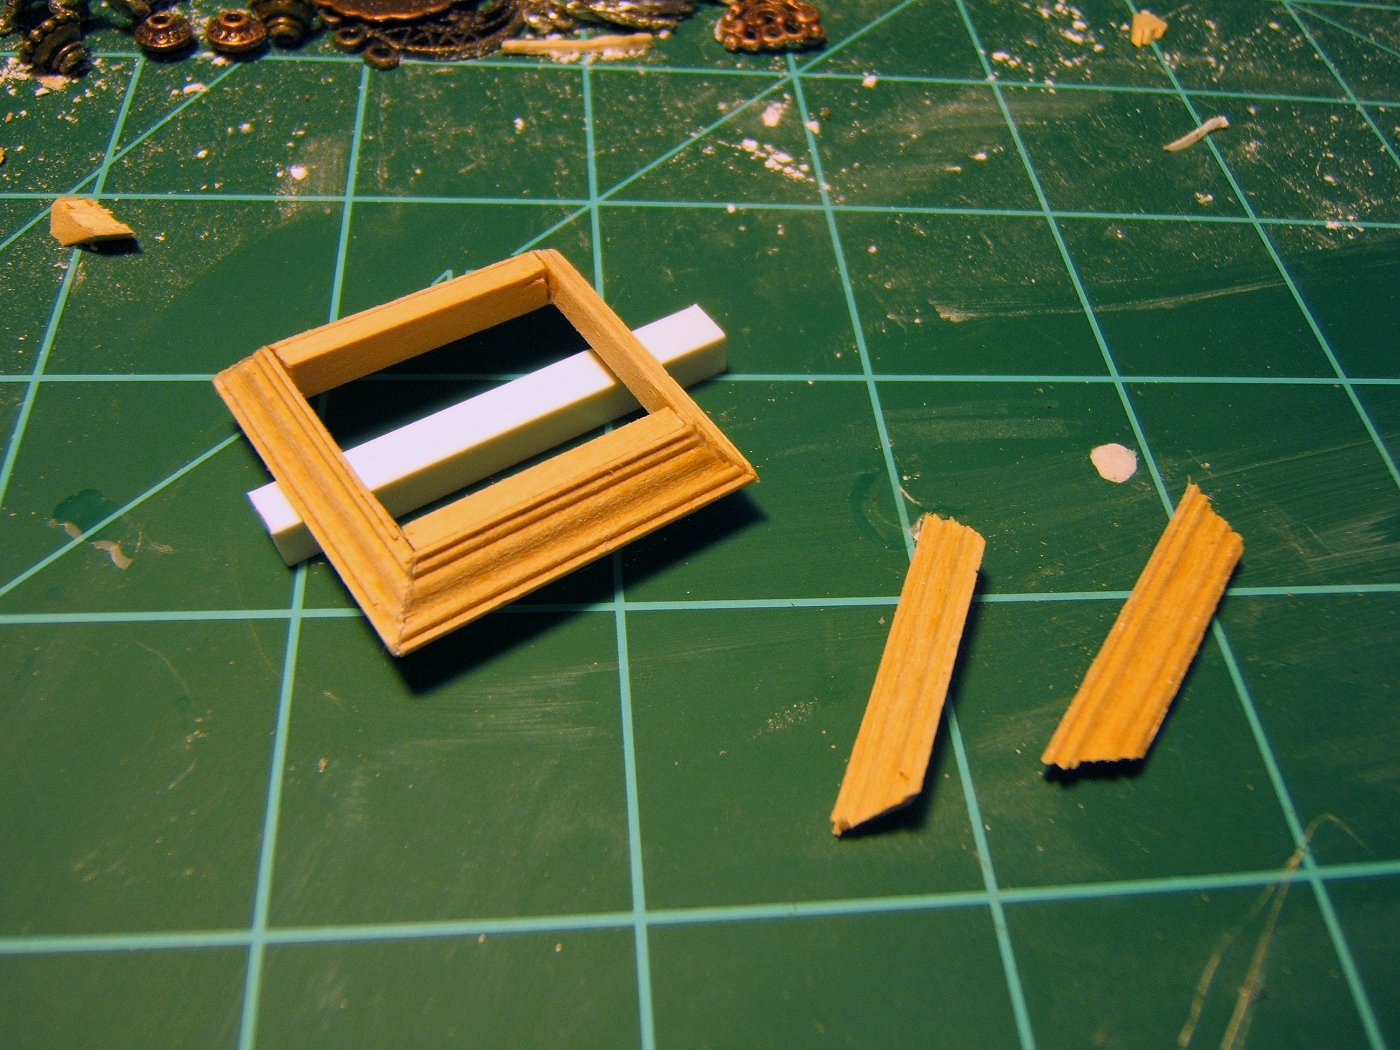
From kitbashing to construction to painting and weathering
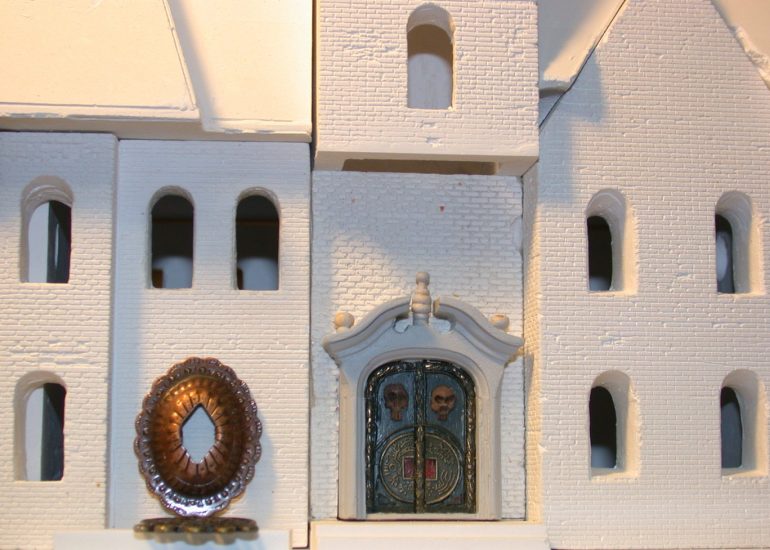
Every haunted mansion needs a proper imposing entry
Scratch-building the front steps with curved balusters
Modifying the kit for it's new slate mansard roof
Adding a spooky new bay window to the front elevation
Let's bash and scratch a dead-lightful conservatory
Here we use some unorthodox parts to build a great fountain
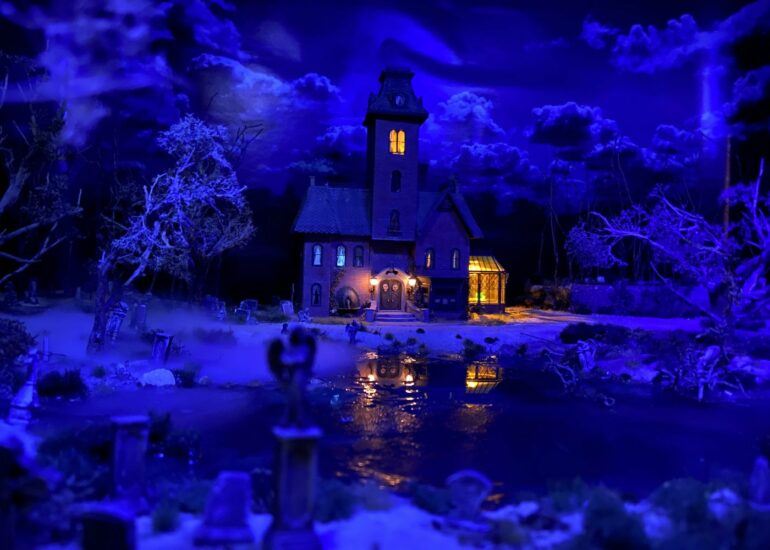
And finally some quick scenery to tie it all together