
Grimm's Build: Scenery
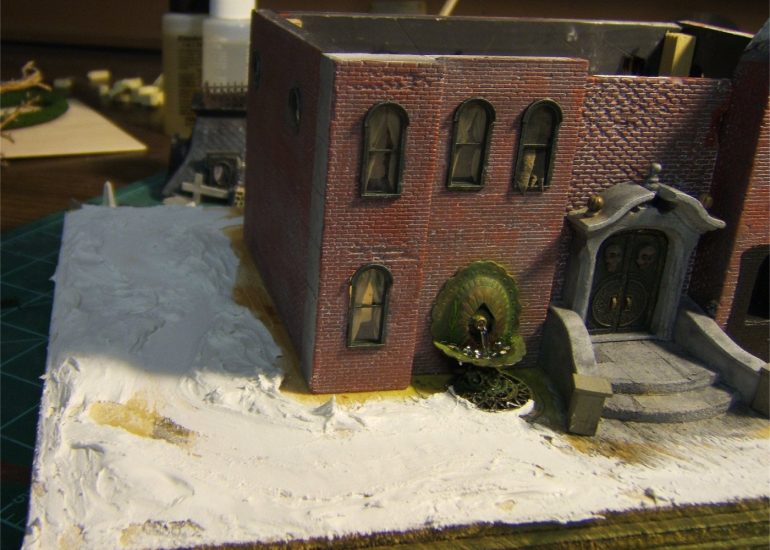
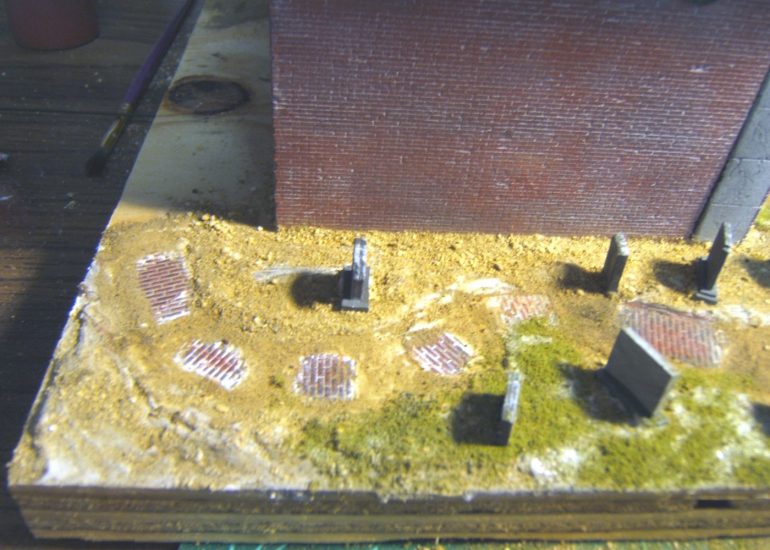
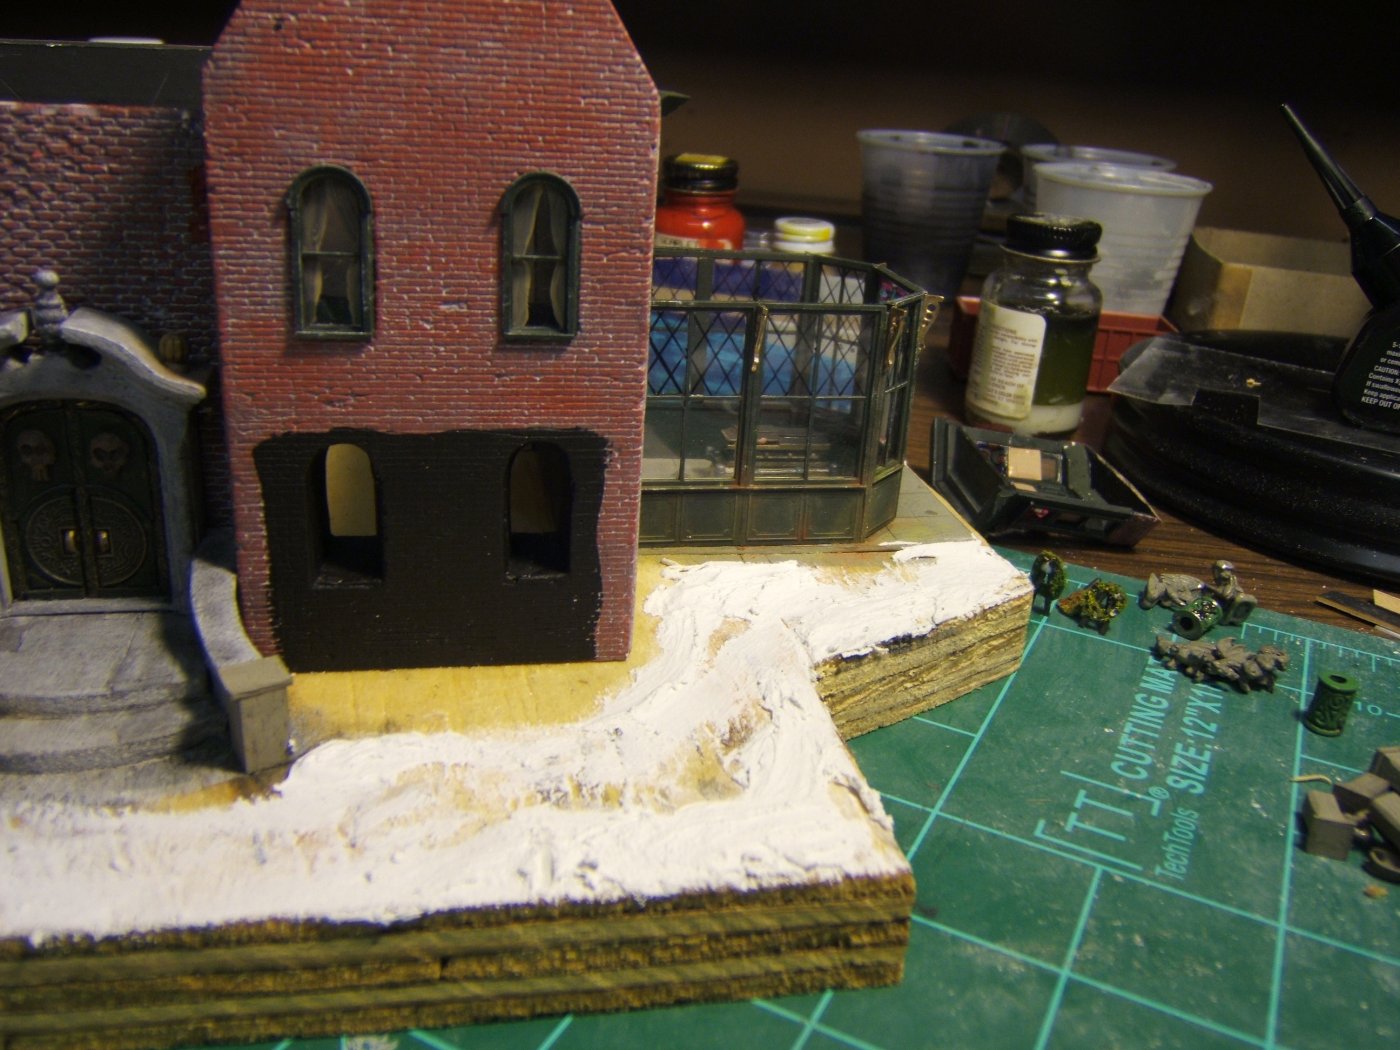
Due to the amount of time I was down to, I chose a different scenery method than I would usually use for the base. I ended up using wood putty and just smeared it on by hand to create the contours that I wanted. I knew where both paths would be, so I built up around them a bit.
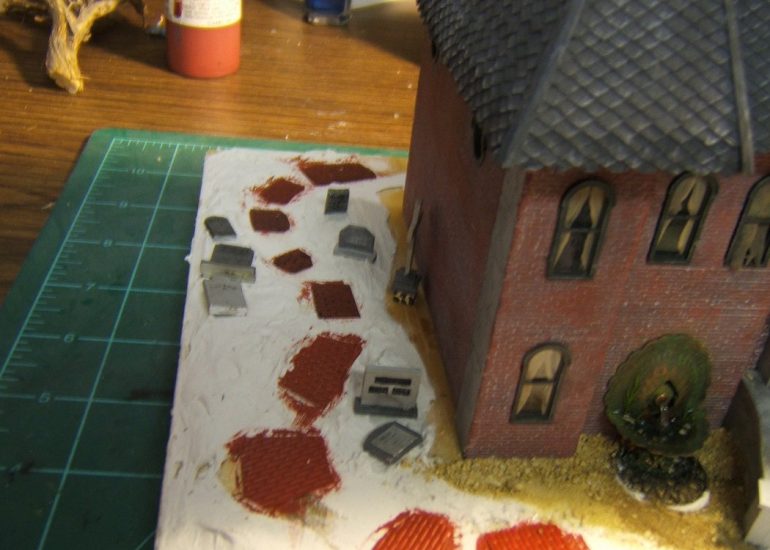
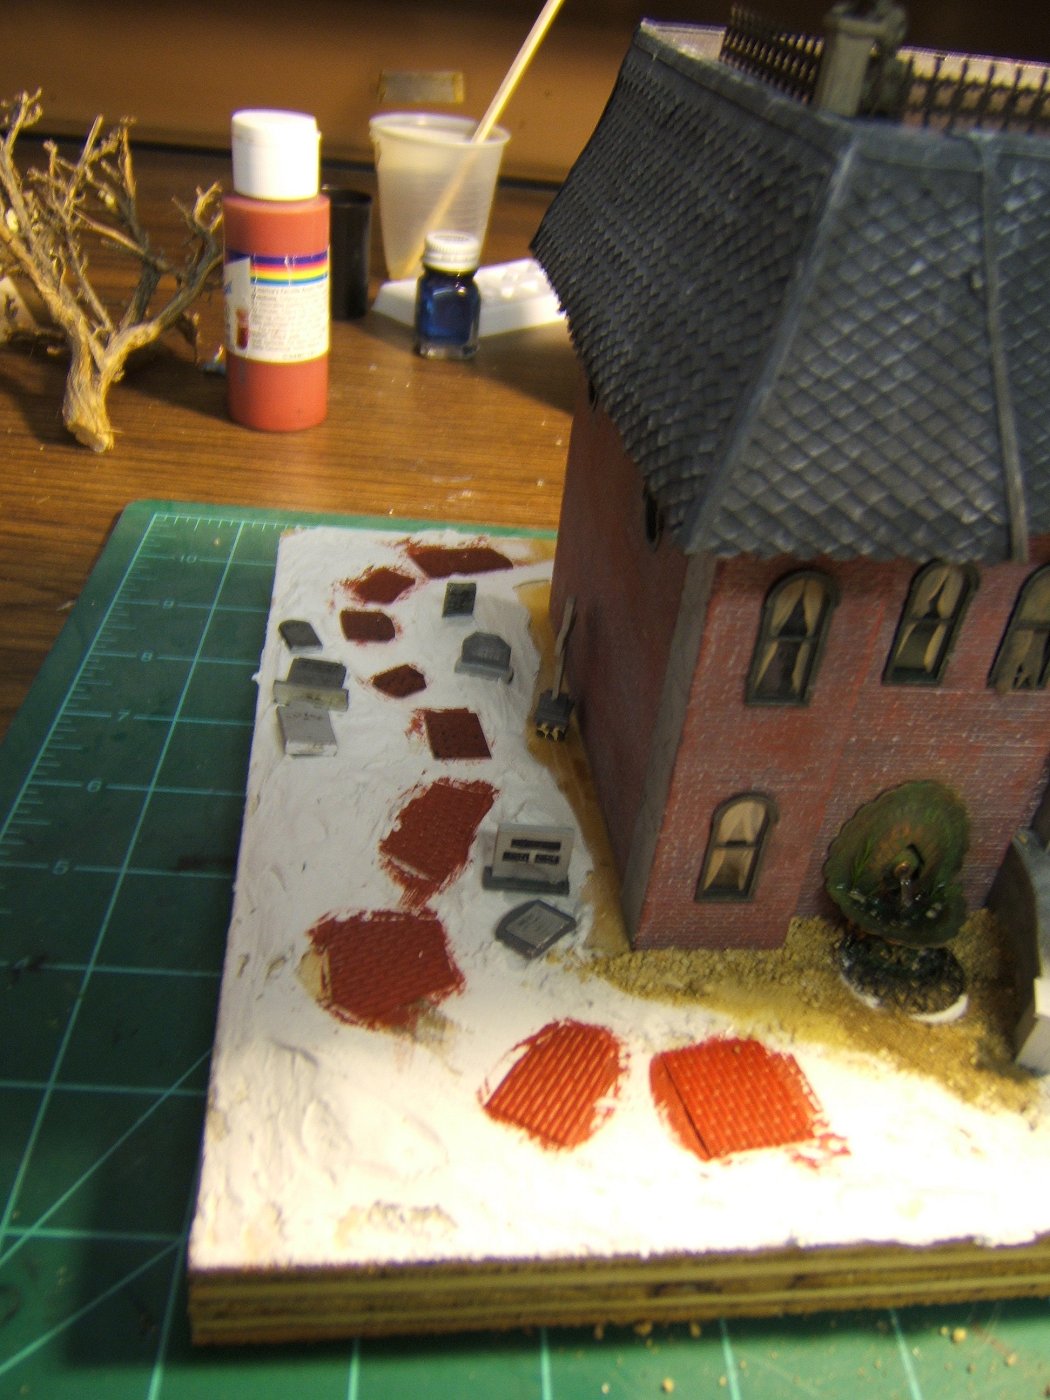
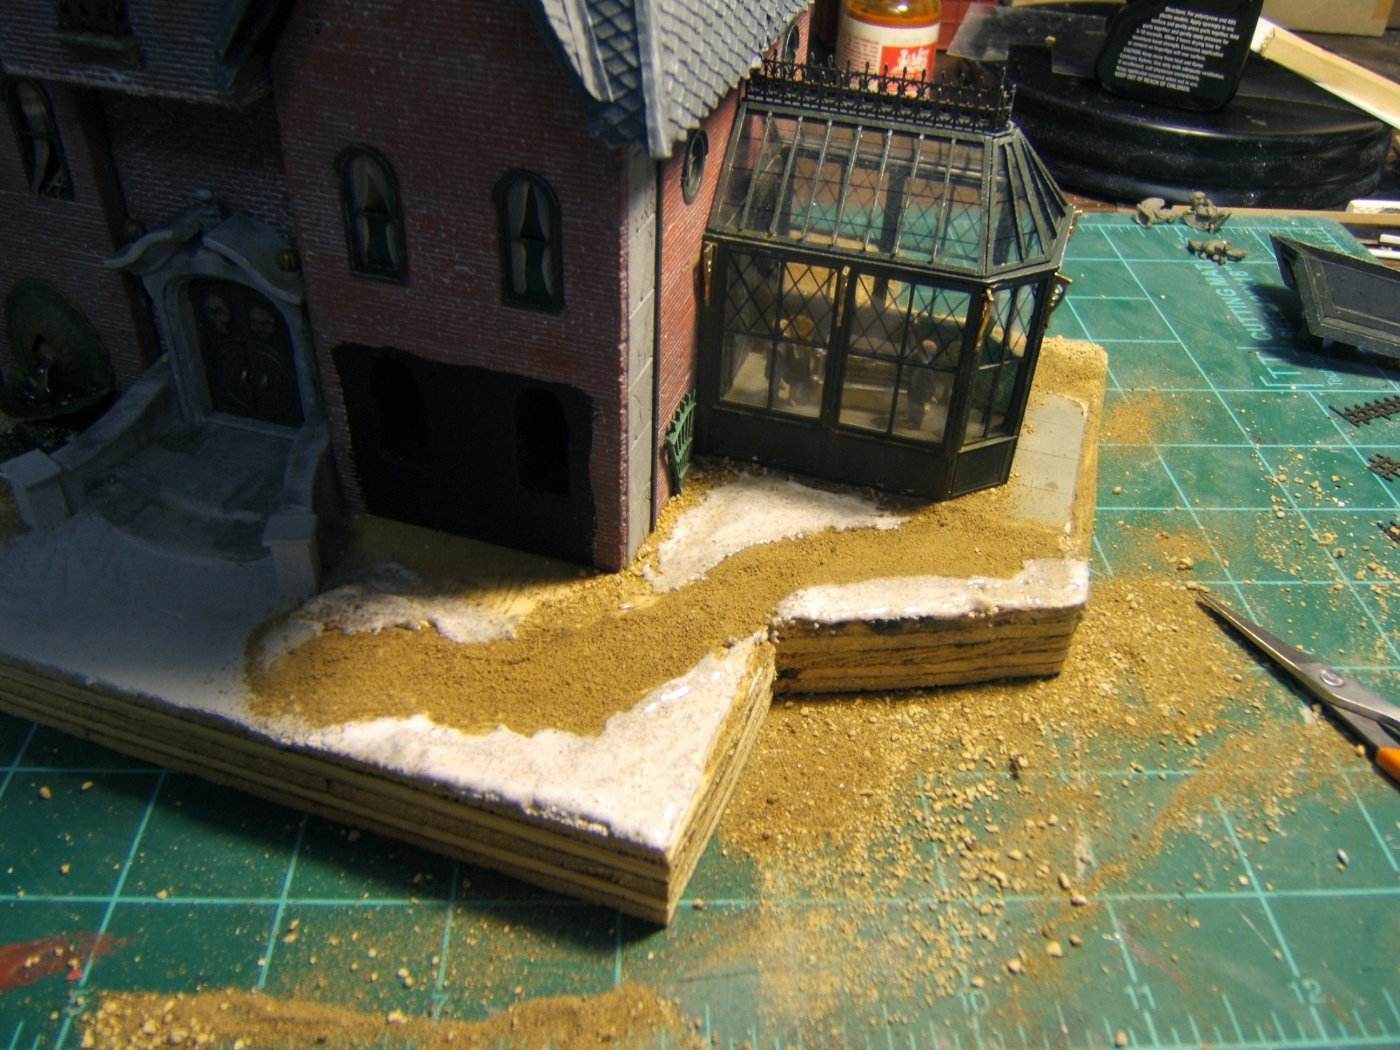
I thought I'd jazz up the walkway by making it look as if there was an older brick path that had been covered over as time went by. If I was using plaster for a base, I would have carved the brick in so I could make it curvy. I used H+R brick sheet, cut out little patches and oriented them as if they curved around here and there. I glues the sheets down and then painted them acrylic red. While the putty was still wet I pressed the tombstones in a bit so that when I eventually glued them down, they would look as if they were sunk into the ground.
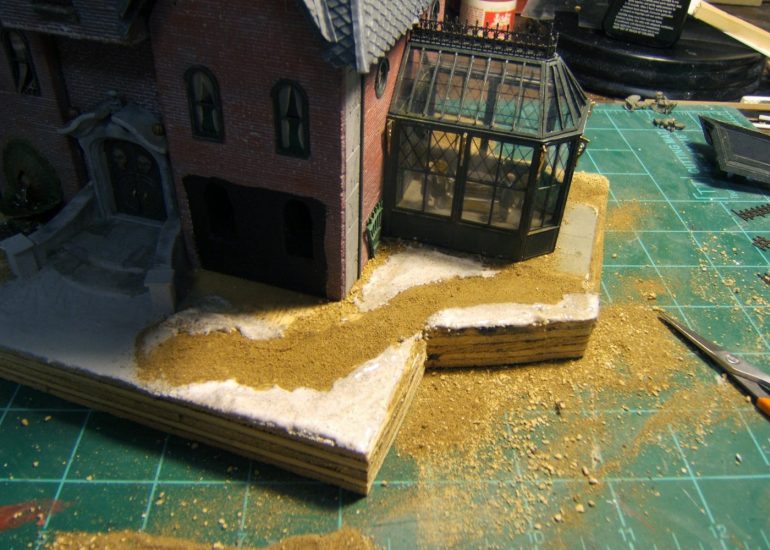
Once the putty was dry, I took straight white Elmers glue and coated the surface. On pathways I dusted some fine dirt that I keep on hand. I take my rougher dirt and sift it with old nylons, producing a very fine powder. This looks great in HO Scale. Many times I've seen people use out of scale large rocky dirt all over and it just doesn't look right. After the paths are done I went back and used a more coarse grade of dirt. Having more than one texture adds a lot and helps to suggest that a path is actually used.
You can see my coarse grade of dirt near the building. The path is partially covered with the finer powdered dirt. The grass is fine Woodland Scenics turf. I sprinkled it on and made sure to still leave some dirt showing through. This is another great technique. Rarely will you see grass that completely covers the ground (unless you're looking at someone's lawn.) Most of the time something is left as dirt and grass ends up coming in here and there. So next time you try adding turf, add dirt first and then go back and sprinkle fine turf here and there in a thin layer. I think you'll like the results!
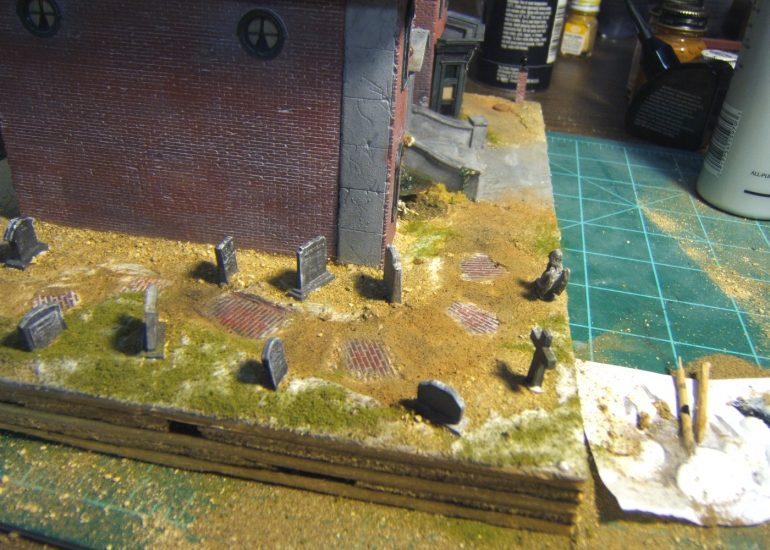
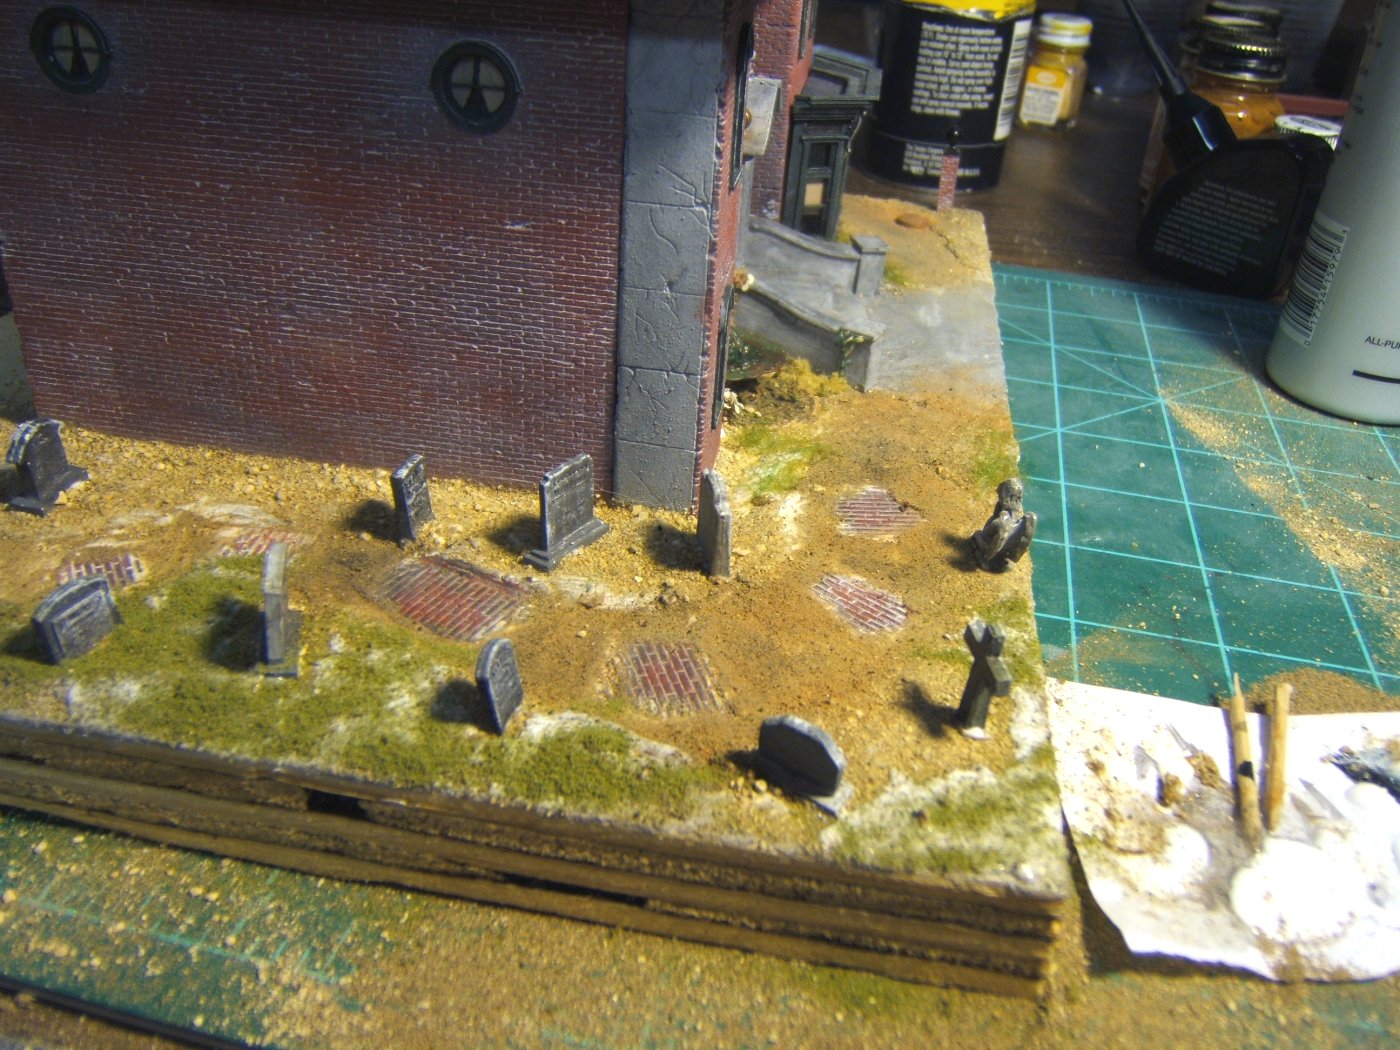
This is about at the same stage as the last photo. After the brick sections dried from their original coat of red, I went back and painted them with diluted grey, which flowed into the cracks. Once that dried, I dry brushed the bricks with a little grimy black to tone down the grey and to vary the red of the bricks a bit.
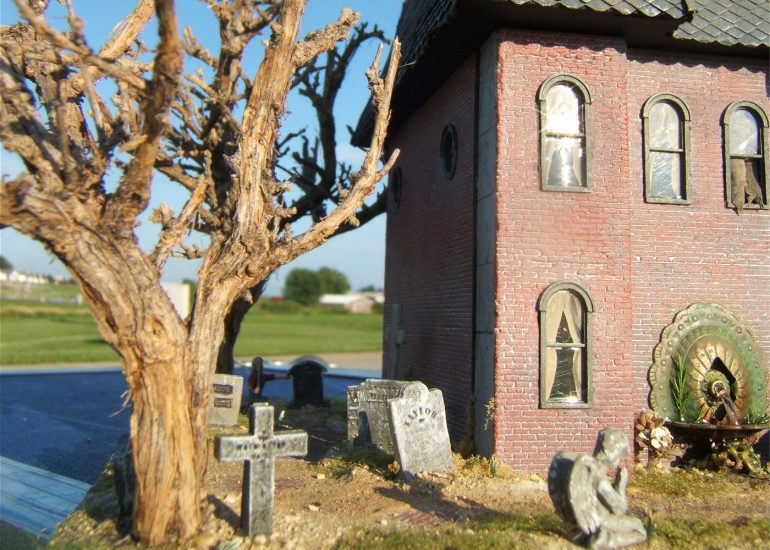
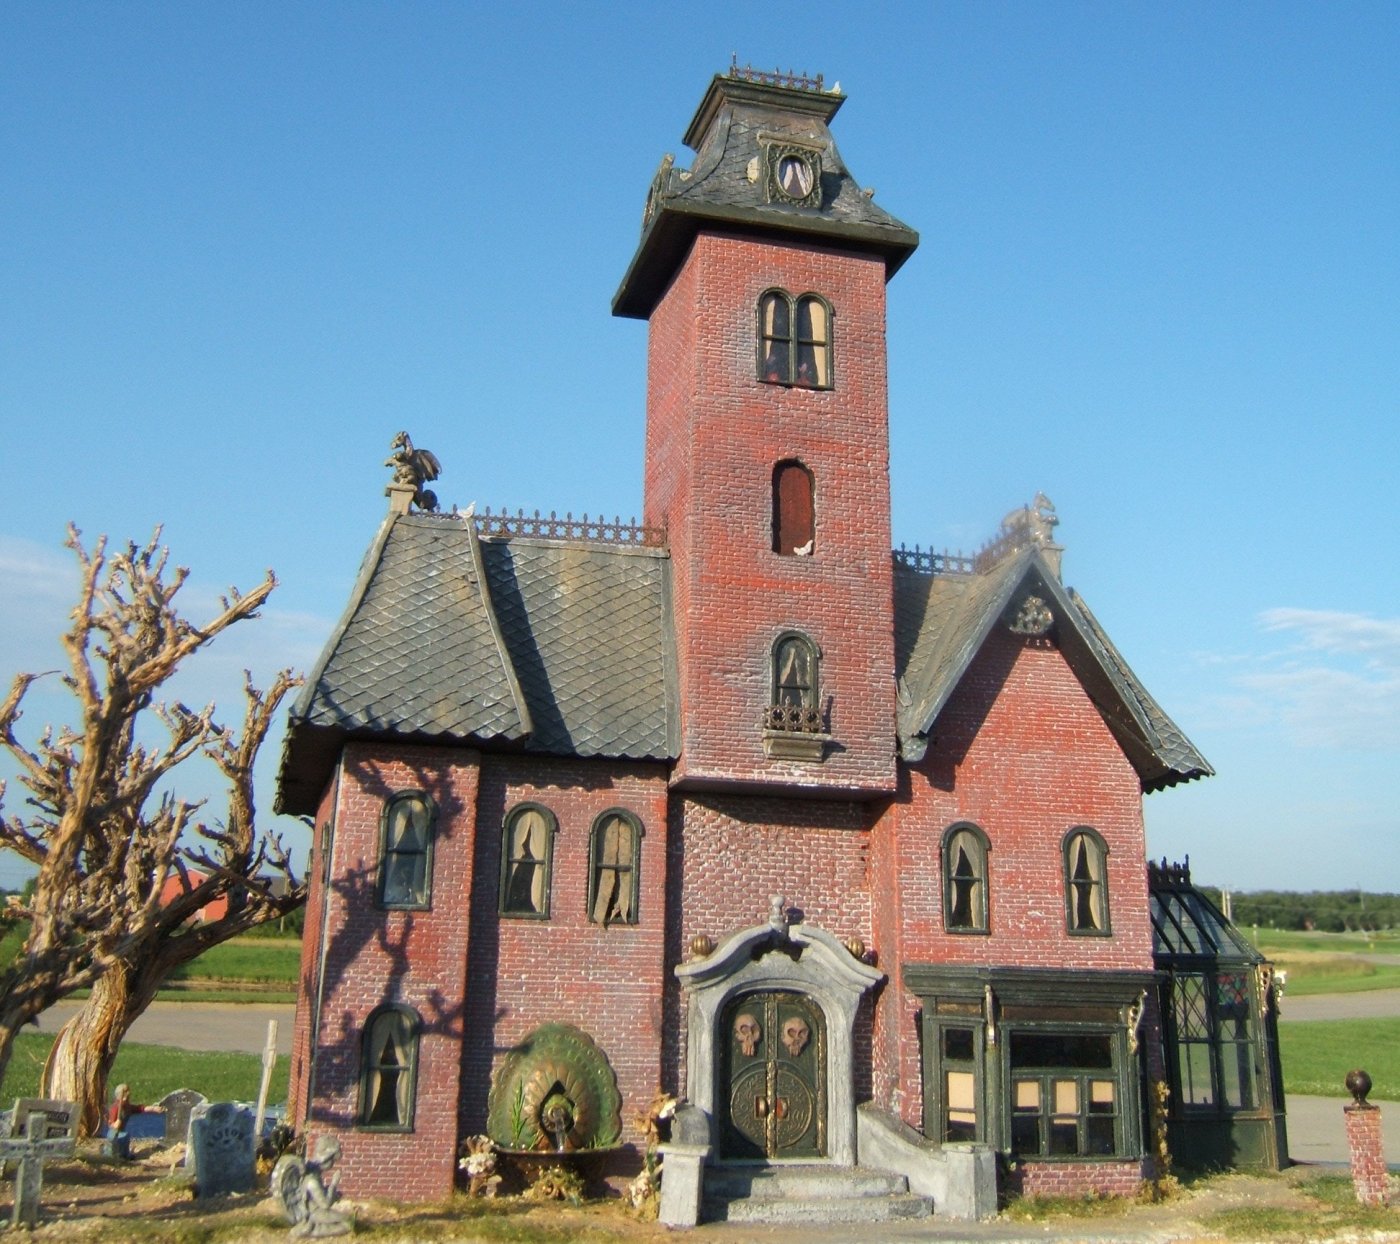
The grass in the front (blurry) is a Sweetwater fiber product that I really like. Like the turf, I put it lightly here and there and make sure the dirt can show through. Here I've also added some weeds and flowers to the fountain area.
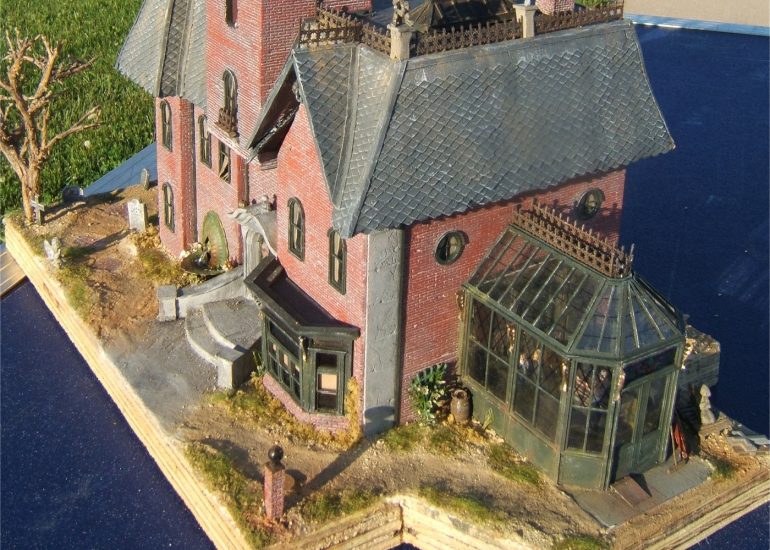
The windy path and old stones remind me a lot of cemeteries I've been to on the East coast. The stones came out great, in my opinion, and I had fun doing them. Most are from a woodland scenics kit. I repainted them all Floquil Concrete and then gave them a bath in alcohol/India ink. Then I carefully dry brushed them until they matched photos I'd taken of stones in Salem.
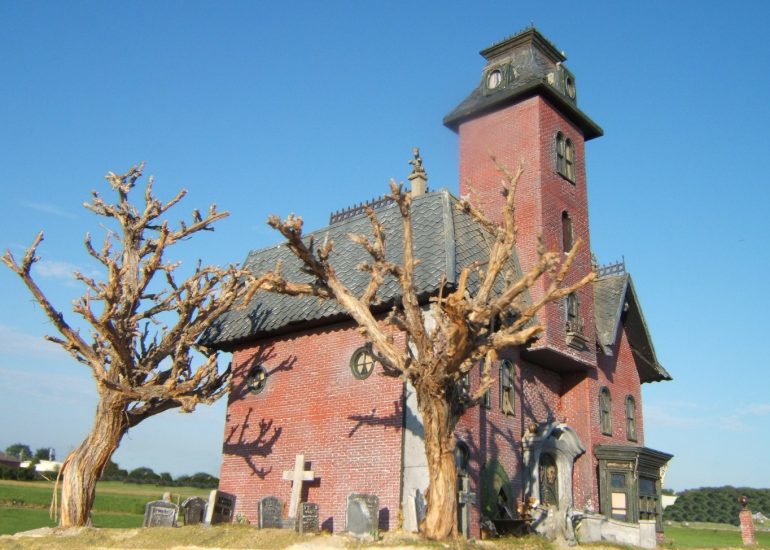
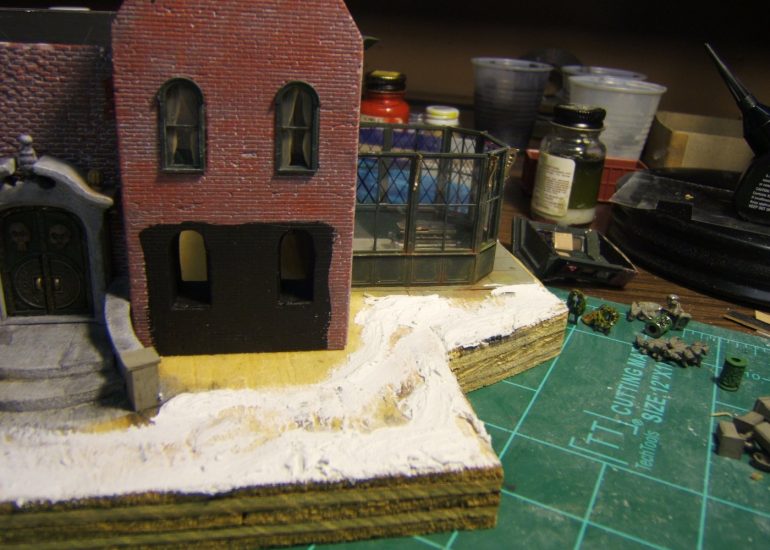
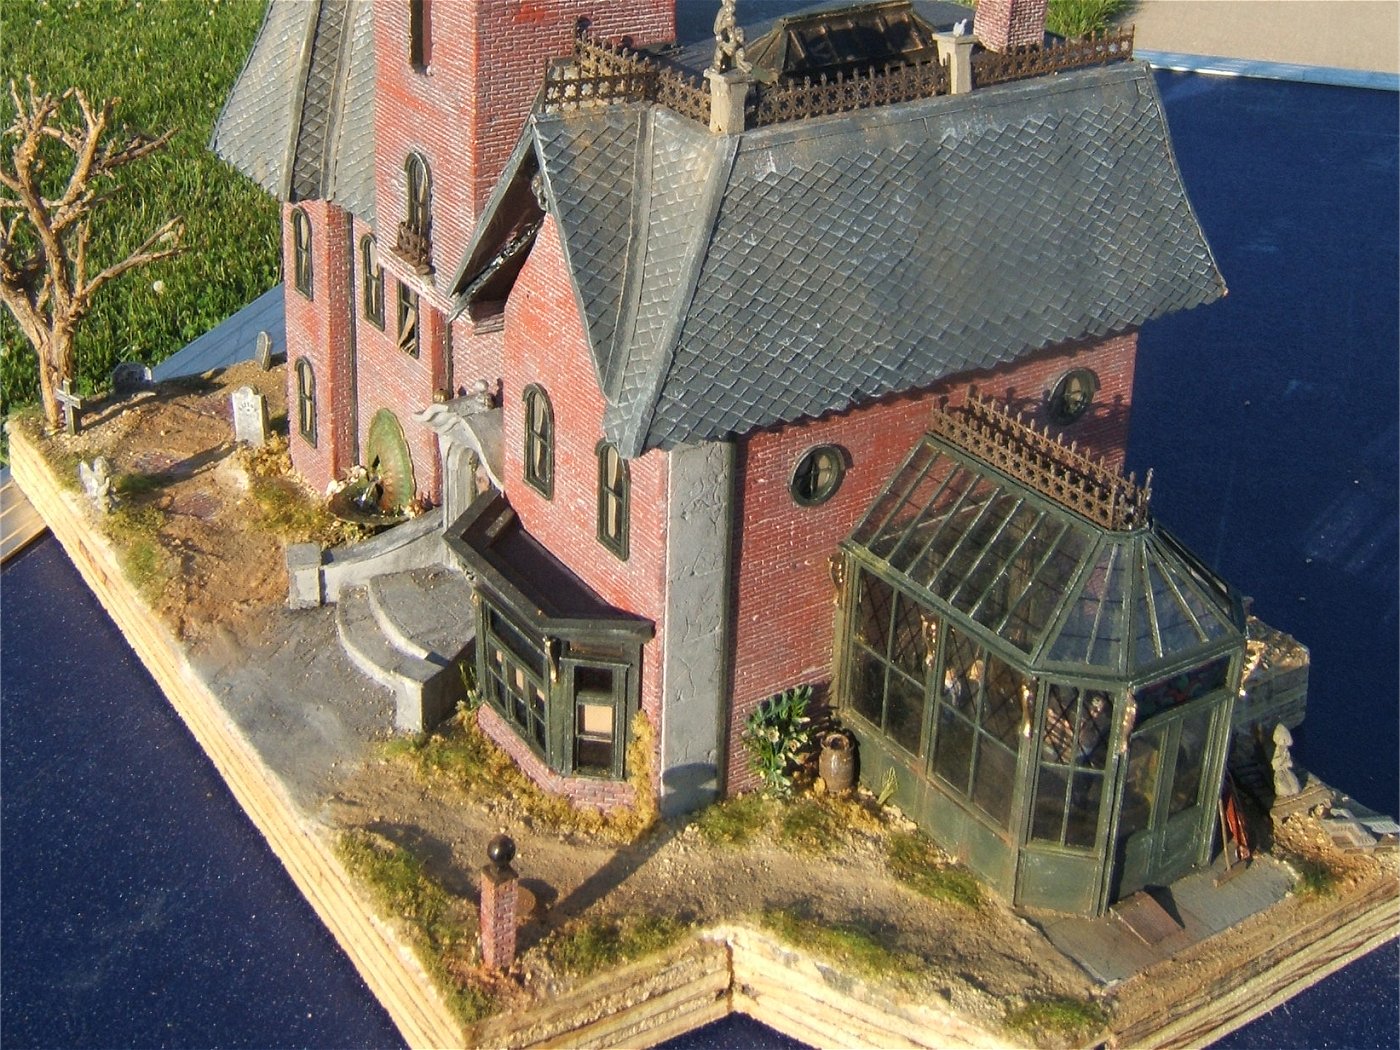
here are the two sage brush armatures that I added. I may go back and add a bit of greenery to them, but I thought they were perfect for a spooky haunted funeral home.
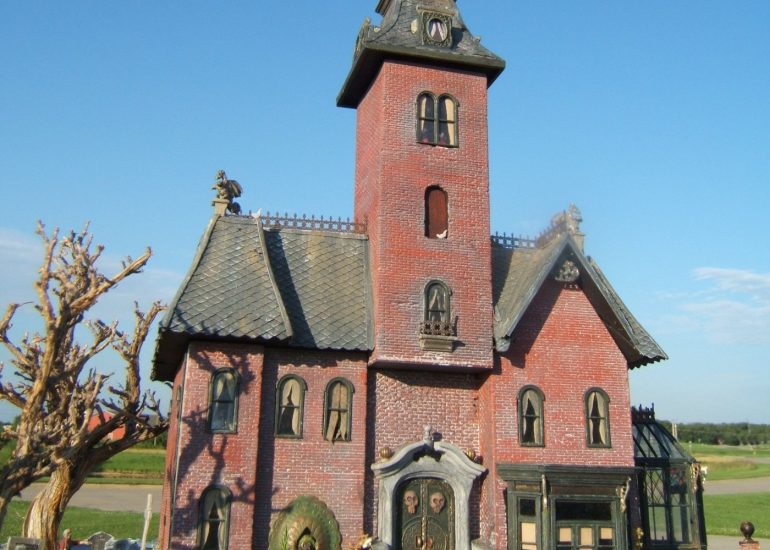
Thanks for walking through the build process with me! (It's been enough years I enjoyed going back through it myself.) So now you know what went into making Grimm's Haunted House. Stay tuned though! Not long after this build it was time to give Grimm's the spooky home it deserved. So be sure to check out the build log for the Grimm's Diorama too!