
Grimm's Build: The Roof

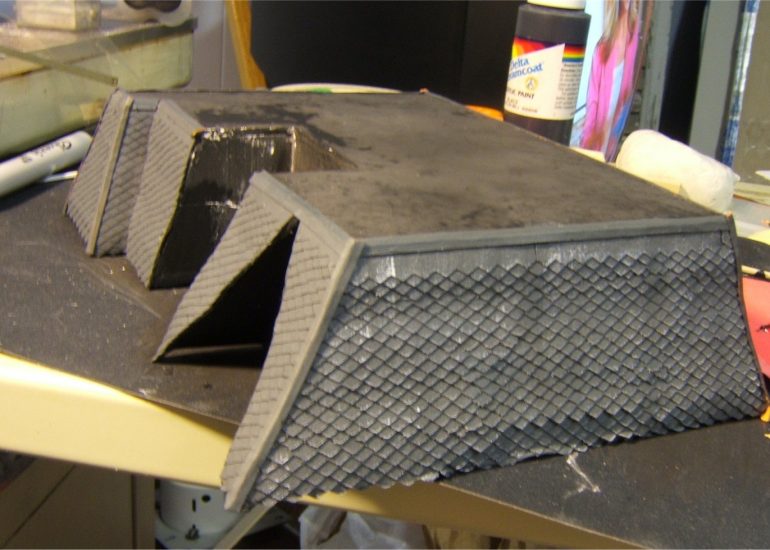
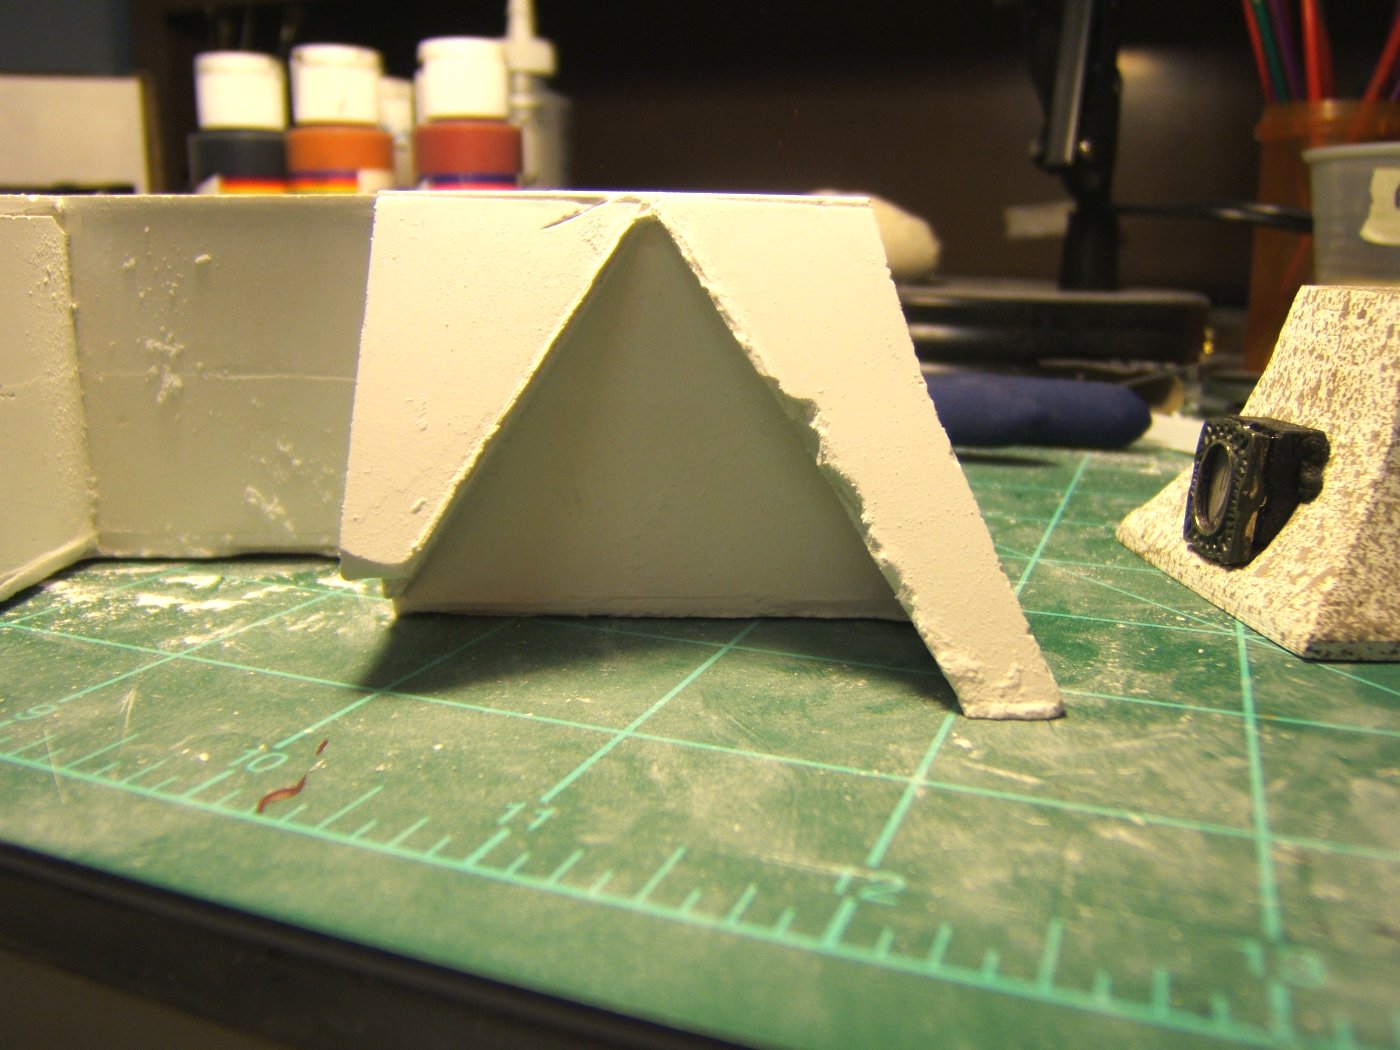
Unfortunately, a piece of the main roof got chipped off in shipping. Normally I'd juts ask Randy for another piece and he'd send me one, but, since I was running short on time, I decided to deal with it. The first thing I did to the roof was to curve the sides using a wood rasp. After the first side, I decided to move to a chisel and then sandpaper. (The rasp was too hard to control). The right side above has it's curve done.
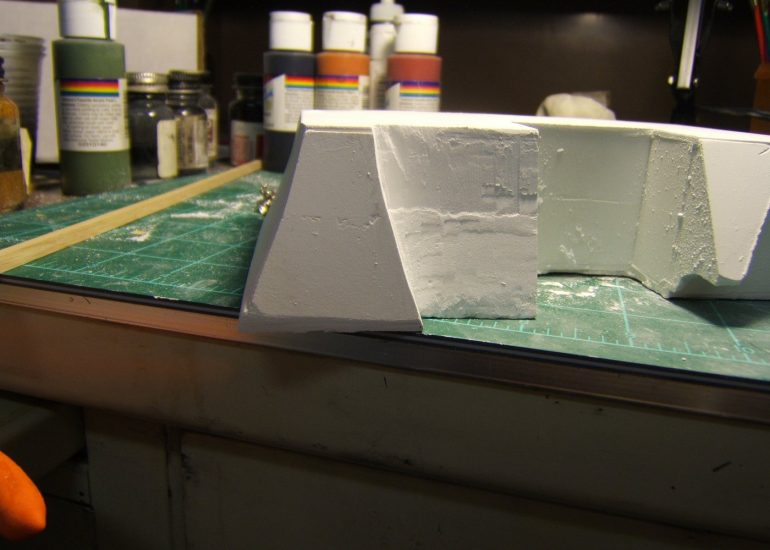
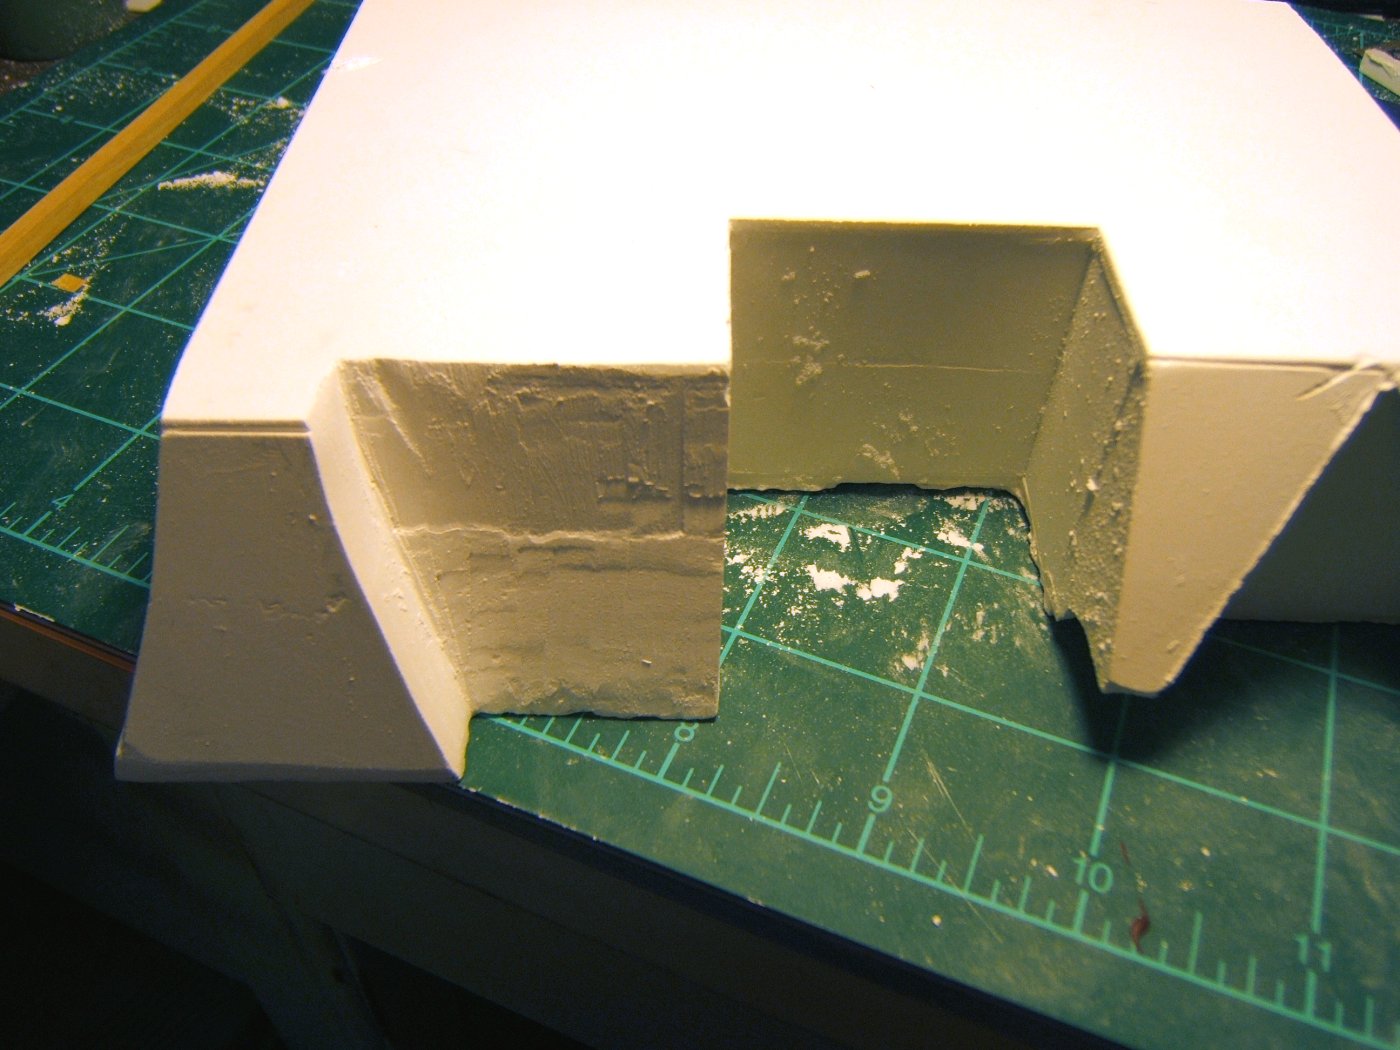
One problem I thought the roof has was that the small part on the left that stocks out over a small portion of the building wasn't centered. I build asymmetrical stuff all the time, but I really have this thing for symmetry. Anyway, I ended up cutting off about 1/4" or more from the right side to make the roof overhang even on both sides. Then I curved everything.
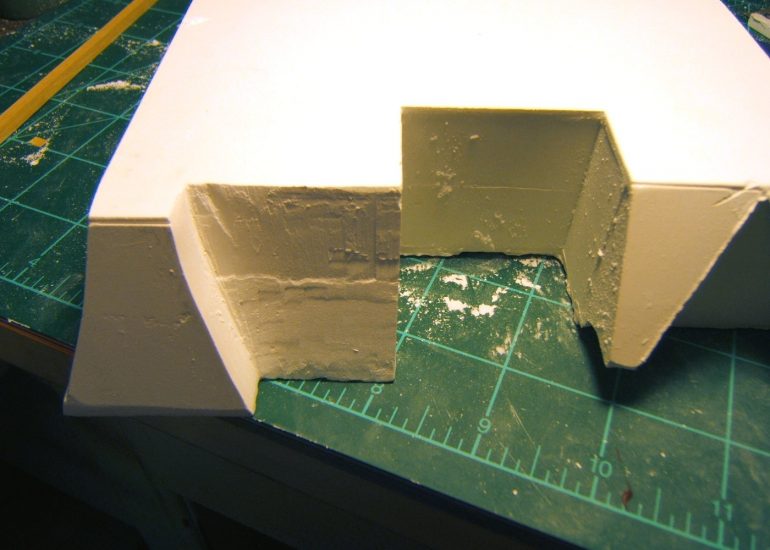
The front of the small section has been sanded smooth and the piece to the right of it has been chiseled, but not sanded.
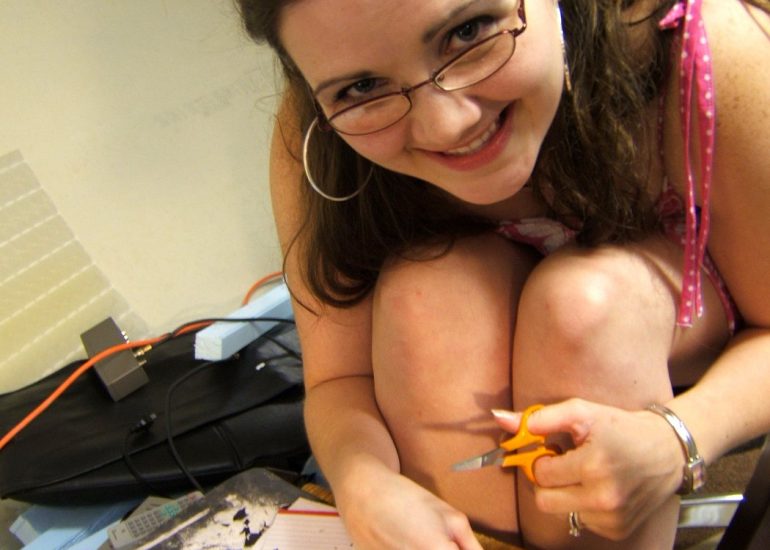
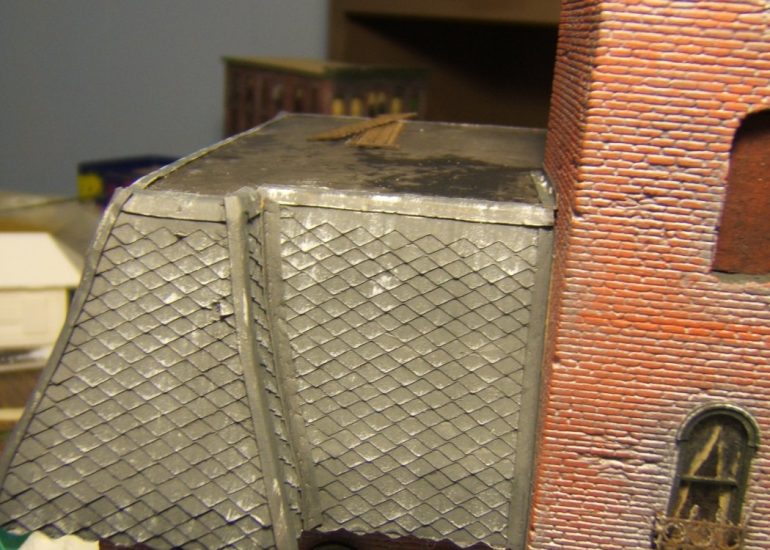
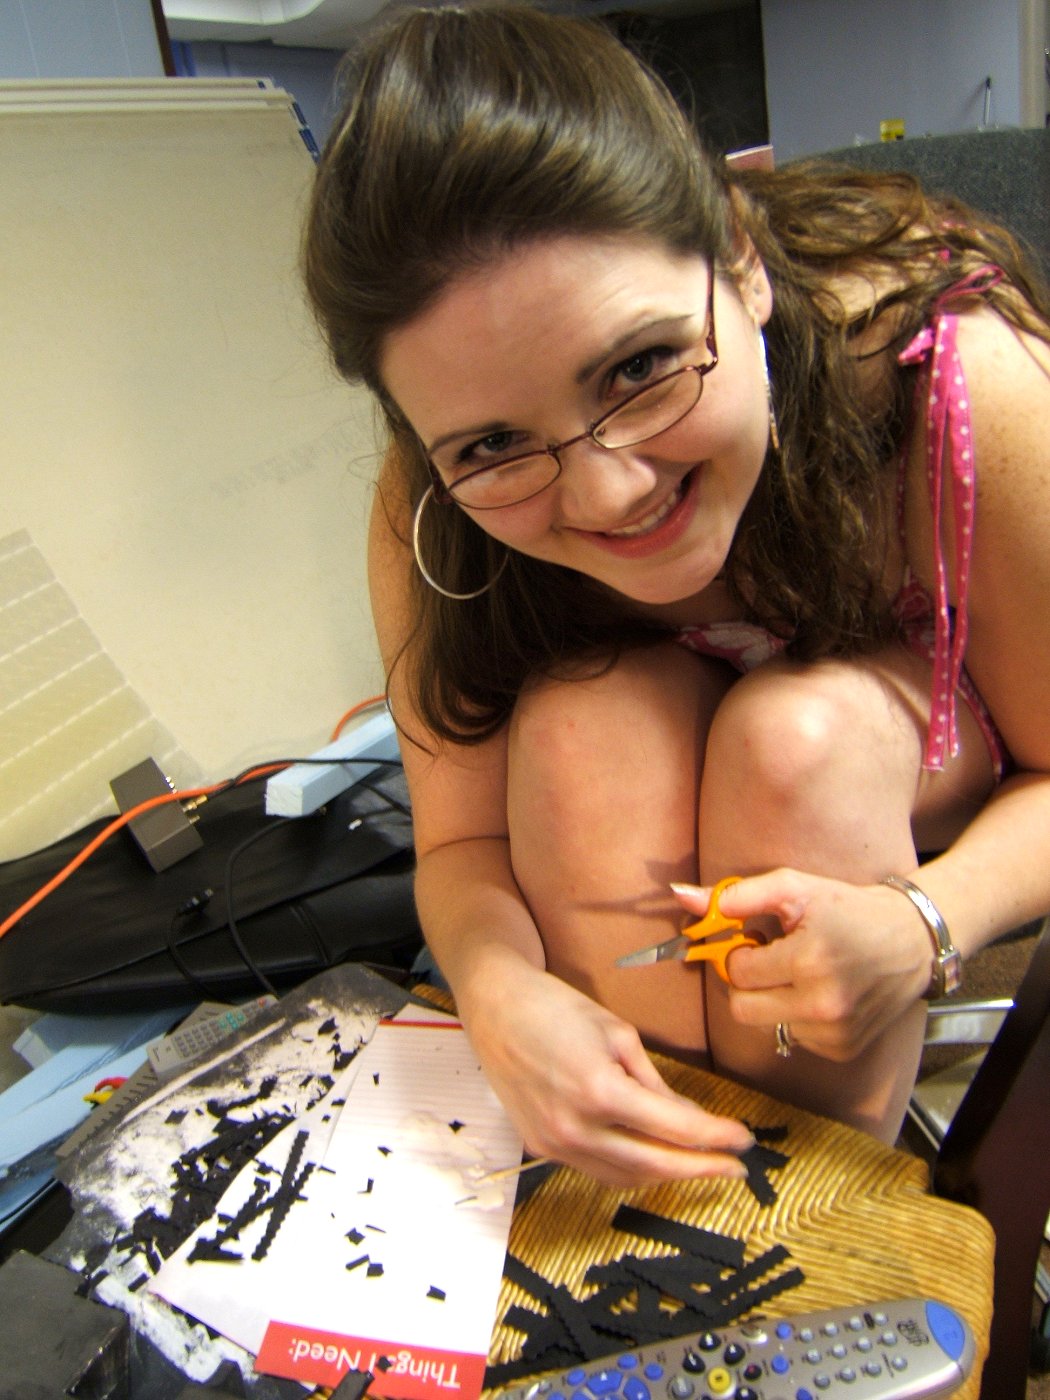
This is my excellent wife Angela. As time grew shorter (and I had already done the shingles on the tower) I decided that she could do the main roof for me! For her first foray into any kind of modeling she did an excellent job! Row upon row of shingles were required on the main roof. it took a lot of time. Once she had a side done, she'd trim the ends to match the curve of the roof and then paint the shingles Dark Grey.
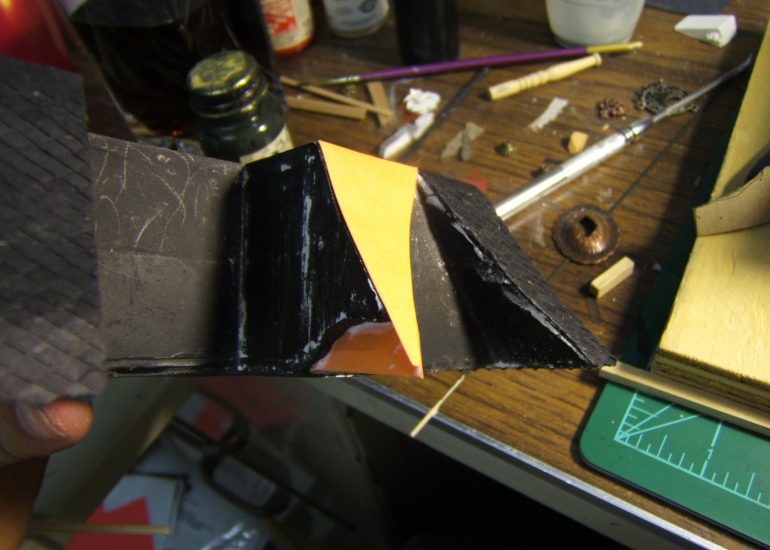
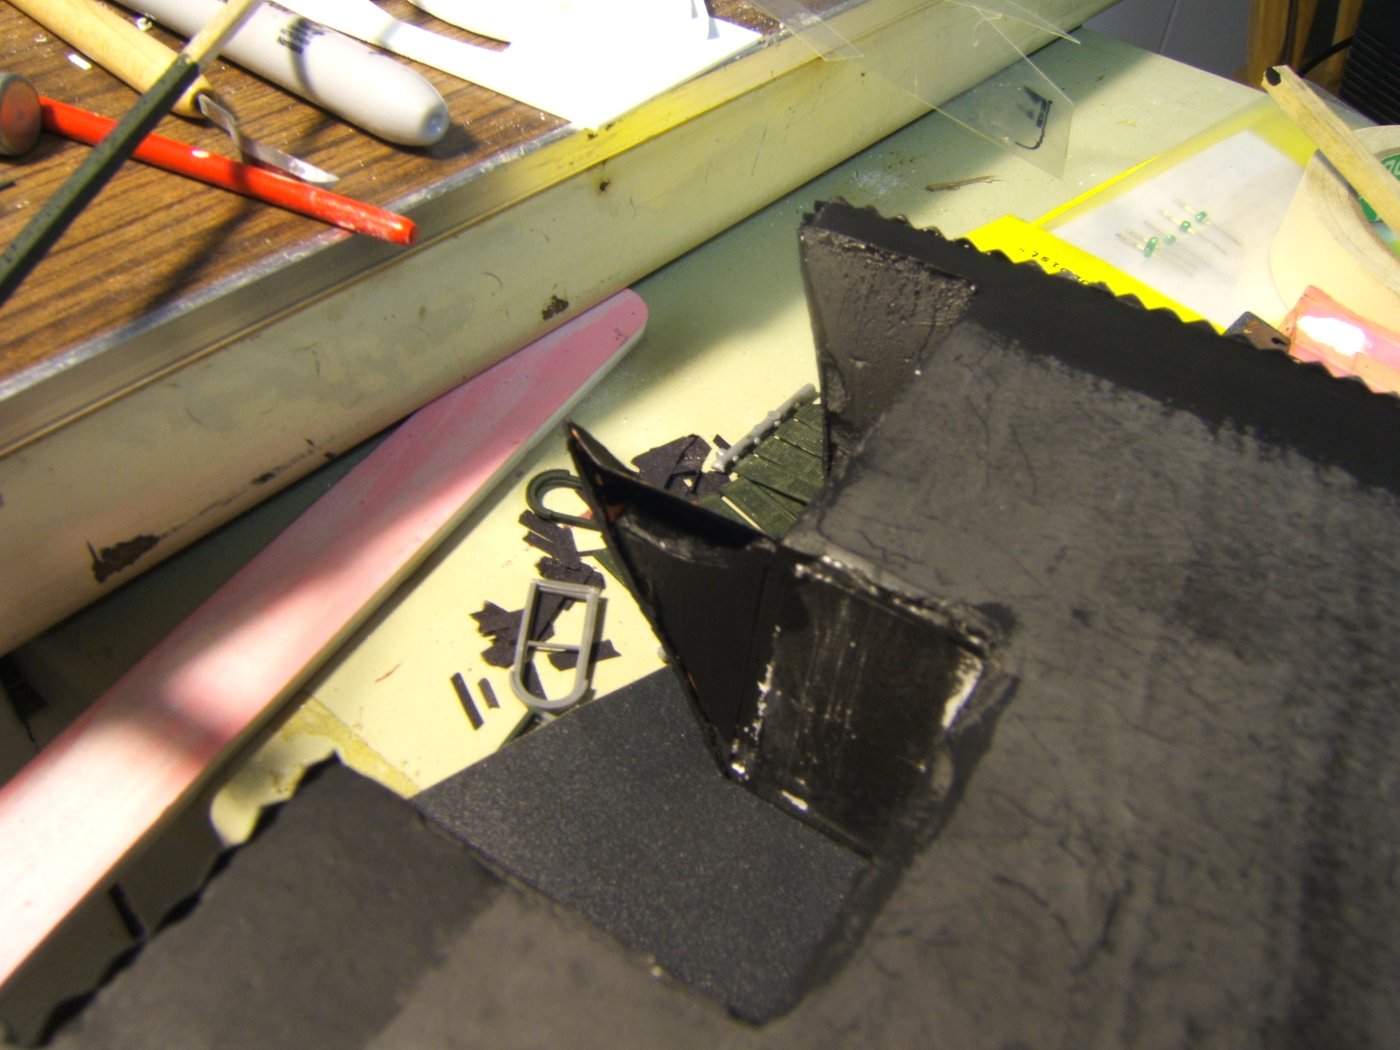
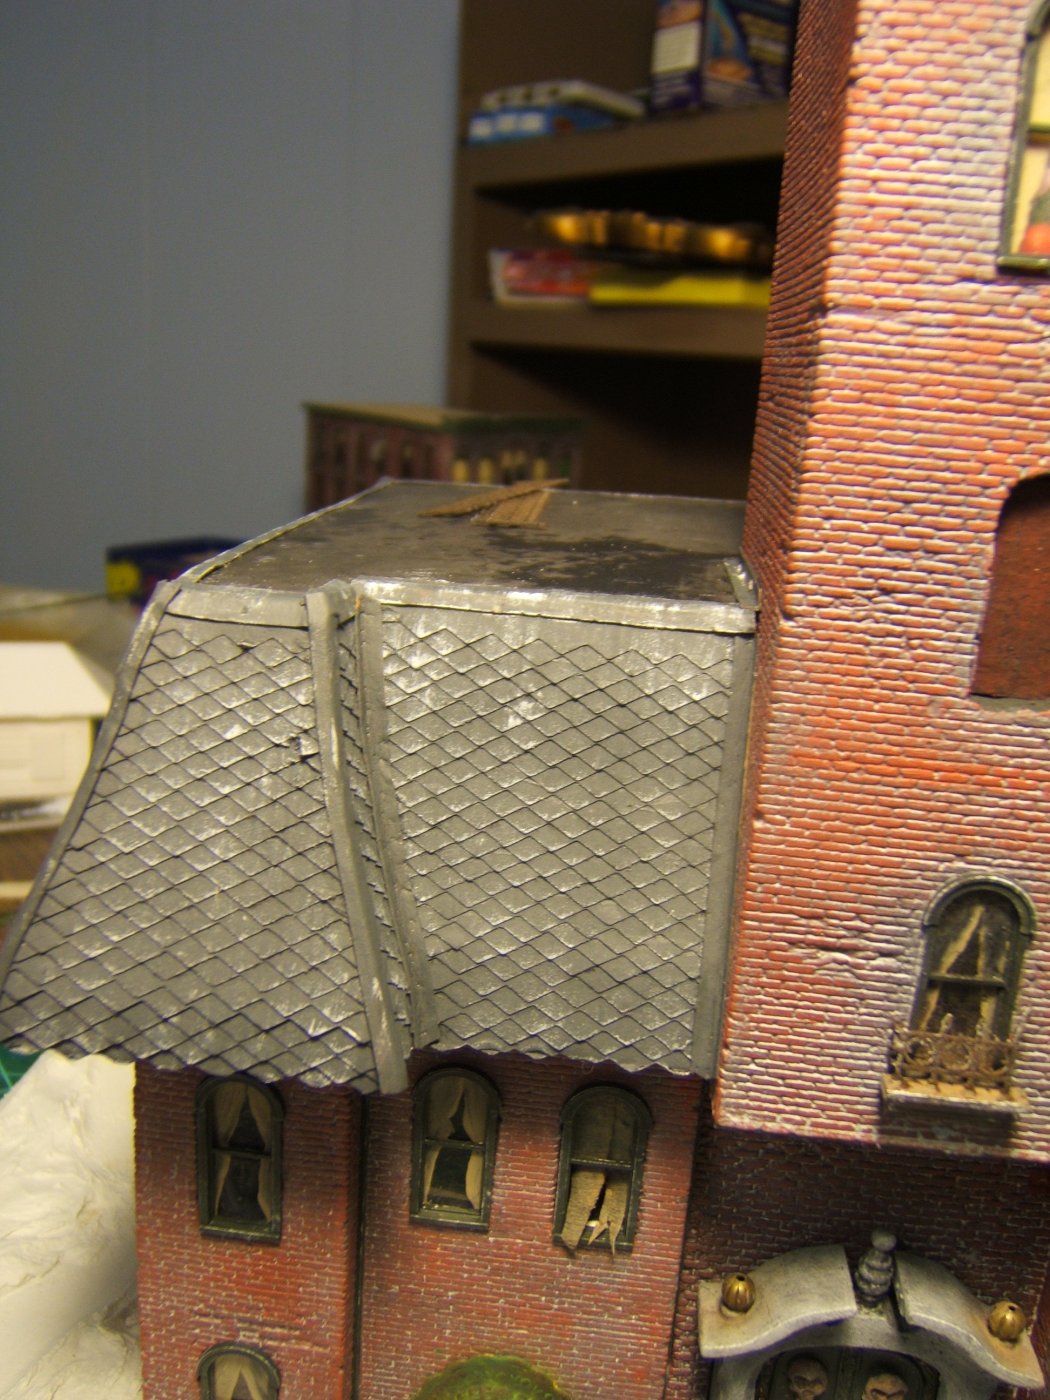
This was my solution for fixing the broken piece. It was a little more complicated than I originally thought it would be - but what isn't! I used a heavy weight paper to go over the front and then the sides as well.


This is the bottom after it was finished. I sprayed the bottom black to start off with and then at this point, went back and painted black acrylic around the outsides.
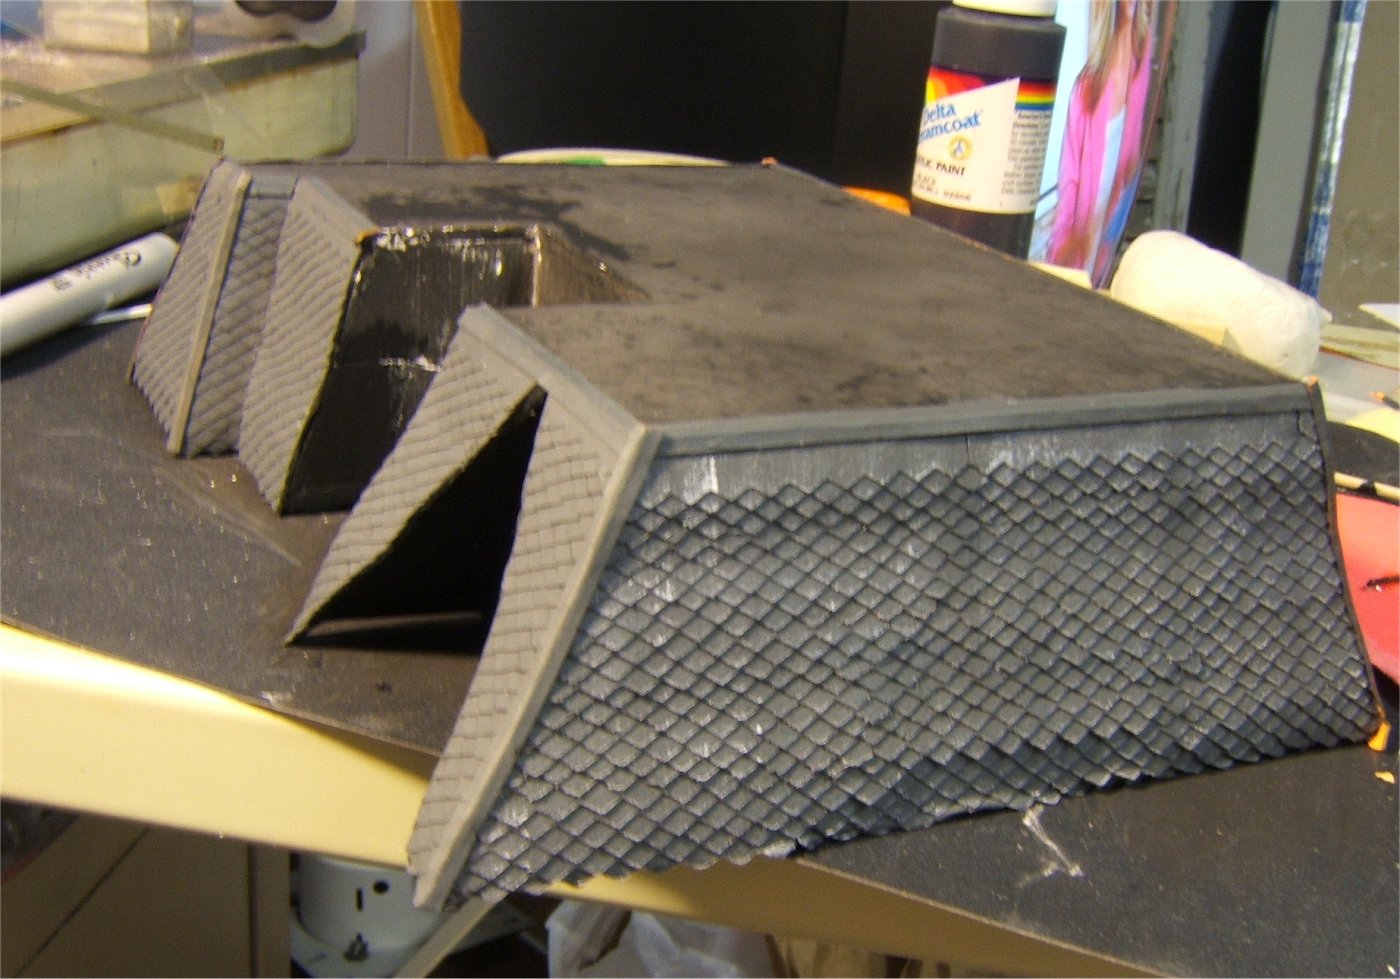
The capping, which was construction paper cut thin and painted is now on. I dry brushed the first side with acrylic white.

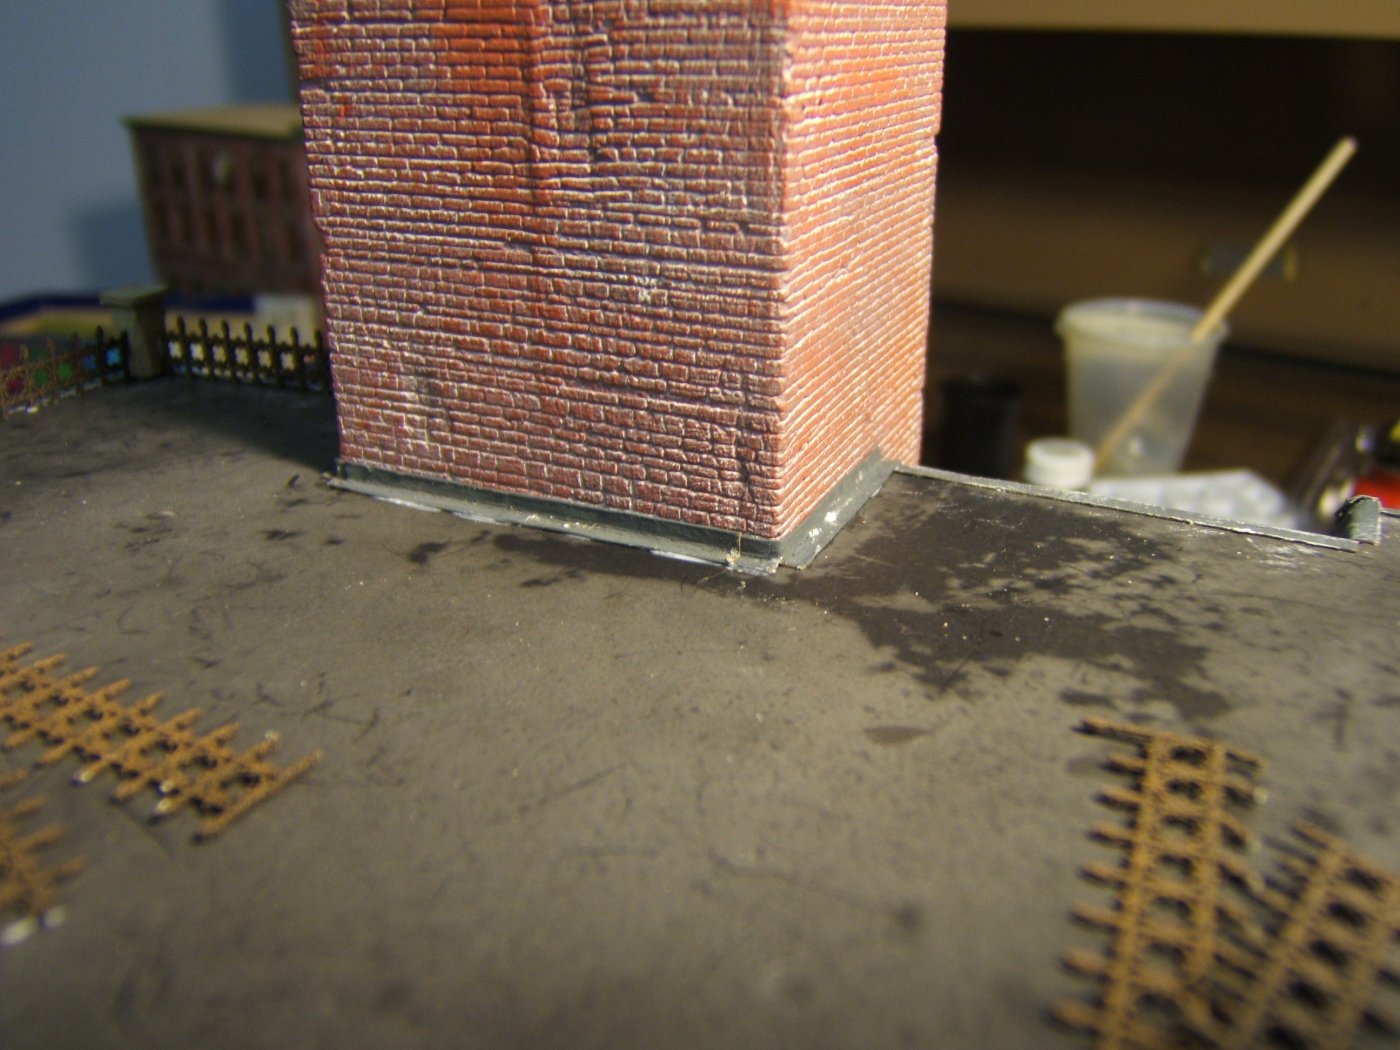
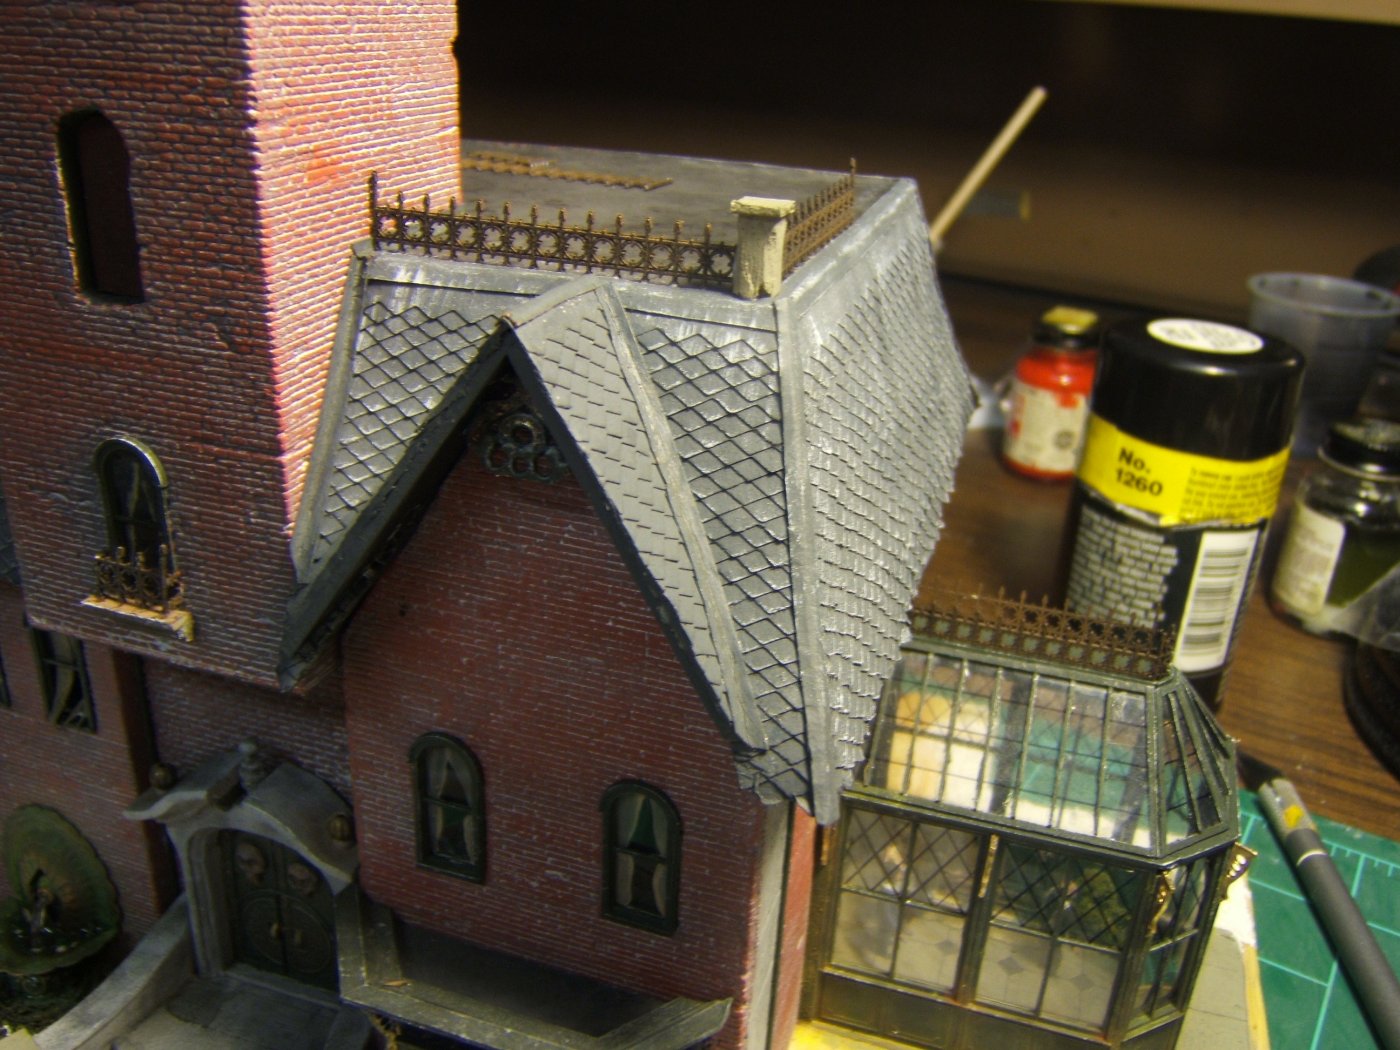
To get around the tower, I took the same flashing and did it inside out. A little cut here and there and you can bend it around corners and down slanted rooftops.

The fence sections came from the kit - and are Grandt Line I think. They were nice. I spray painted them black and then again very lightly with rail brown. That made a good base to brush on some chalk. The corner posts are wood on the bottom that is carved on the sides and then painted with Concrete. The top of the post is a square of styrene.
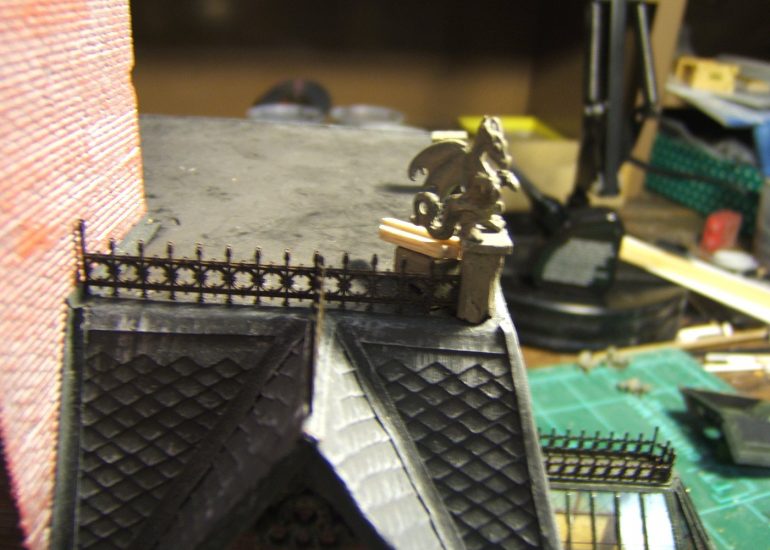
The gargoyle gets set in place. Metal casting glued to styrene piece = hard to glue. White glue didn't work and neither did CA. I think I ended up using two part 5 minute epoxy (which I hate). I can never seem to keep that stuff off my hands. I think I did a great job and I get up to leave and an Xacto knife is glued to my pinky.
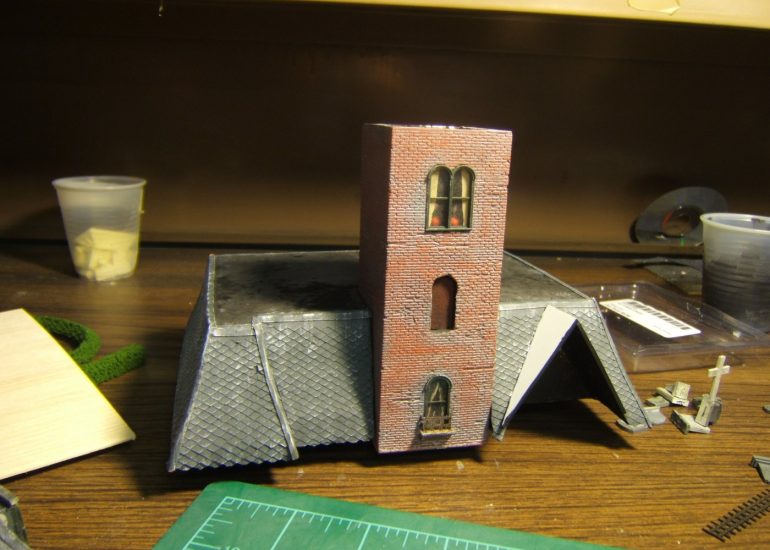
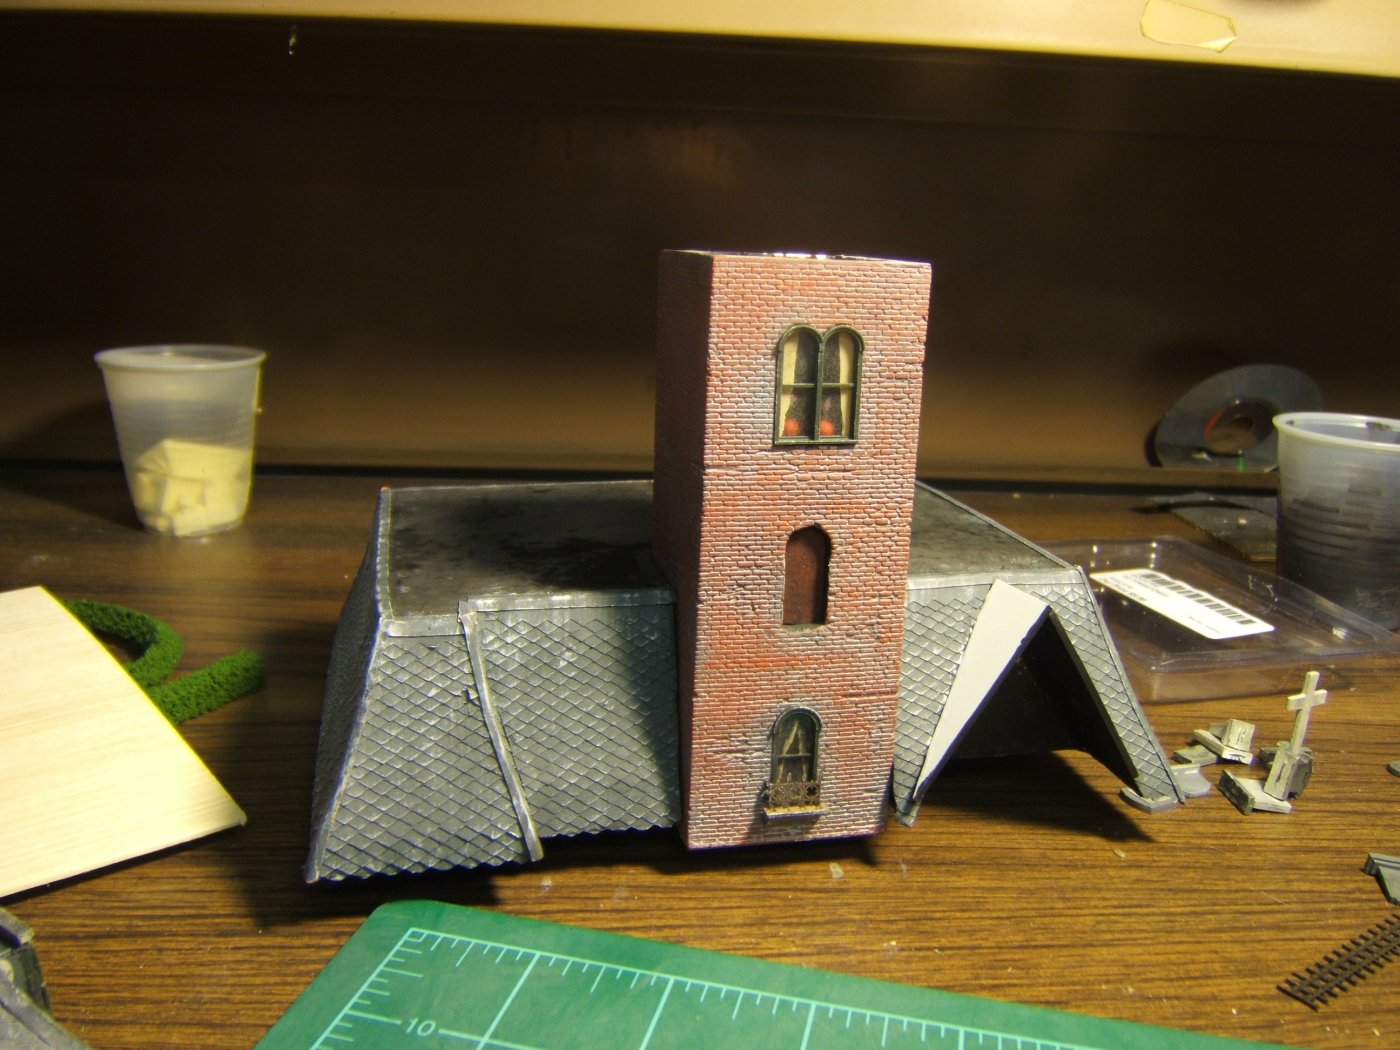
As I mentioned, I wanted to keep the roof removable so I could add interior and lighting later. This is the final roof section with the tower glued in place.
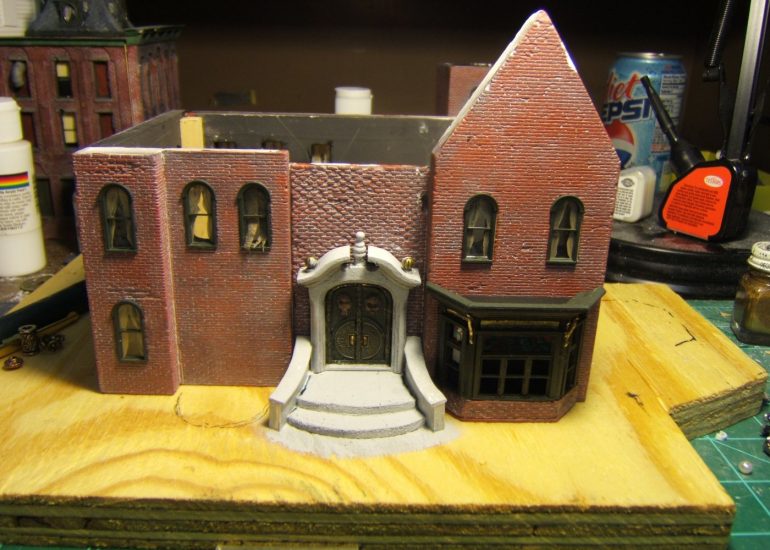
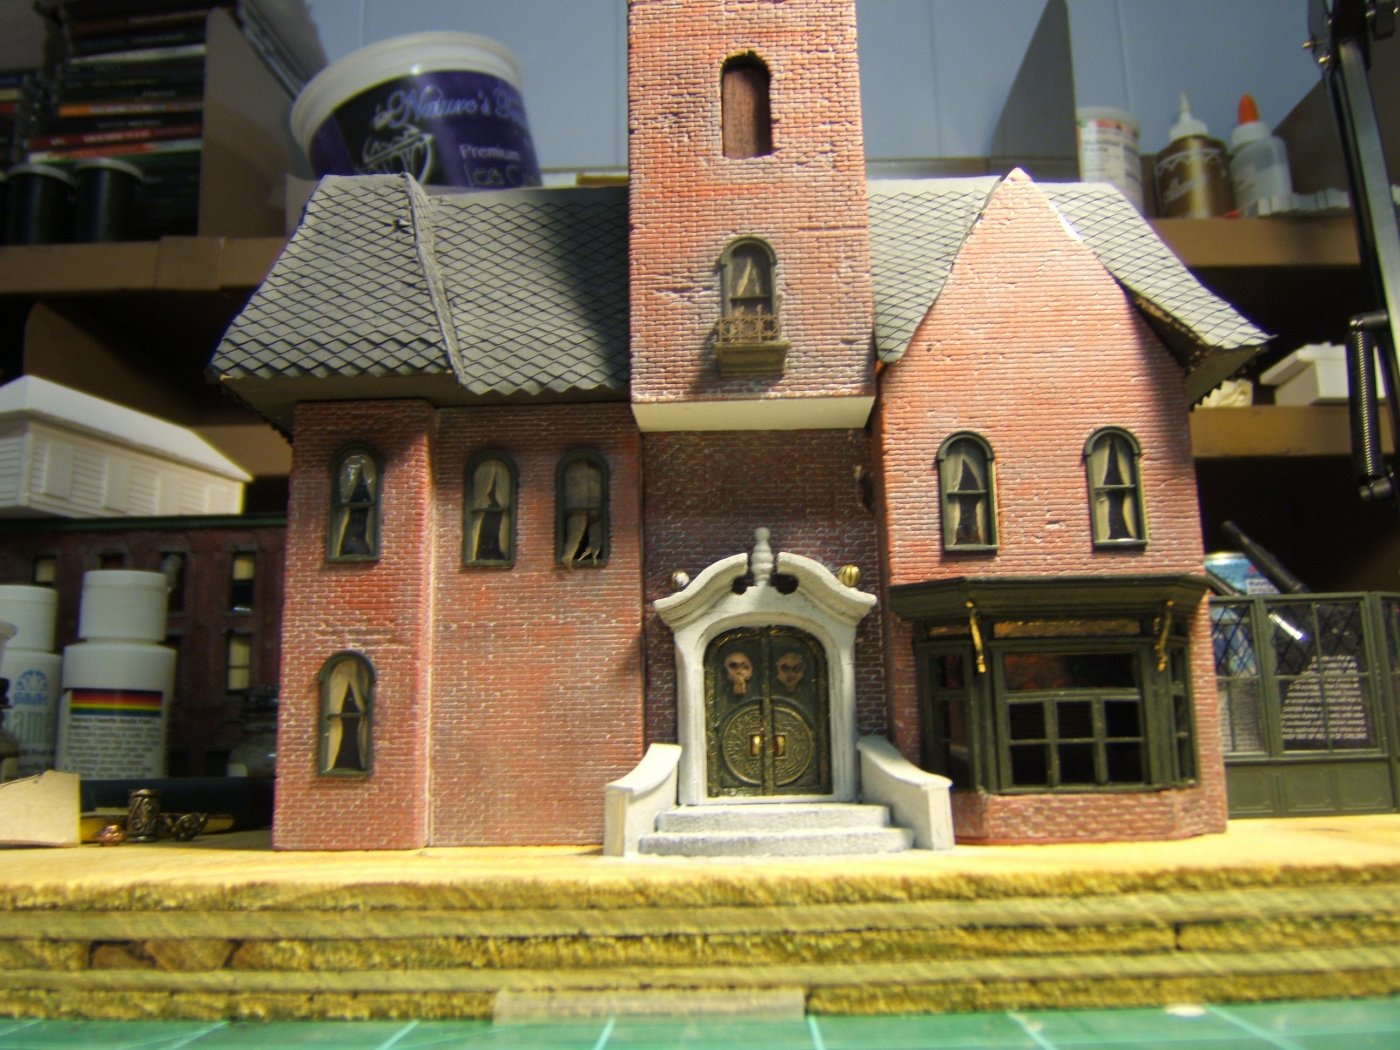
And here is the building with the roof off. I used some heavy wood to brace the corners inside. The notch created by the lower center wall makes sure the tower sits right in place and centers the roof out properly. I think I did the bay window before the door, but that's the next section anyway! I like to mix it up. Let's go.....