
Grimm's Build: The Conservatory
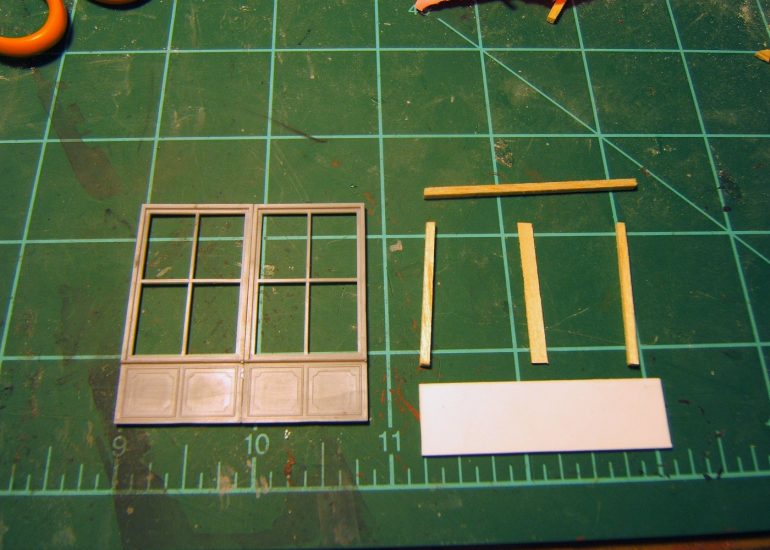
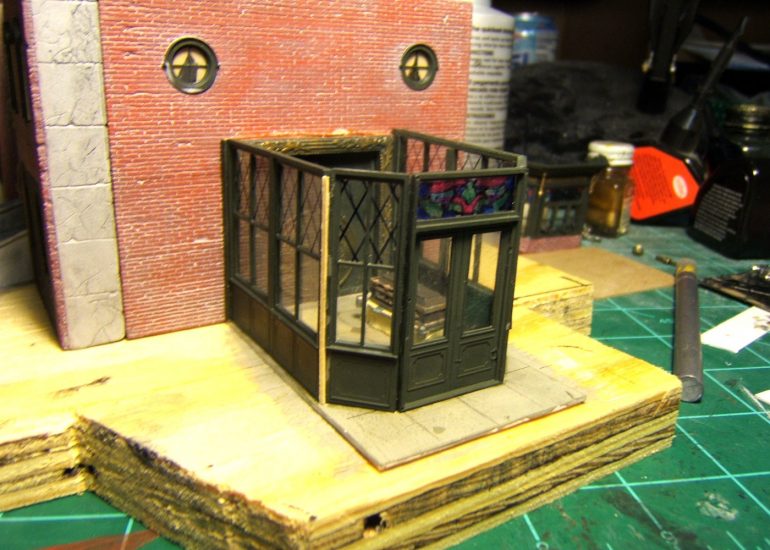
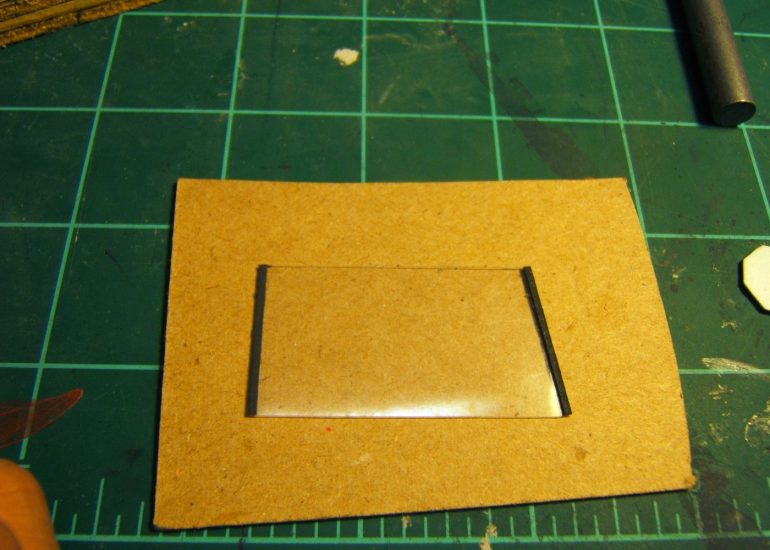
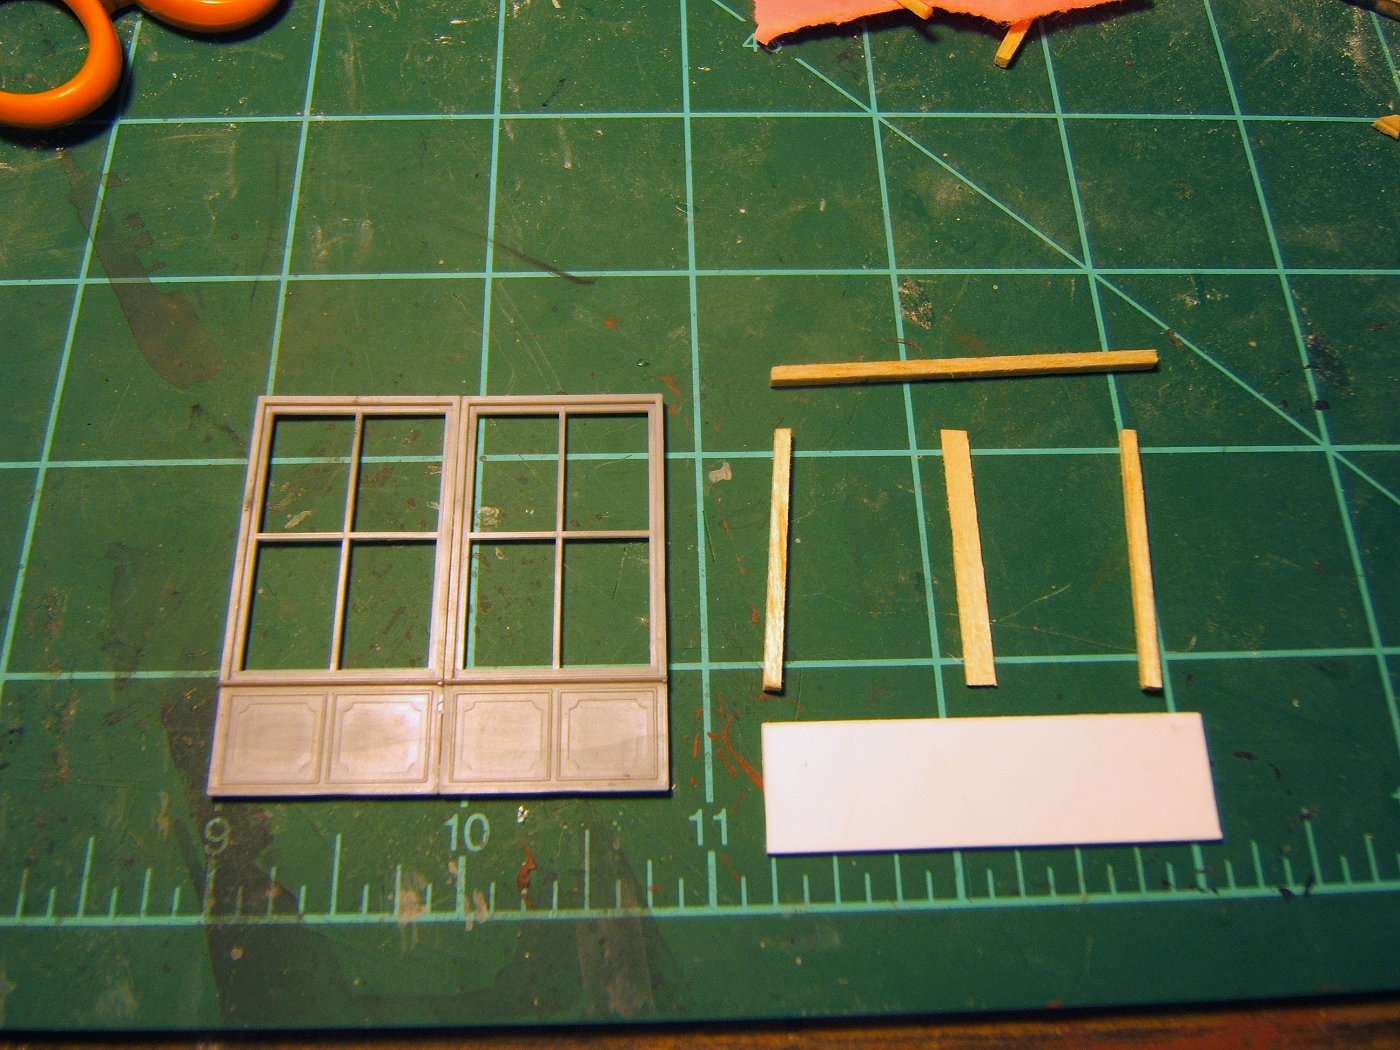
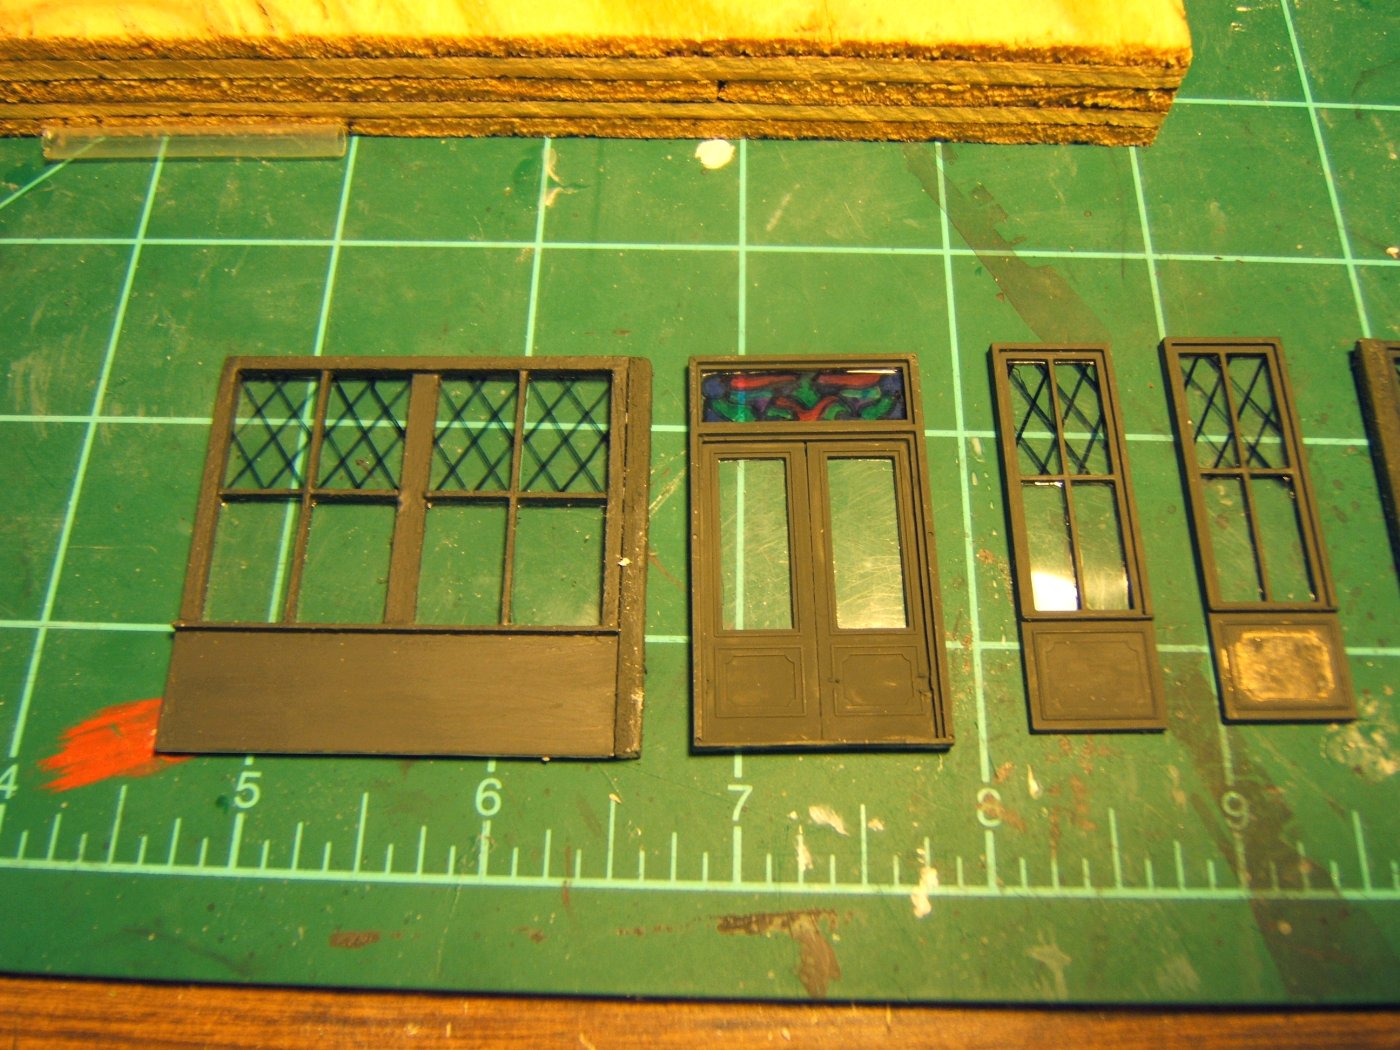
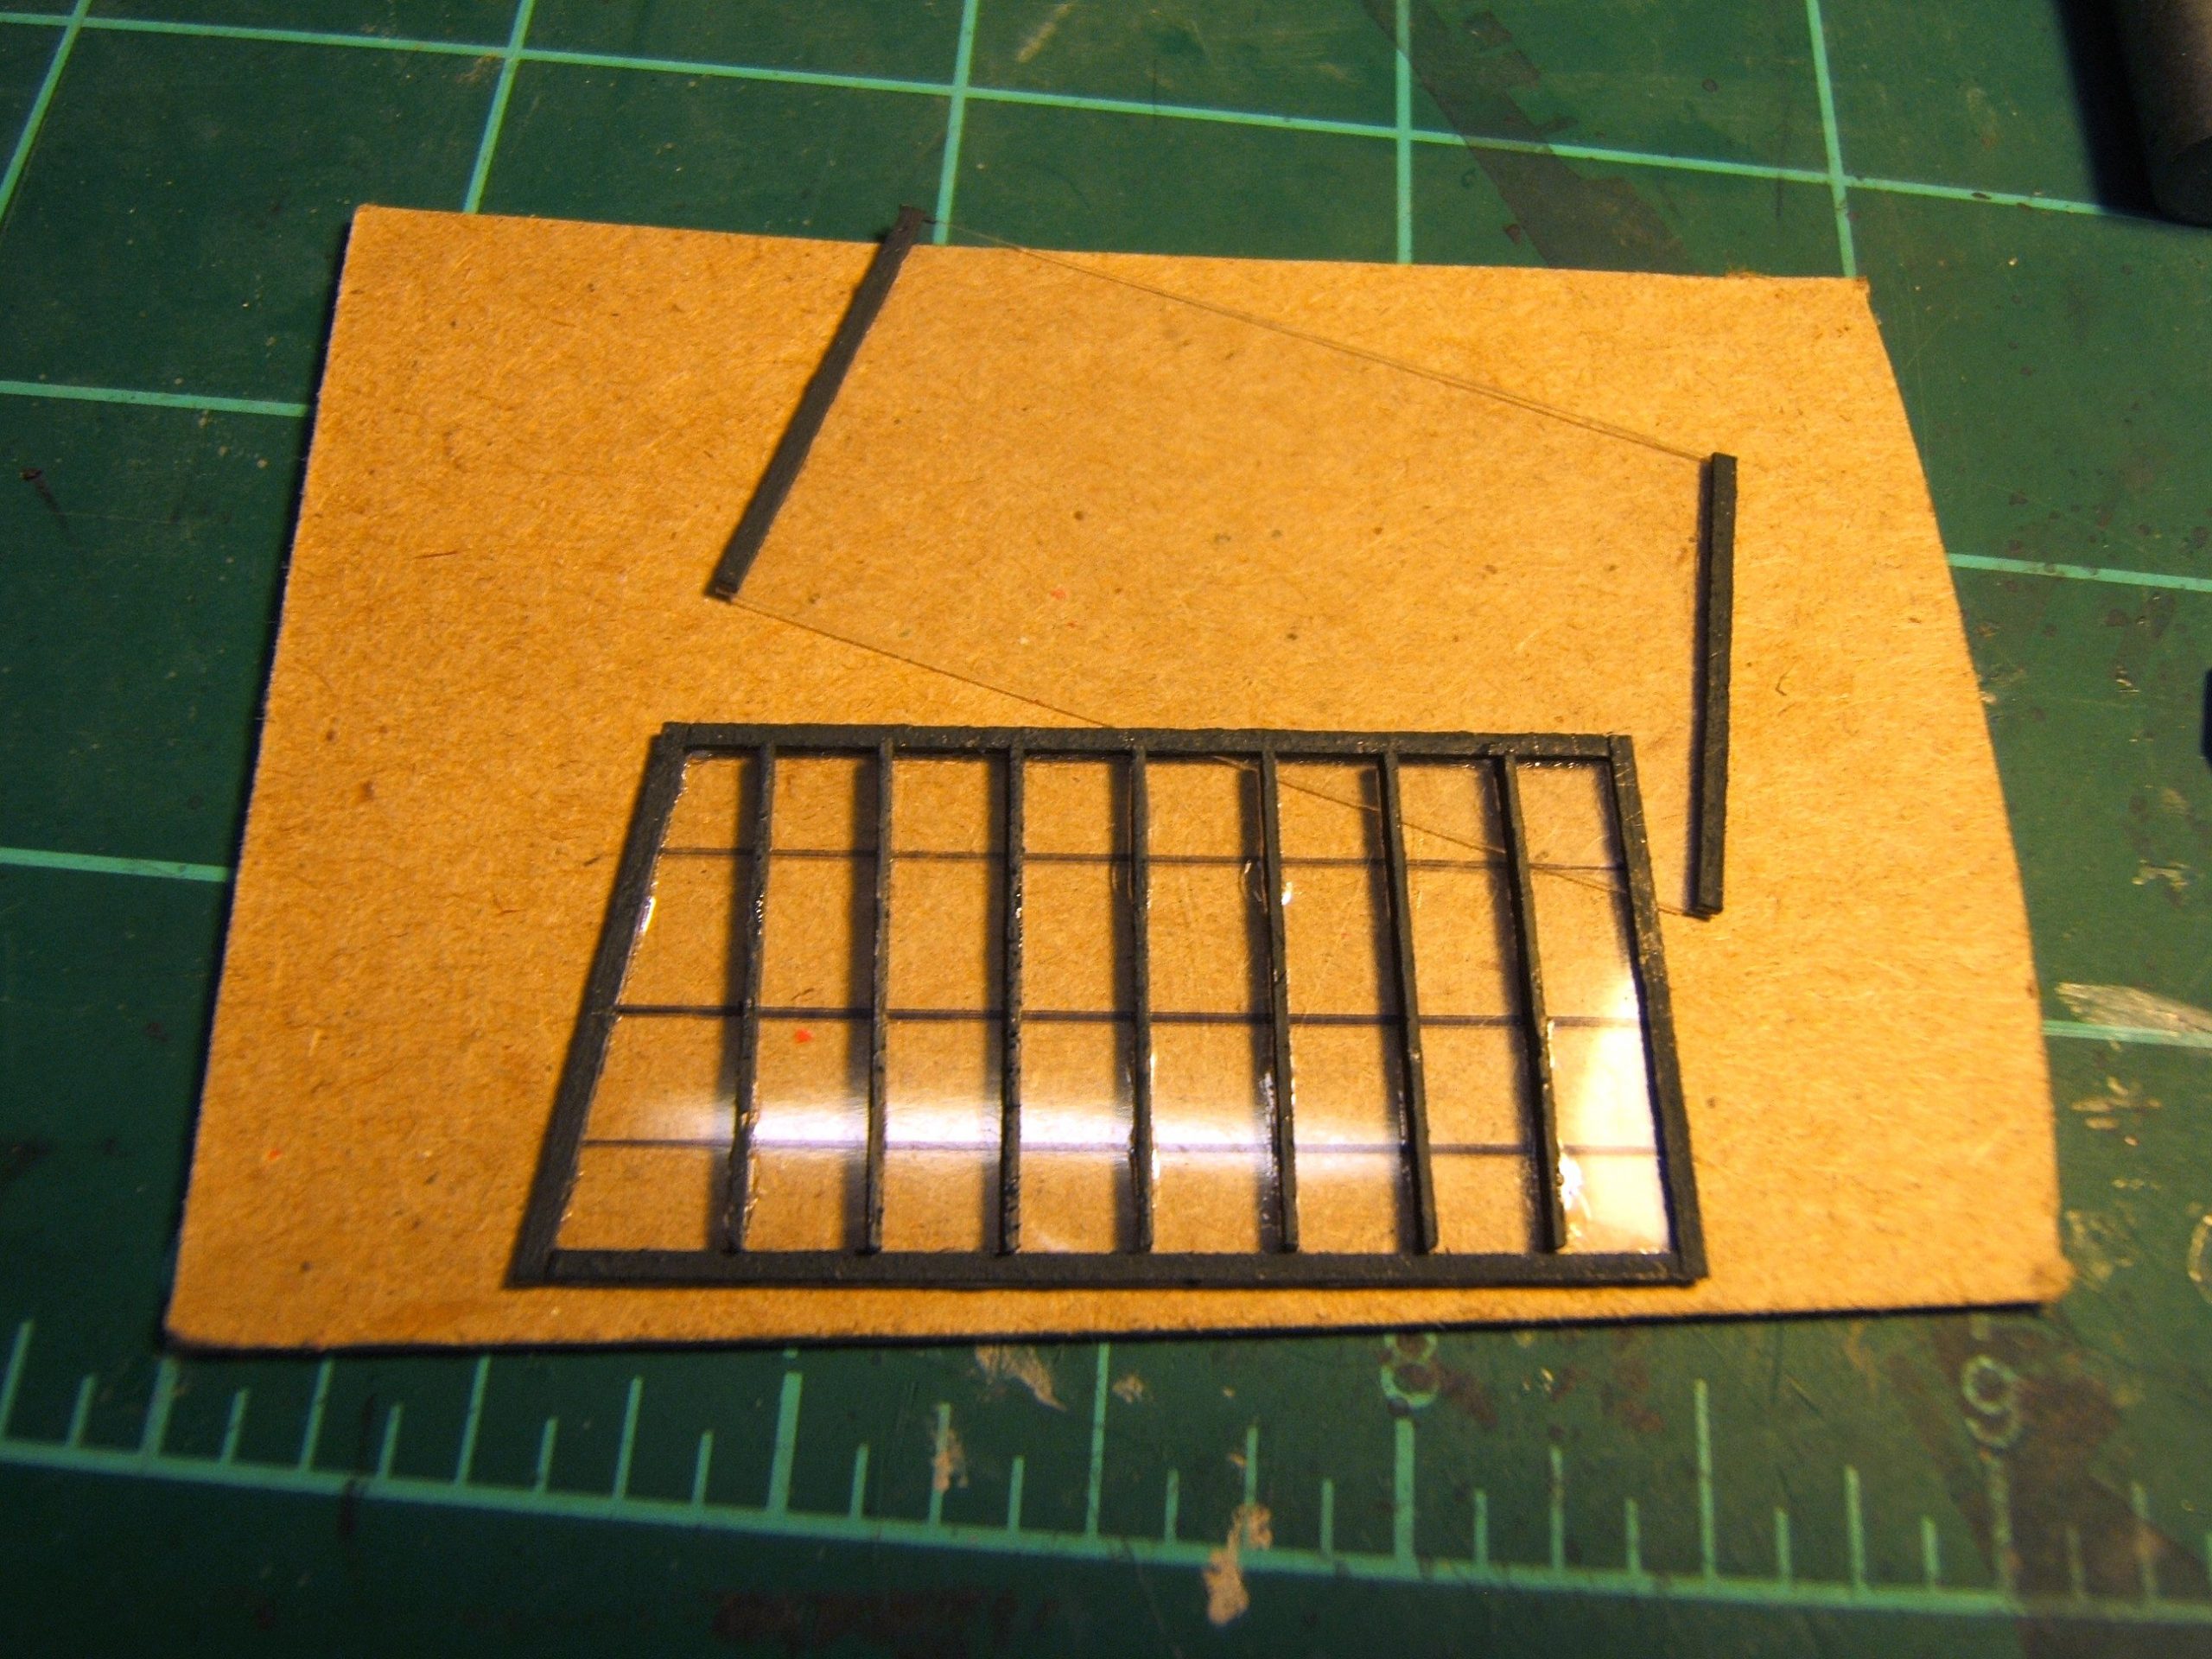
The conservatory was a big project in itself. To keep this page loading quickly, I'm going to go to 2 pages for this one. I wasn't sure how to do what I wanted and I was looking for some Grandt Line windows at the local place and I couldn't find anything decent, so I went with an Sn3 store front kit that I had picked up. I spliced two windows together (left) and then had to scratch a matching set for the back side (right)
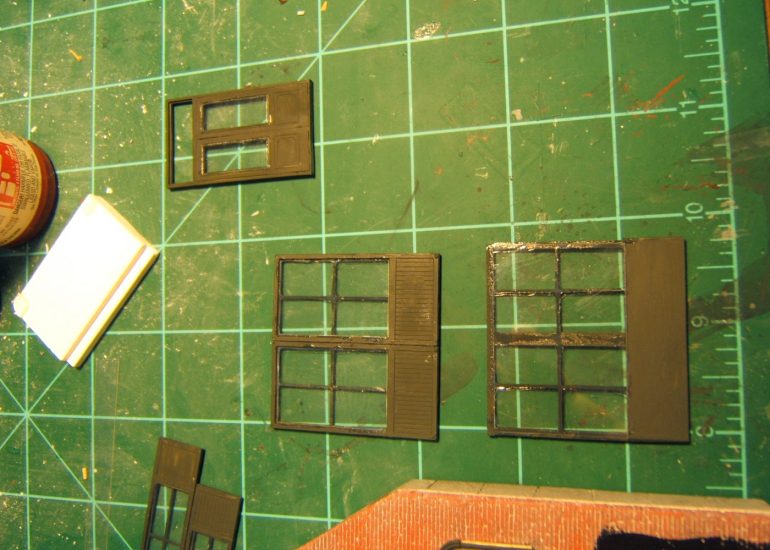
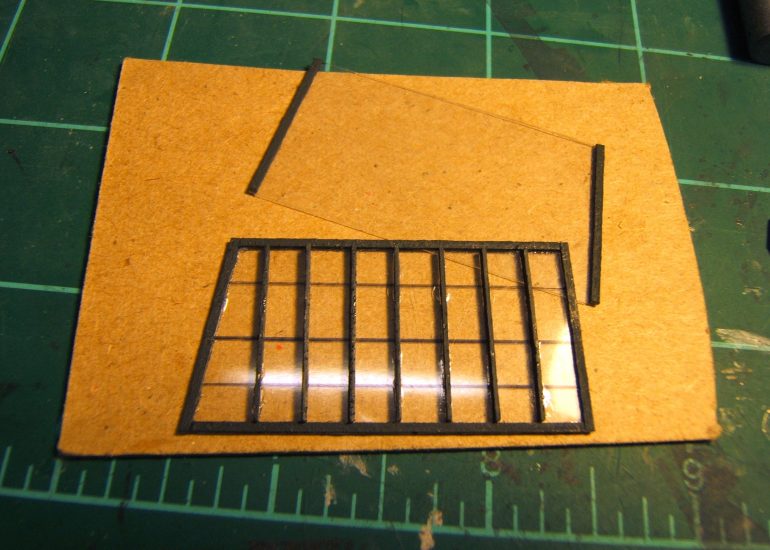
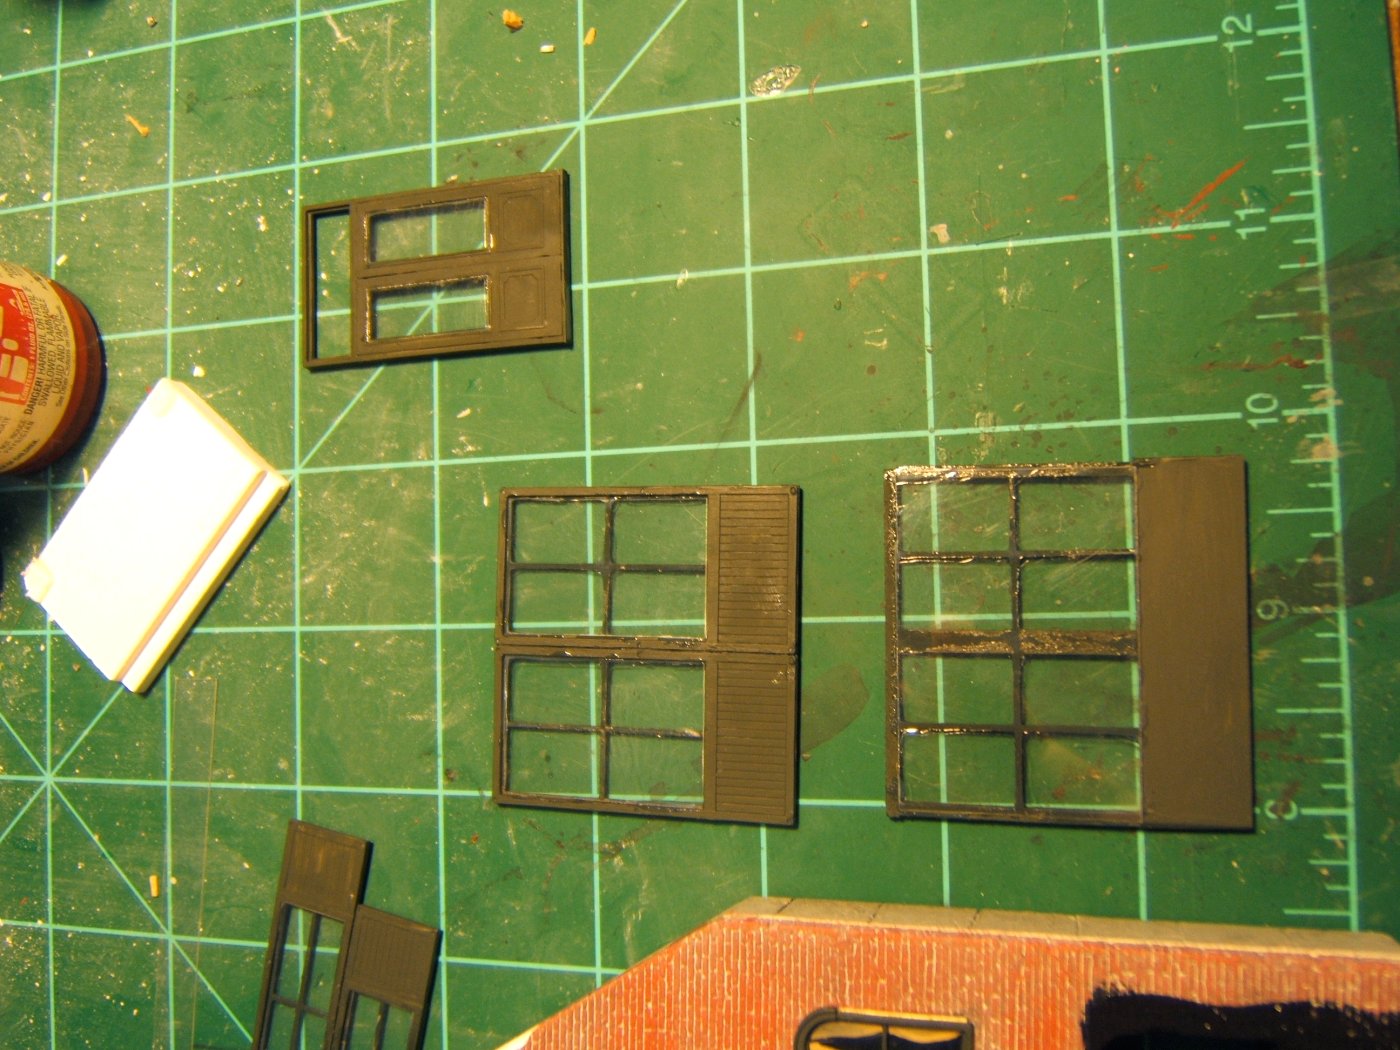
The storefront (left) and the scratch back (right) are almost ready to go. I could have detailed the scratch ones more, but, why do what no one is going to notice?
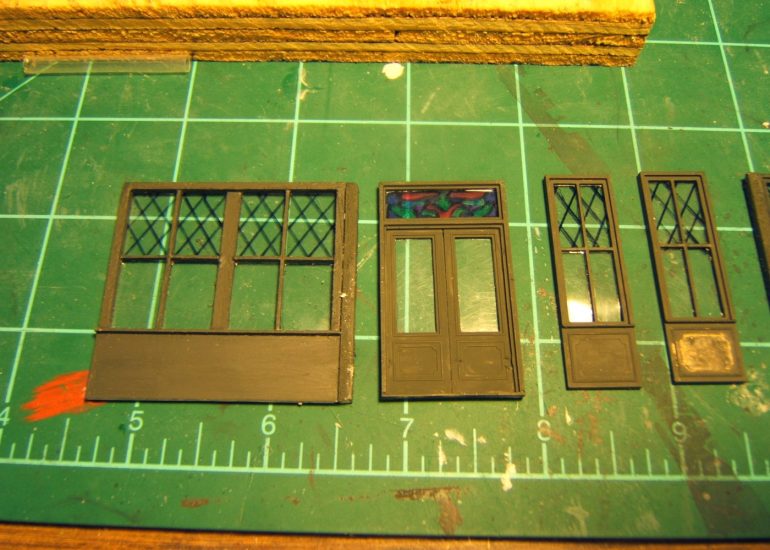
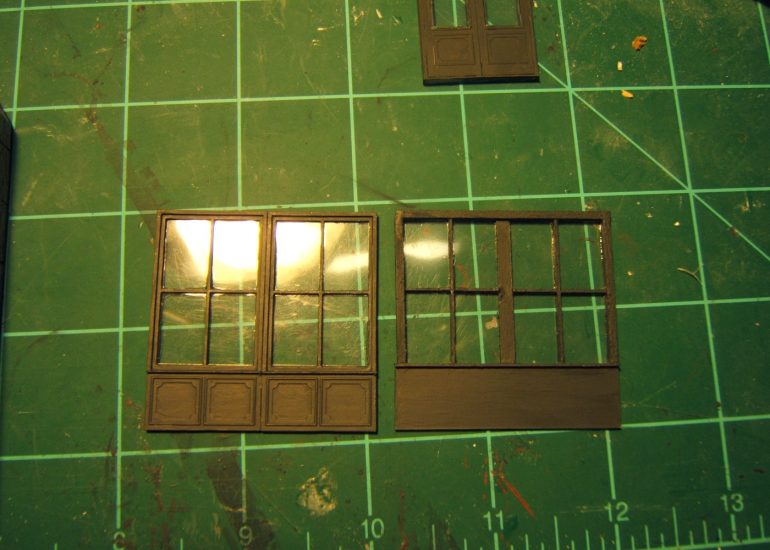
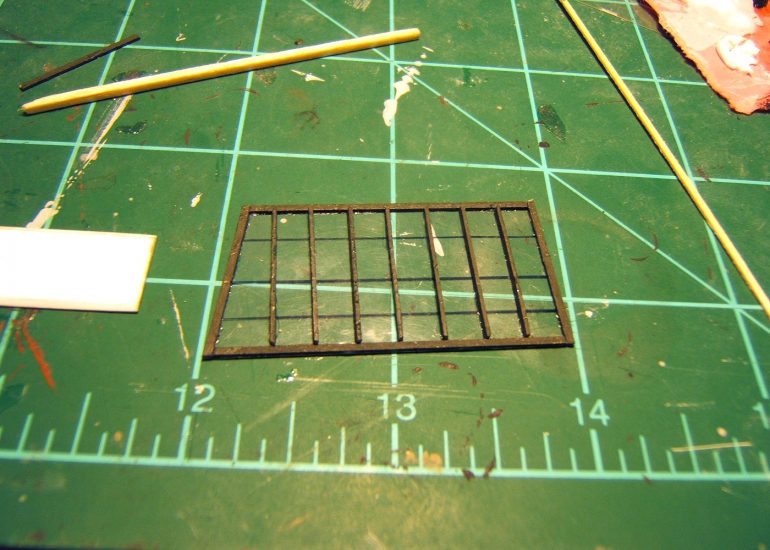
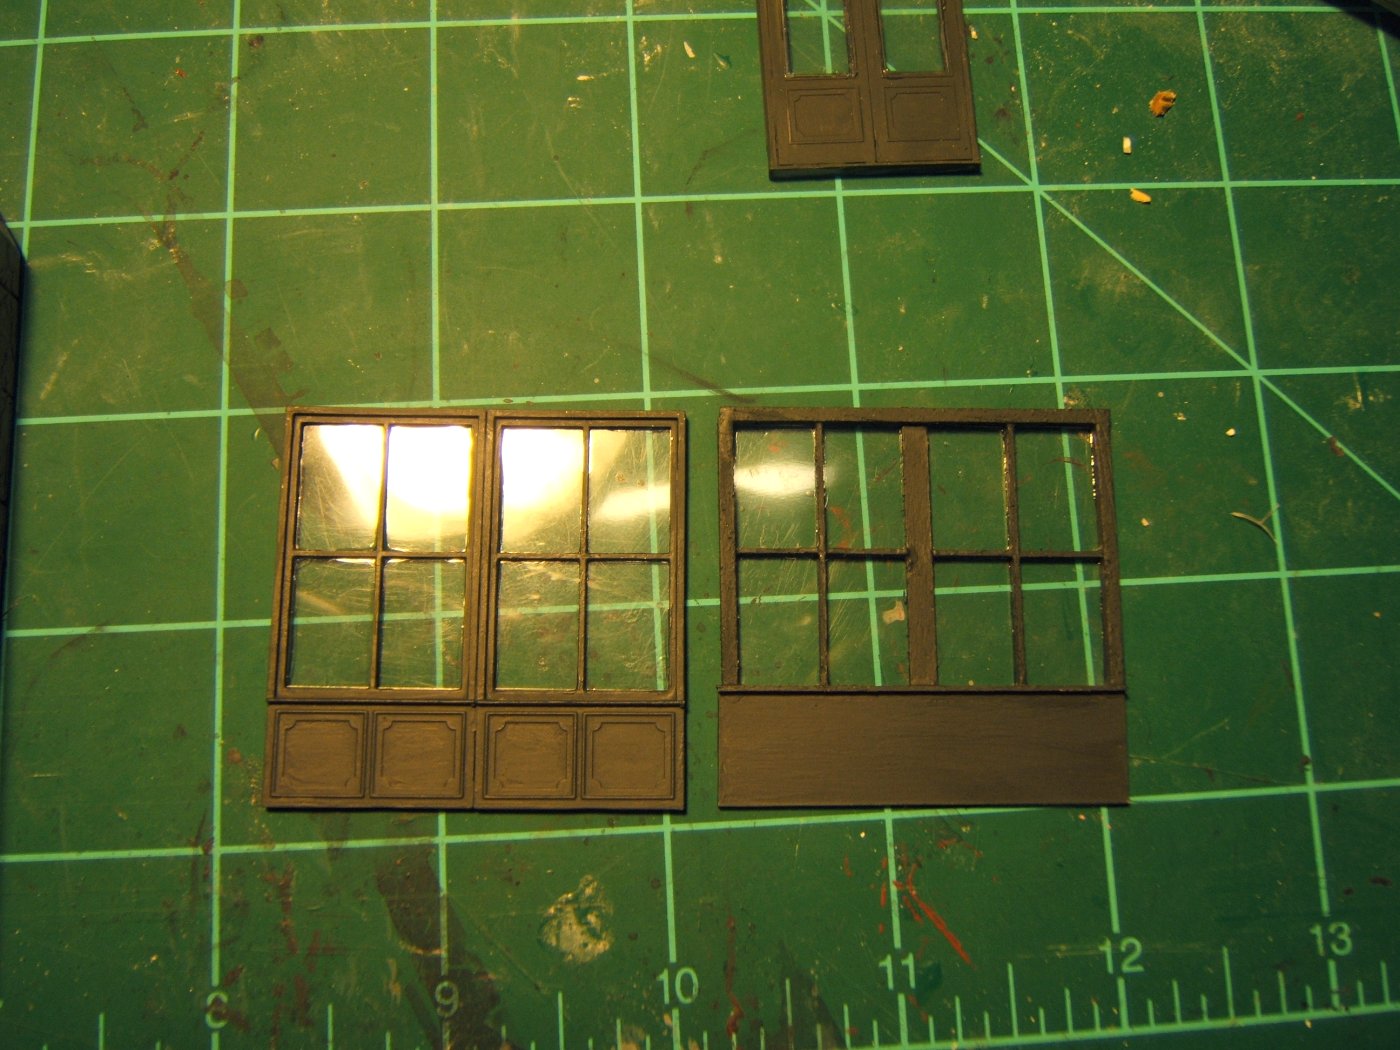
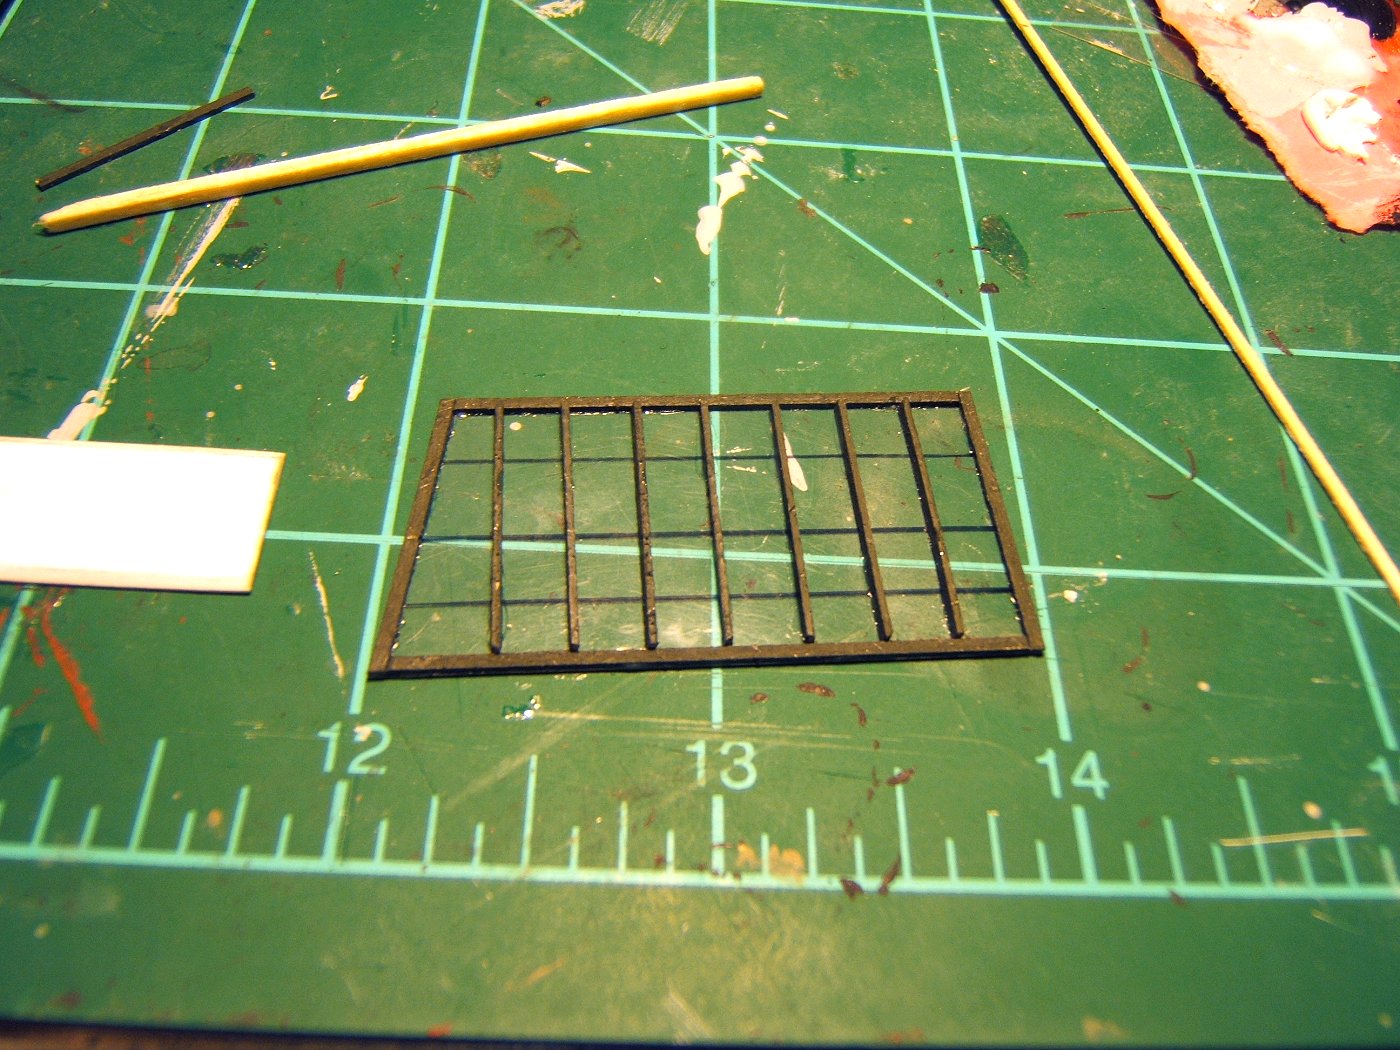
I used a small sharpie to add the black mullions. The center has my stained glass effect. I tried gold in the middle panel, but decided against it.
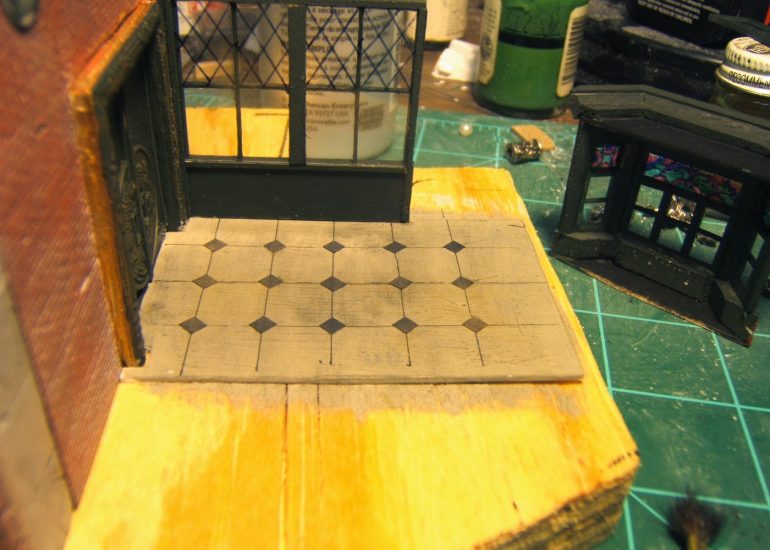
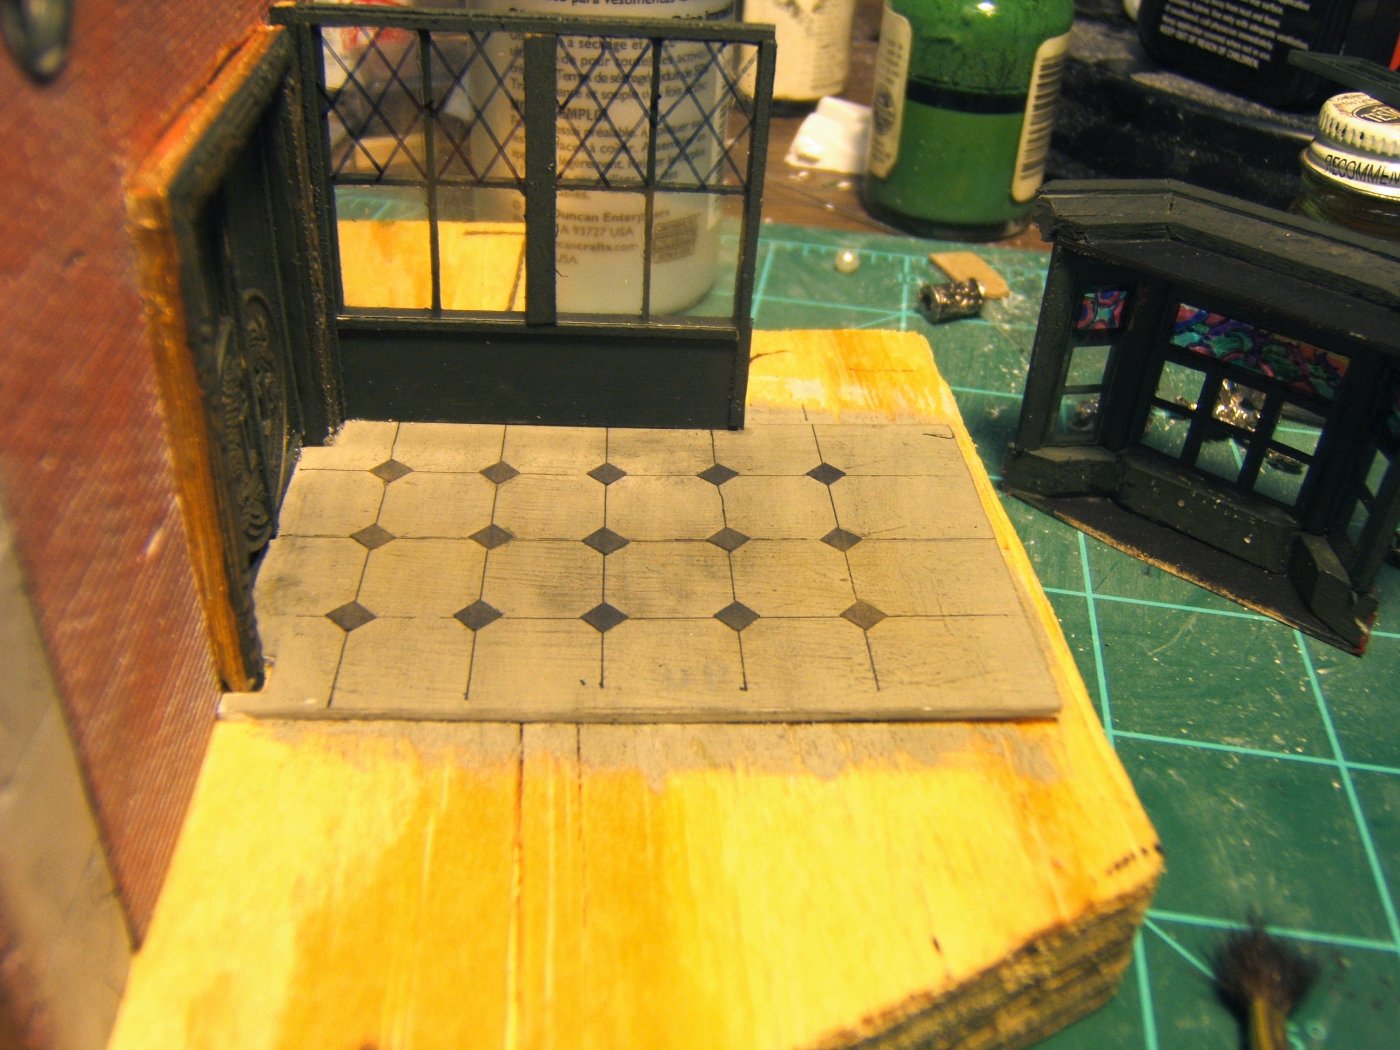
I had already made a double door and opening into the building (similar to the front in design) and had those in and painted, so I notched out a piece of styrene to fit and made a floor. It is painted with acrylic dove grey with plaster dust and then scribed with the same sharpie as the windows.
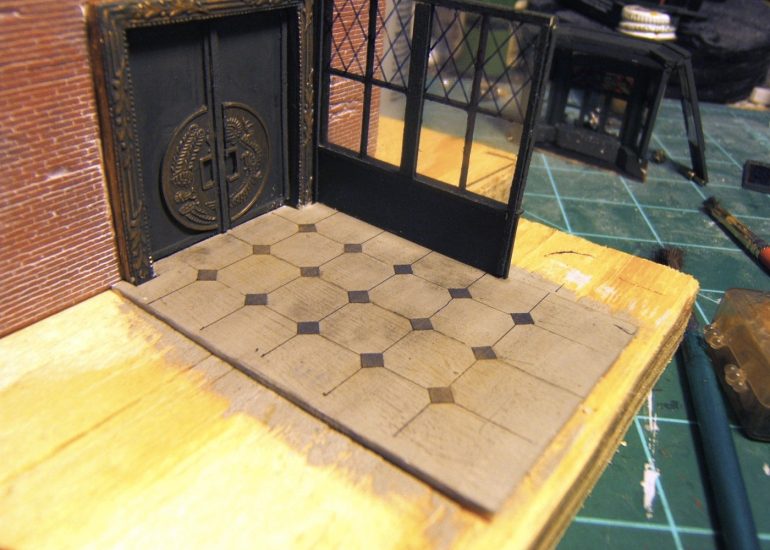
Here's a better look at the doors. The cool floor pattern was made by having my wife cut me a bunch of black paper squares that I then glued on the intersections. I then weathered the floor a little with chalk.
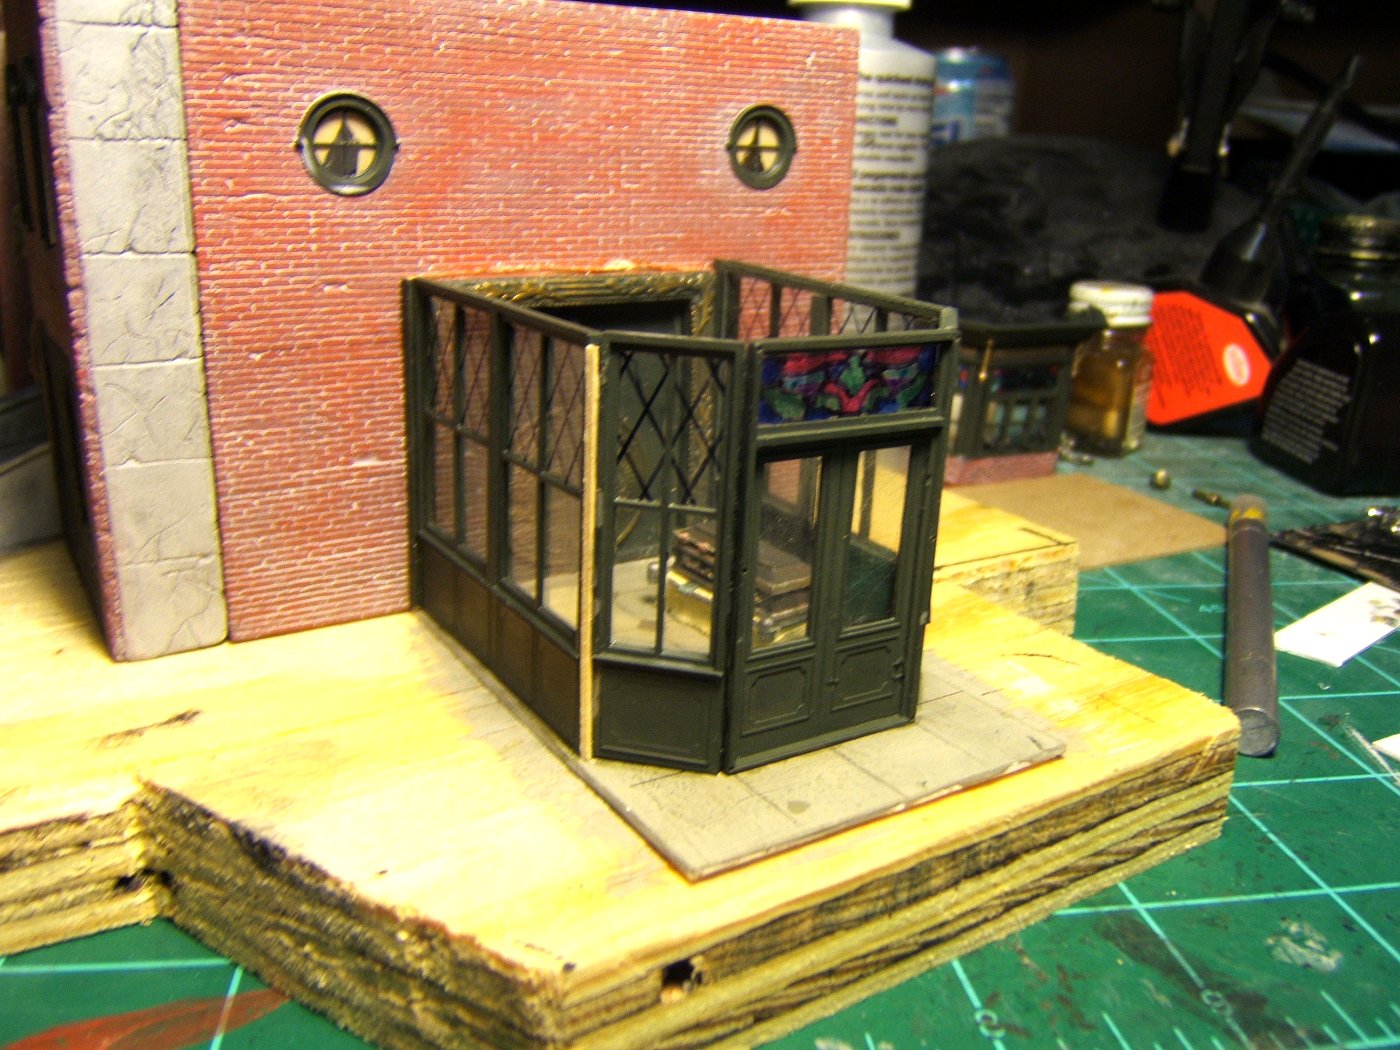
The walls sit right on the base and I put them together so I could determine the roof shape. The strip wood is to cover the crack in between the panels. I hadn't painted it yet.
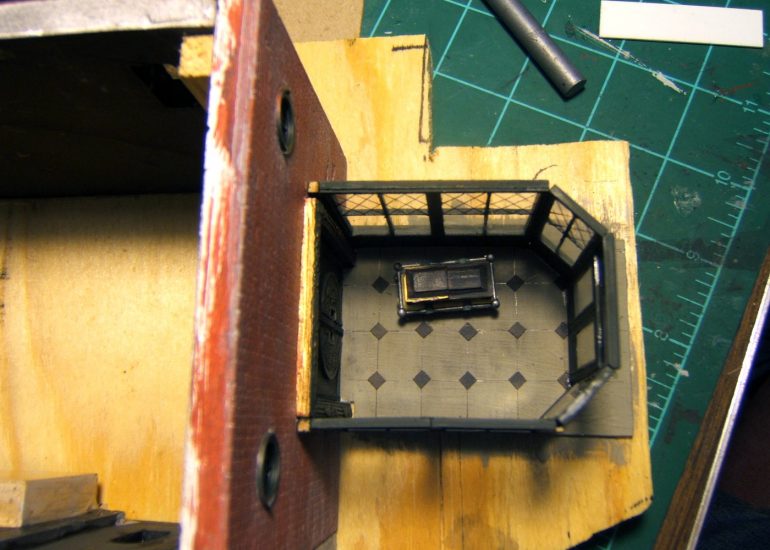
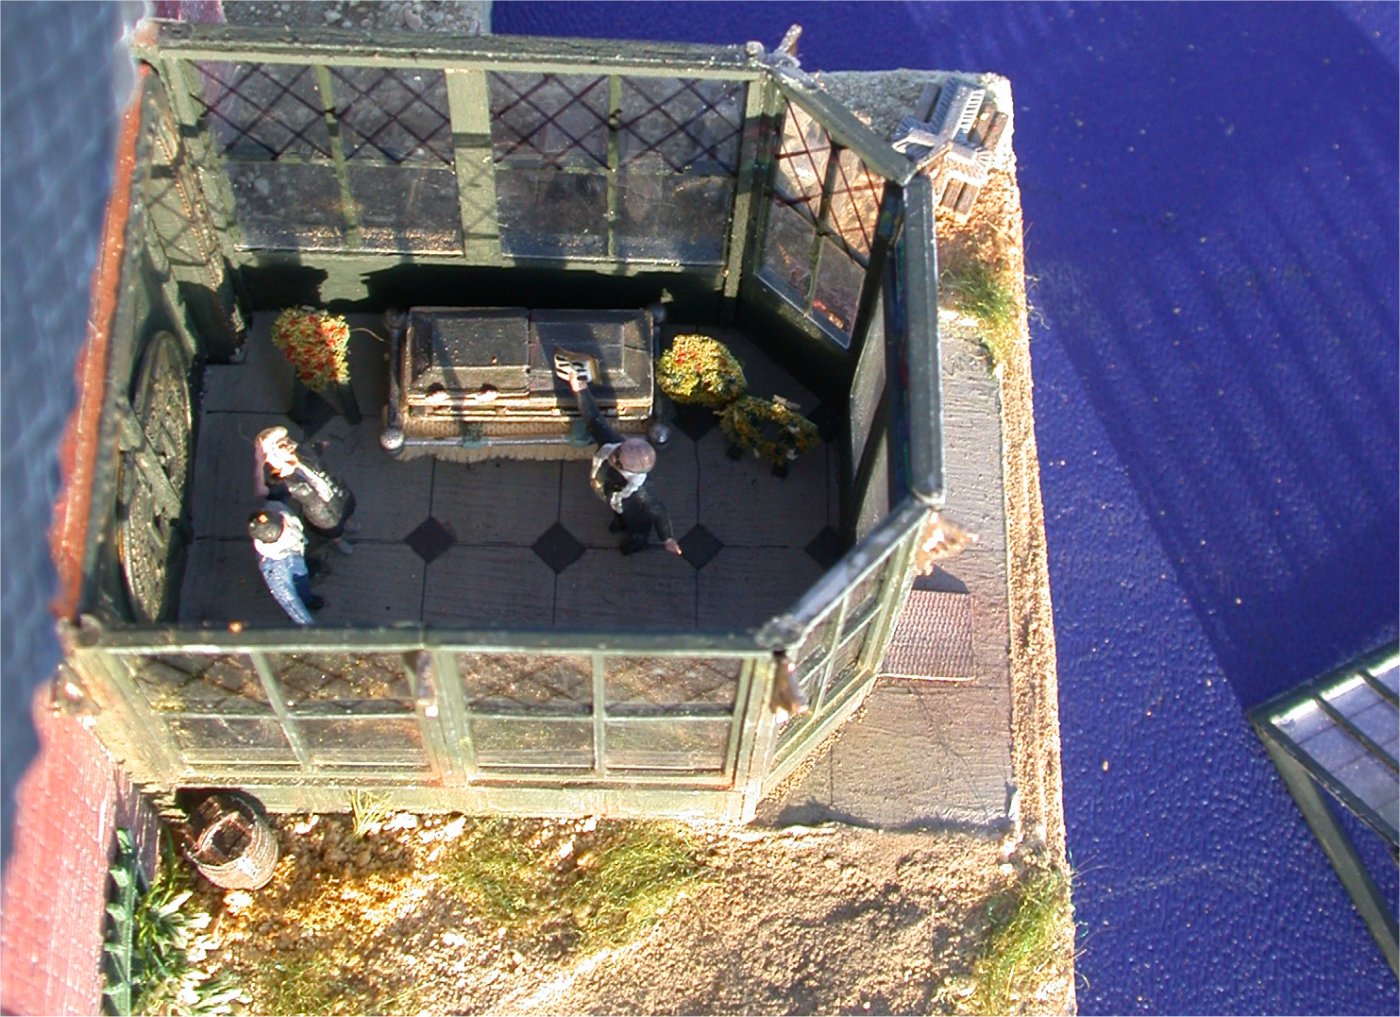
Here's the top after the walls were in. My casket and table and stuff were just waiting for a funeral service.

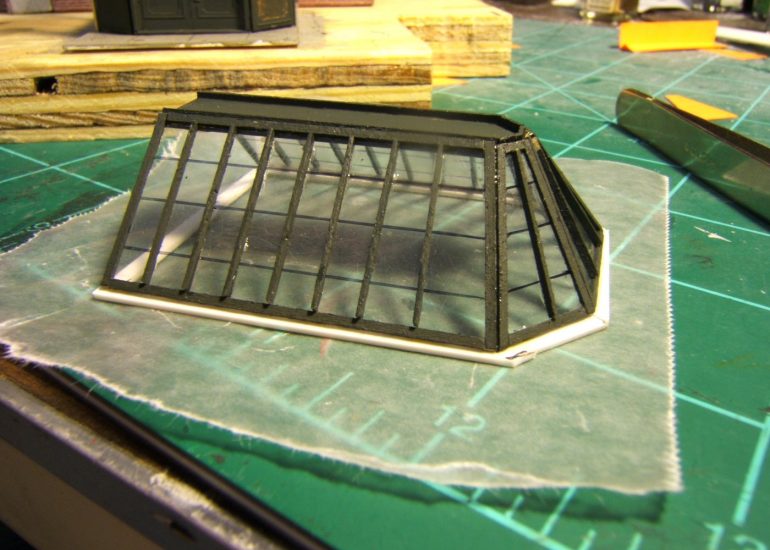
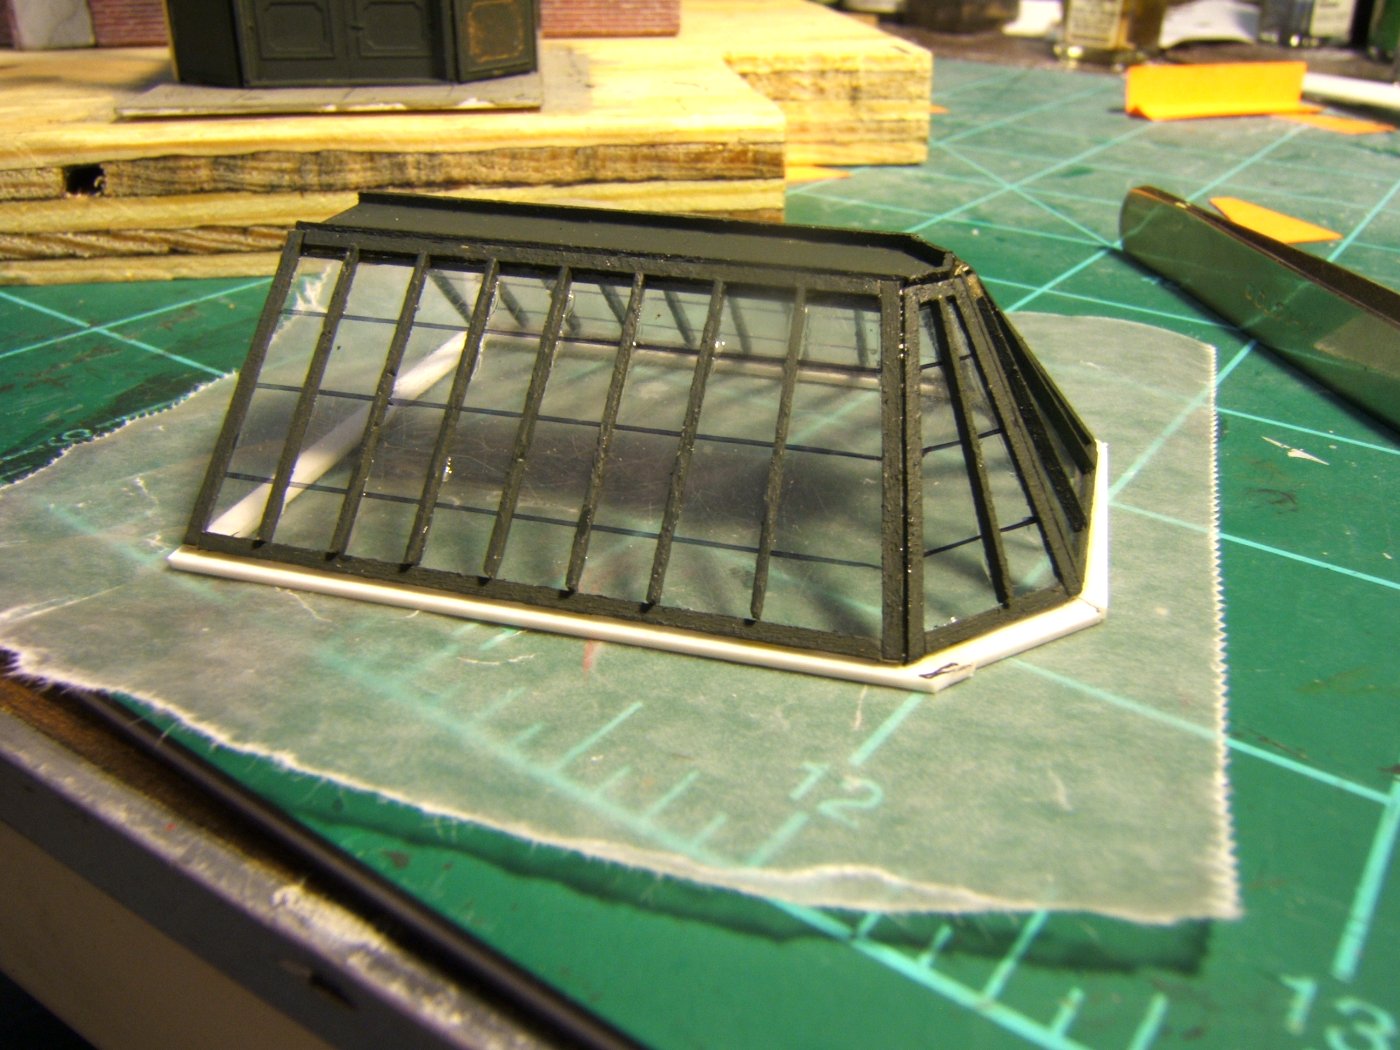
I knew the sort of angle I wanted for the sides, so I made this piece from styrene for the top and then beveled all the edges.
Here's the first part of the top. I cut a piece to fit the angles and then started adding wood one piece at a time.

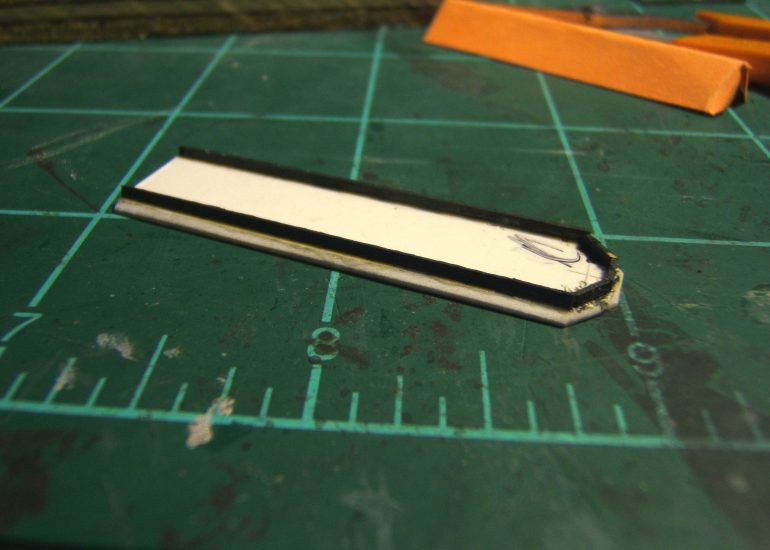
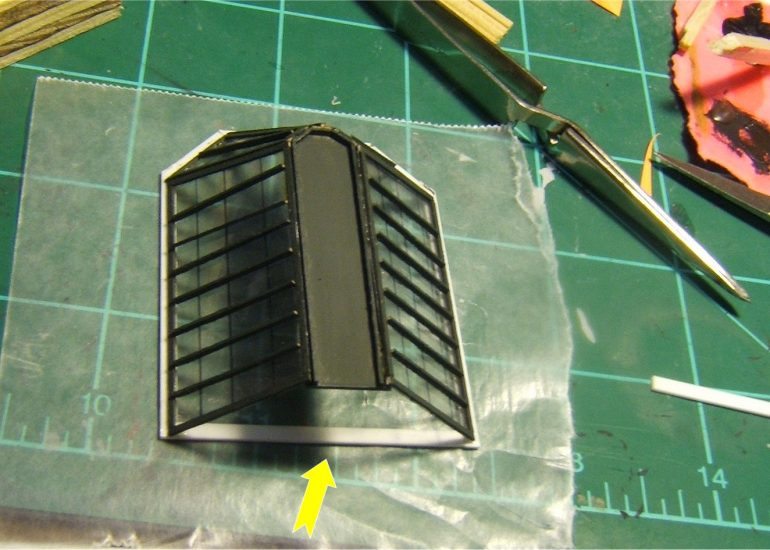
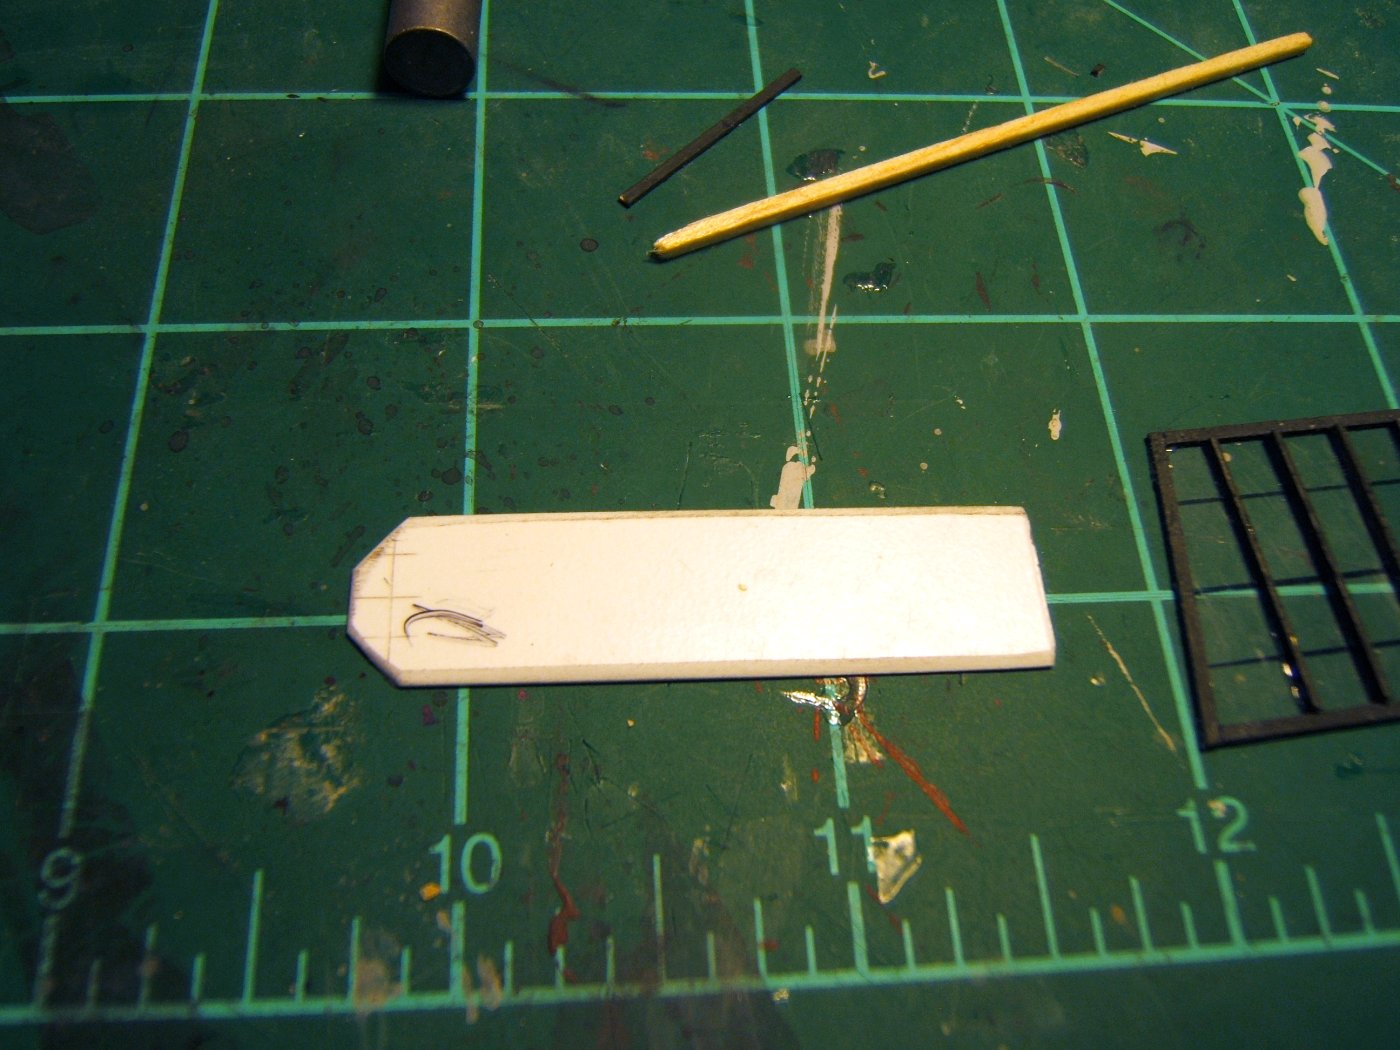
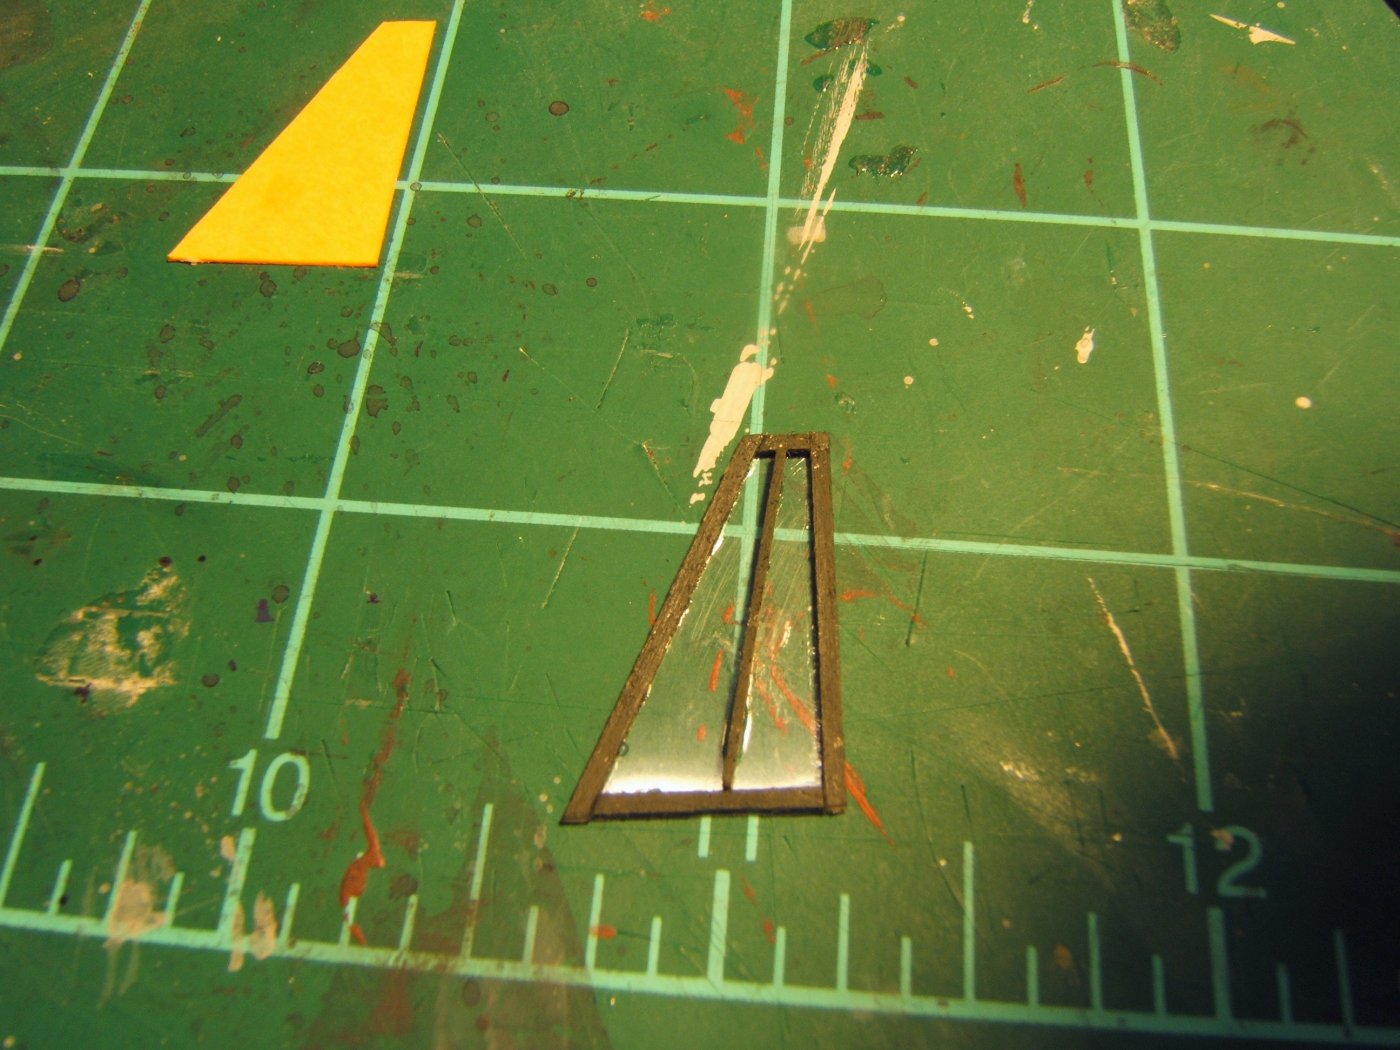
To determine the size of the end windows, I used pieces of heavy weight paper and cut to fit. Trial and error. Here is an end window and its paper piece.
In order to get the top started, I tacked the white styrene to the room and then glued the two side pieces to the white bottom pieces and the top. Does that make sense? I'm not sure, even I'm confused now.
In order to glue the rest of the windows down etc., I put the whole assembly on wax paper and then added lots of glue.

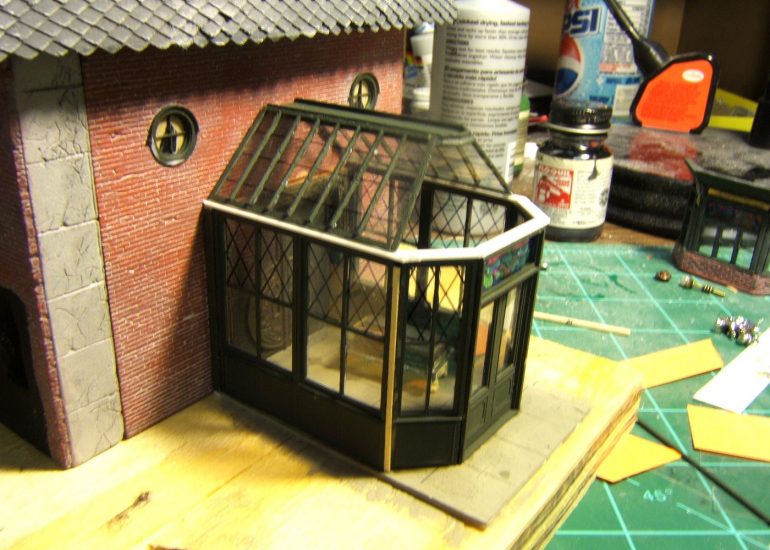
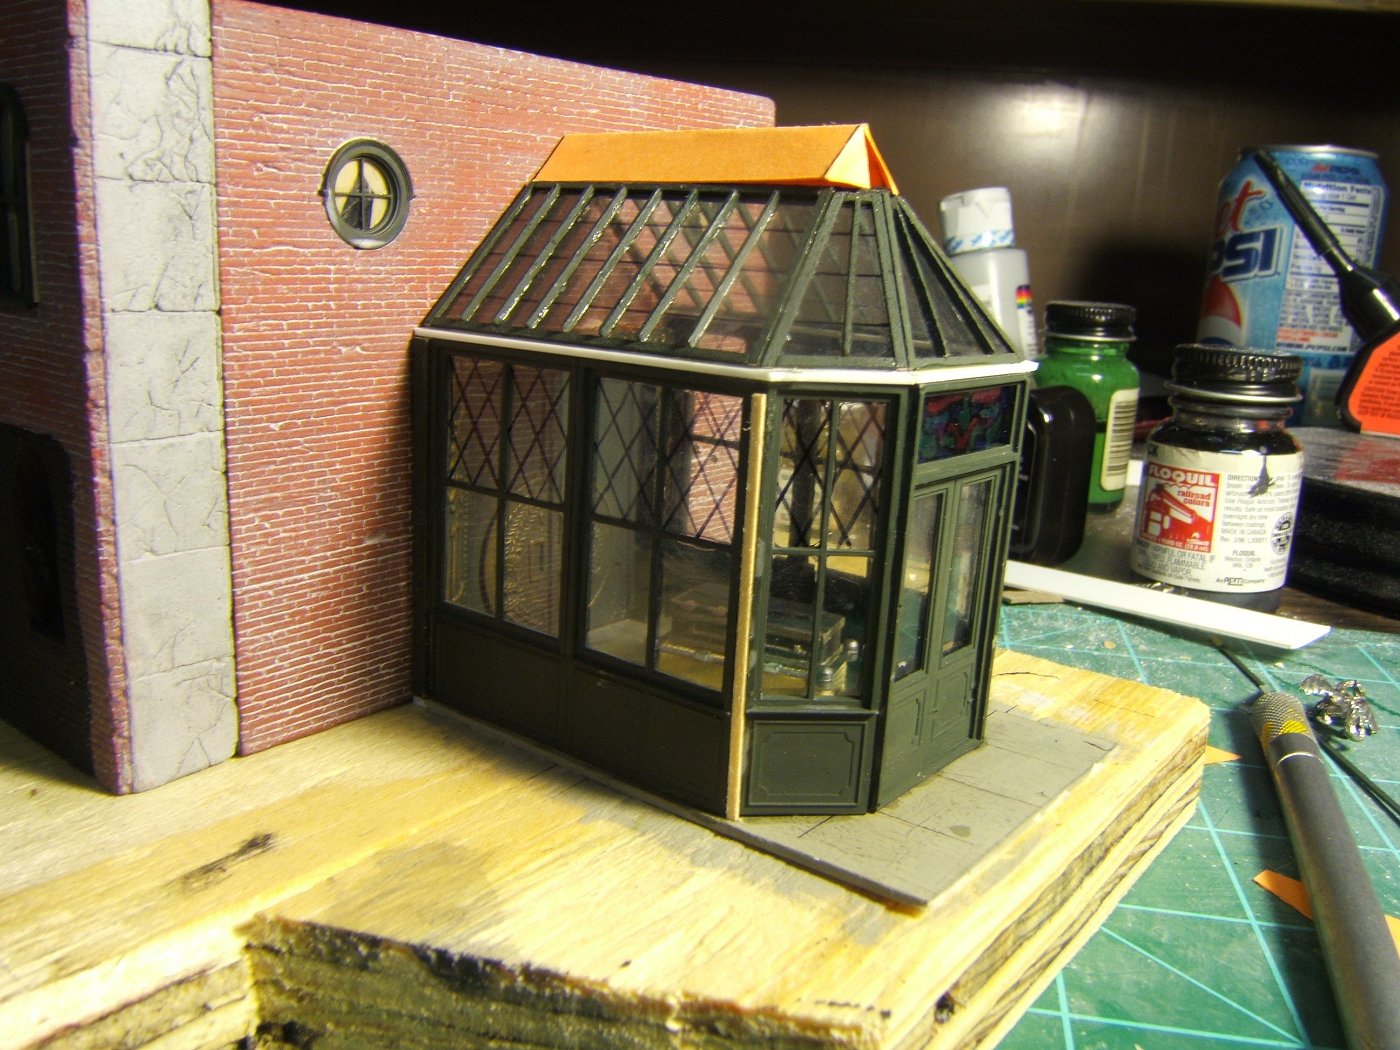
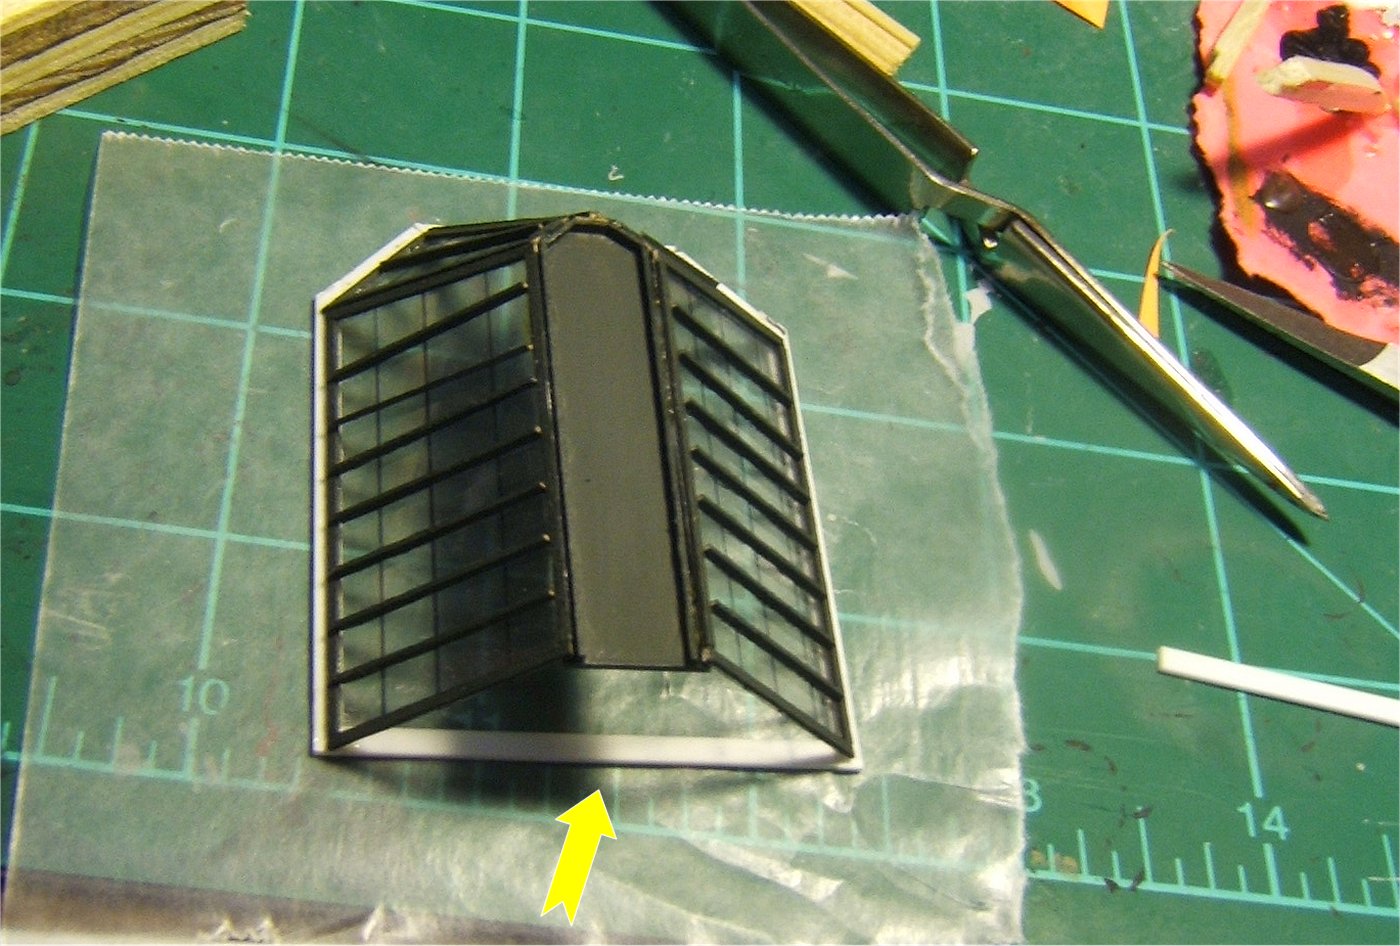
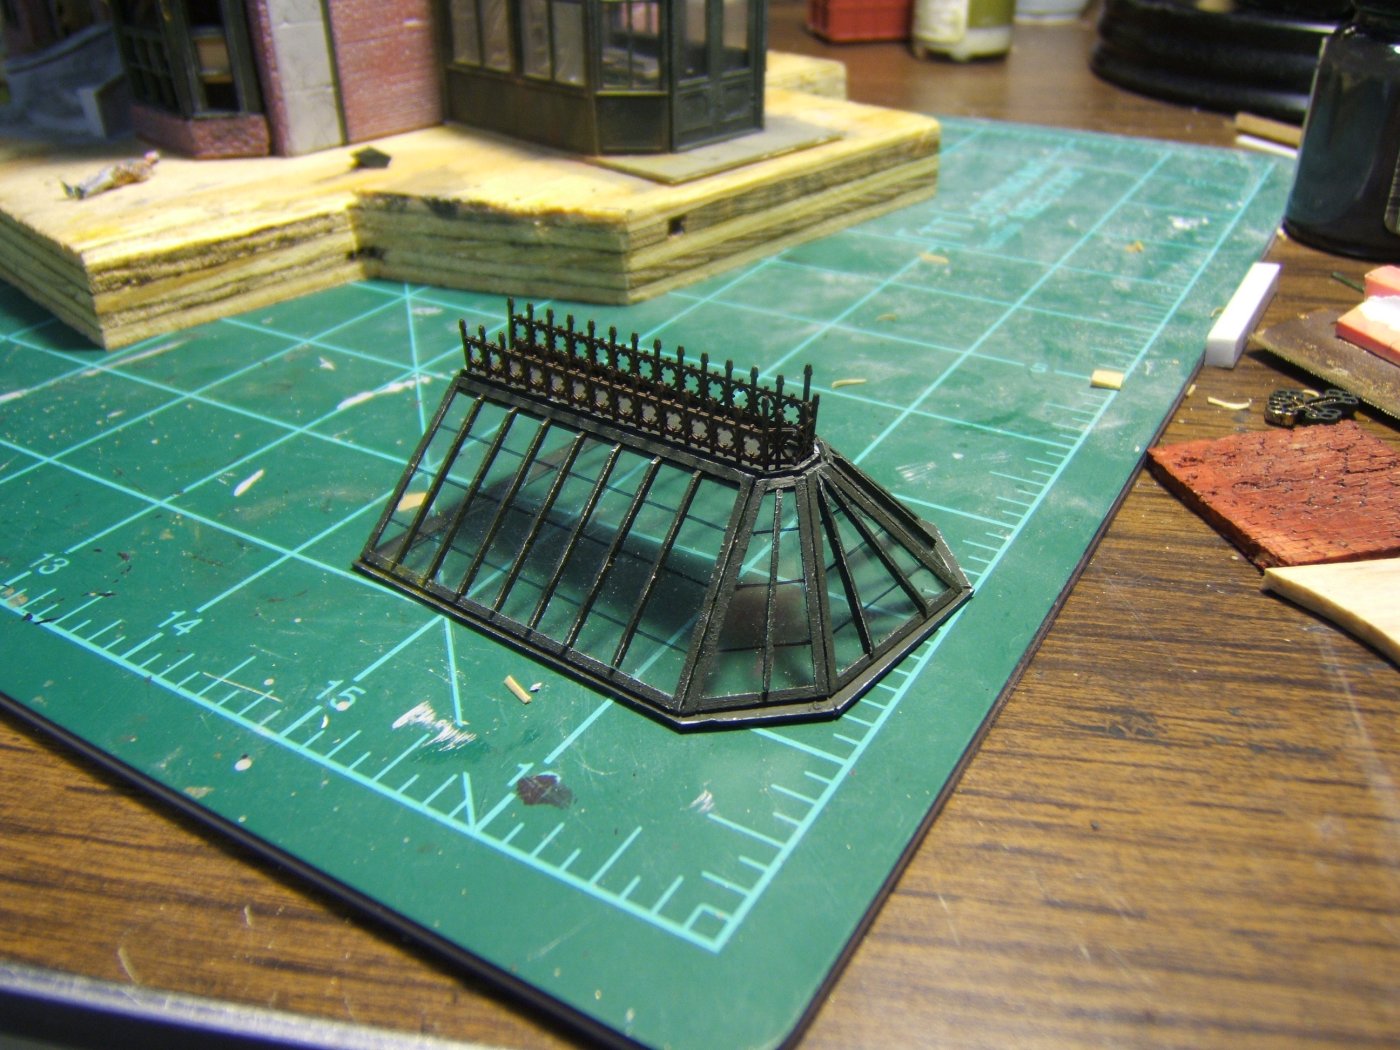
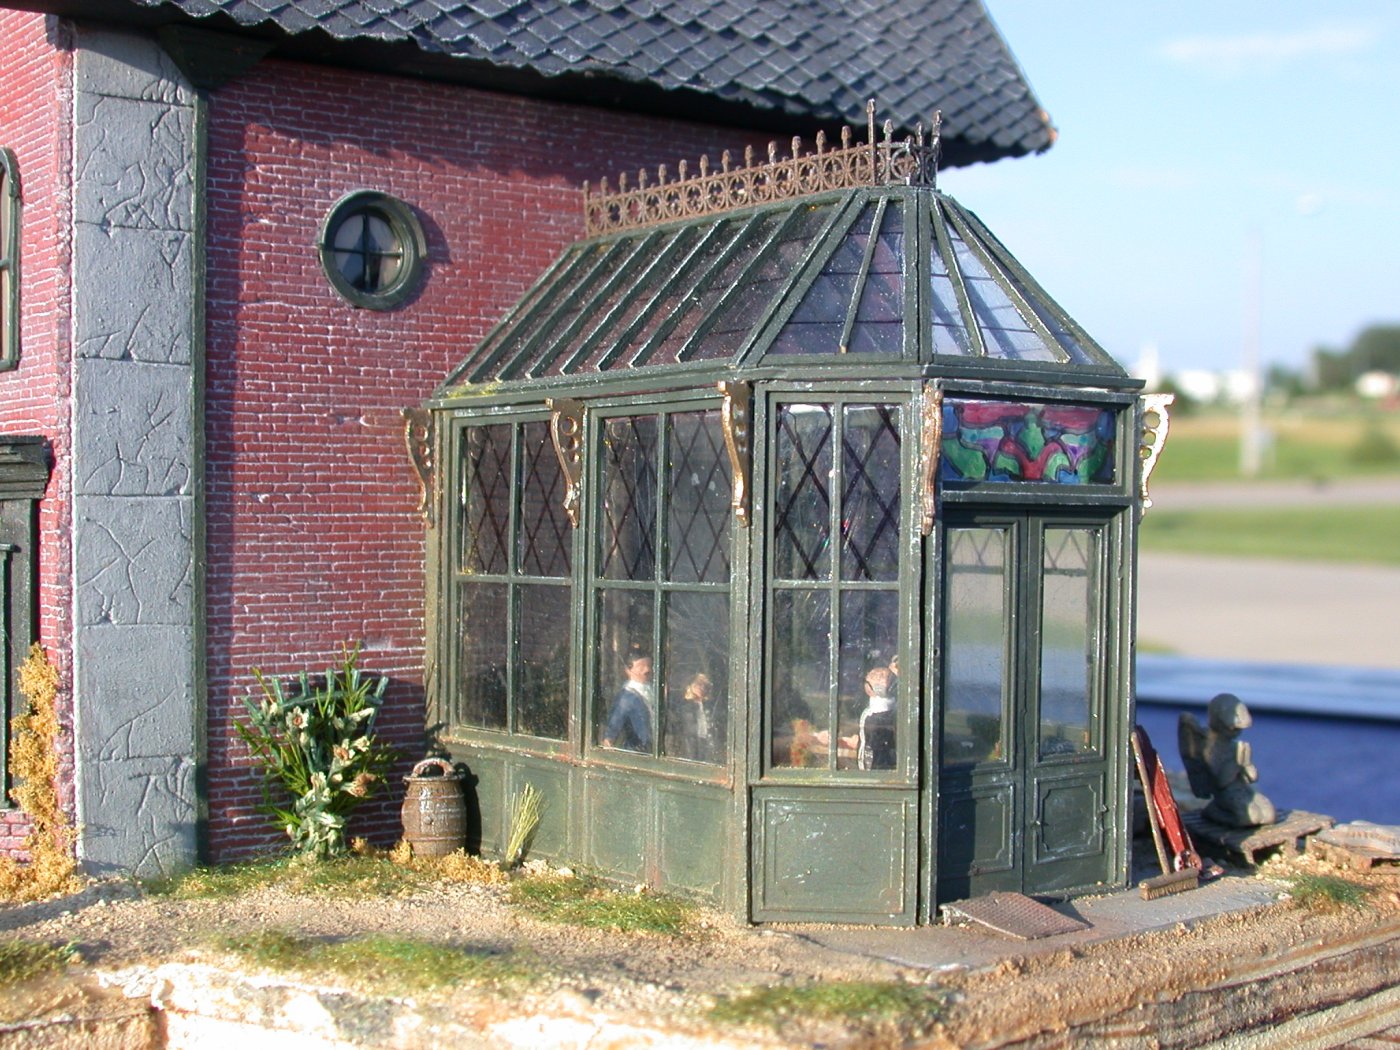
My original plan called for a peaked roof like this (above), but I ended up thinking that it looked better flat - with the railings.
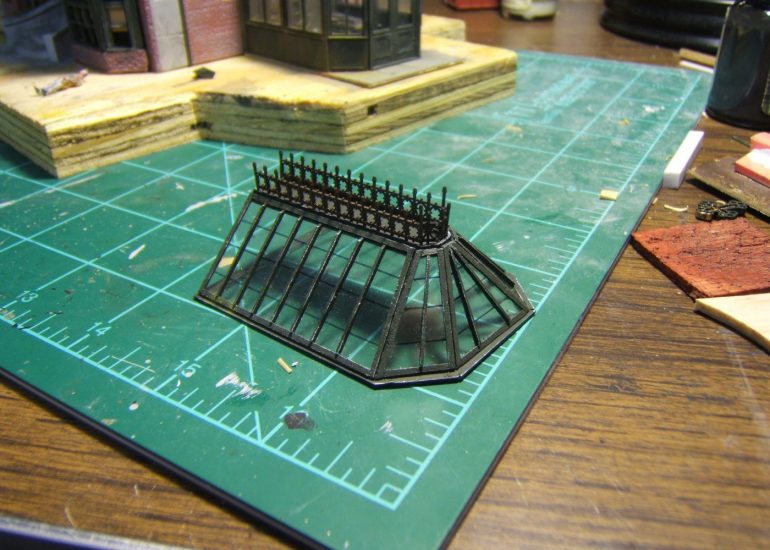
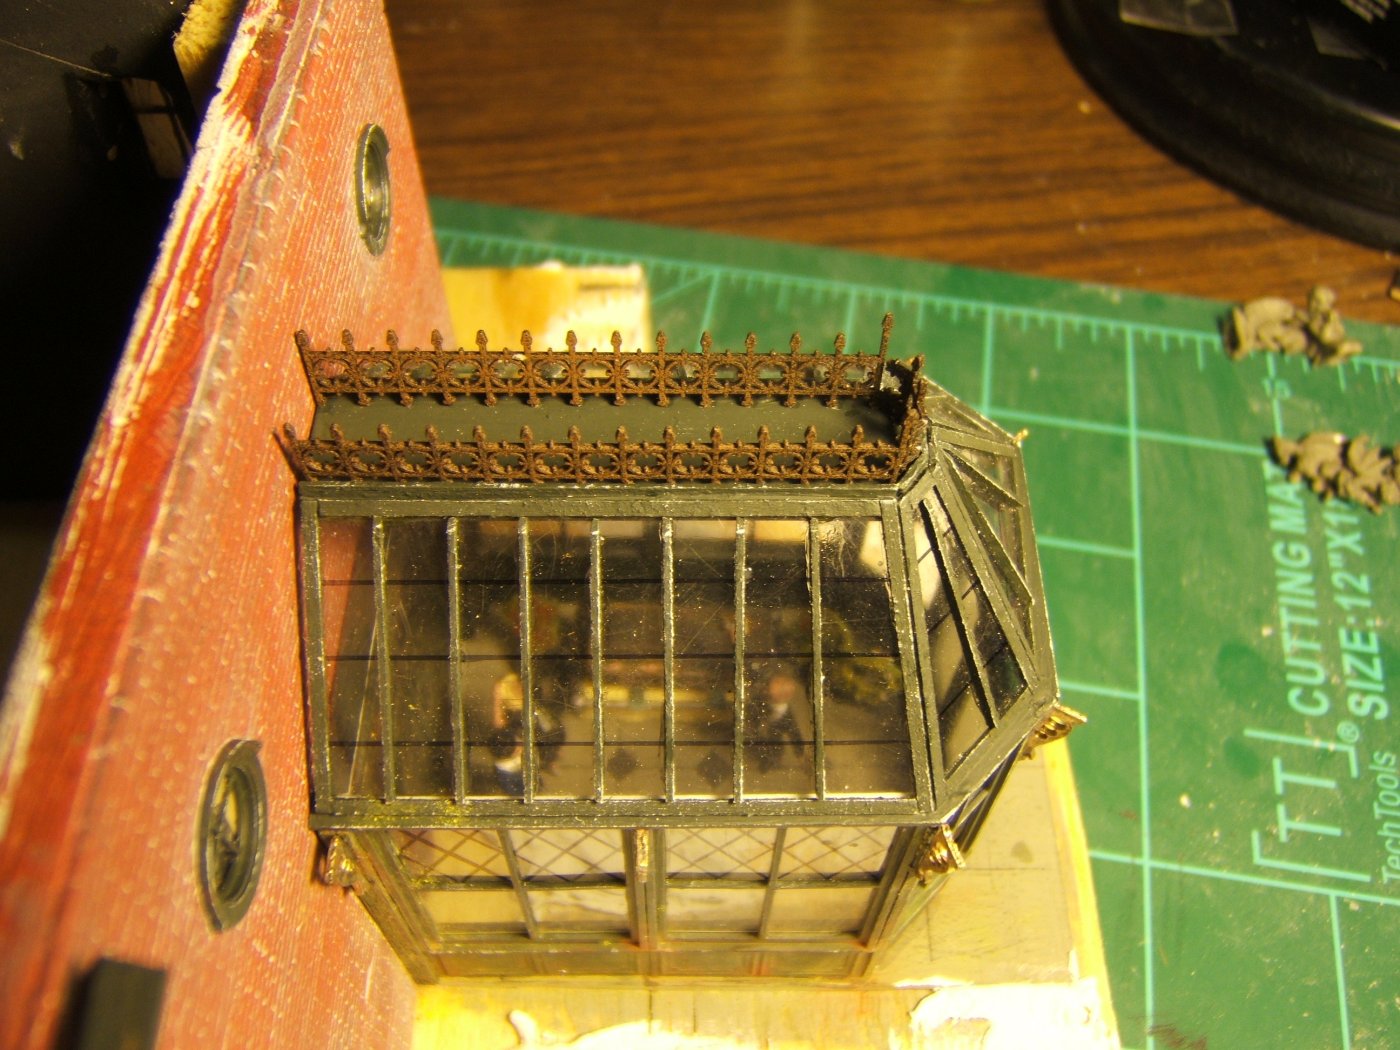
The groove created by the fame on the skinny rooftop and the windows leaning up was the perfect place to put railings. I then dry brushed it all and angled the tops of the window pieces.
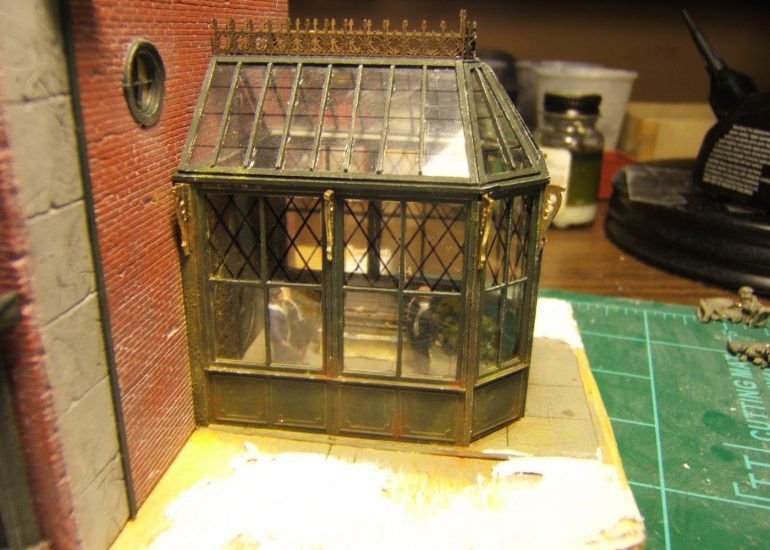
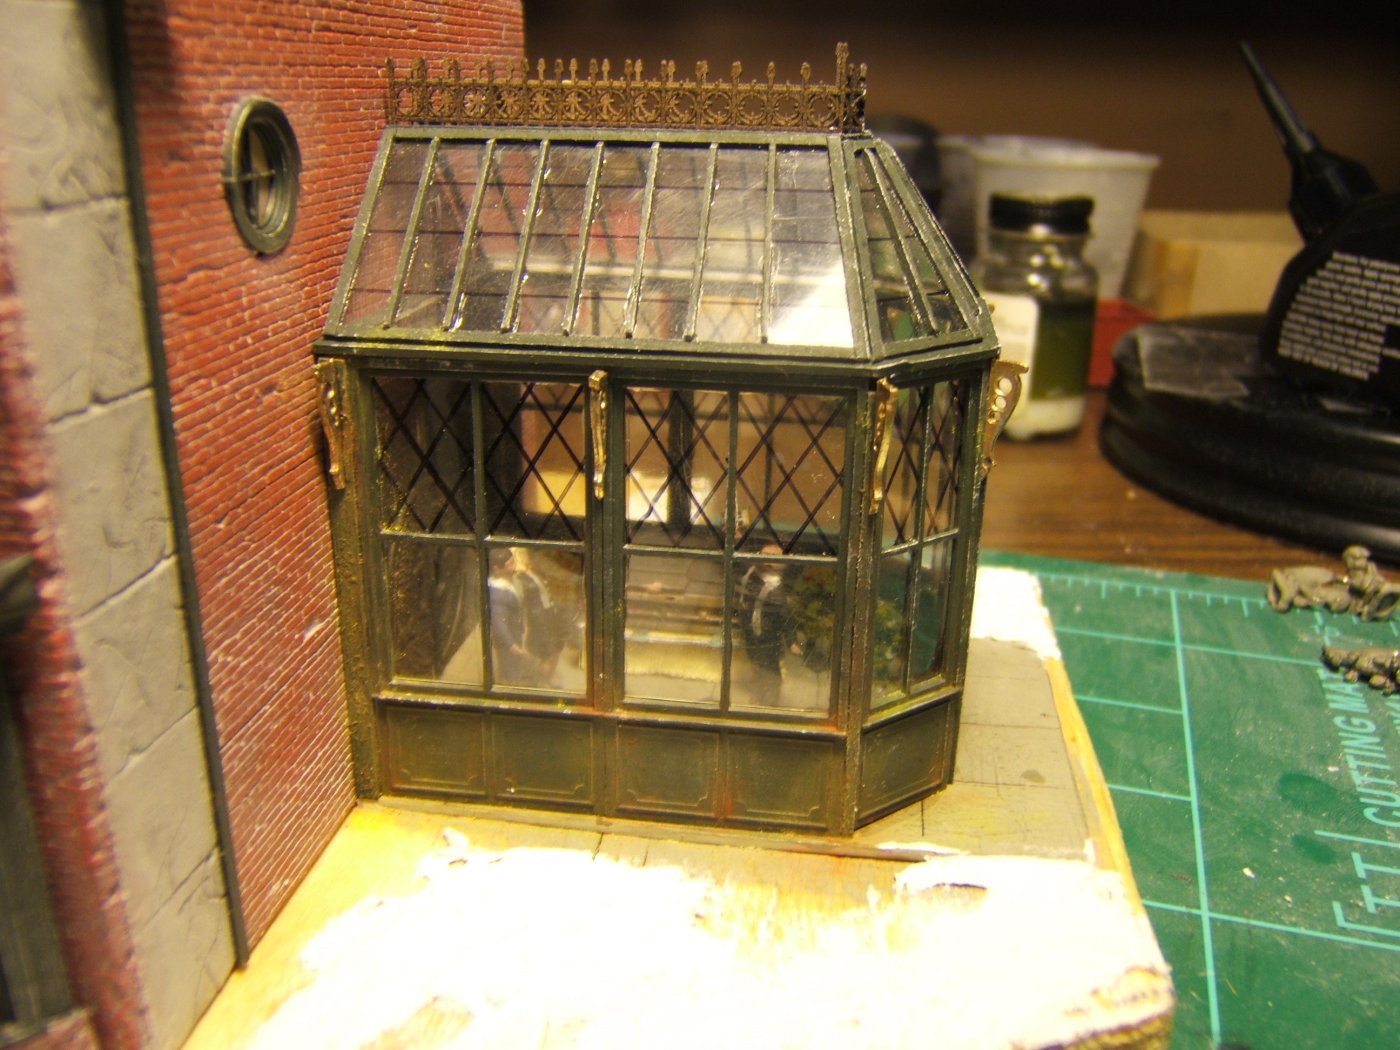
Here chalk weathering has been added. So have the corbels. I used light green and yellow chalks to make the metal part look old and then added a little rust here and there.
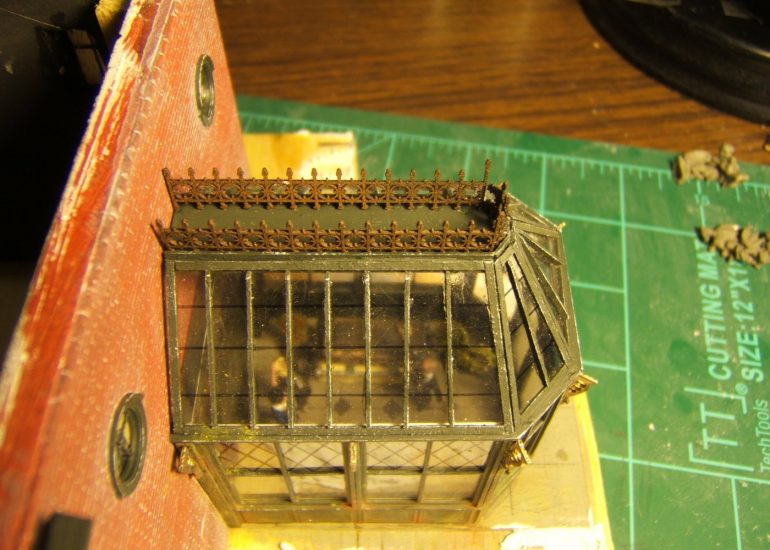
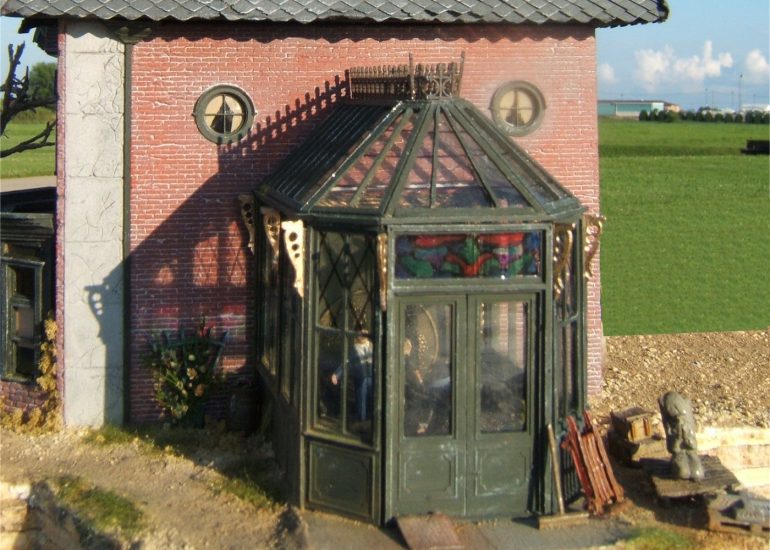
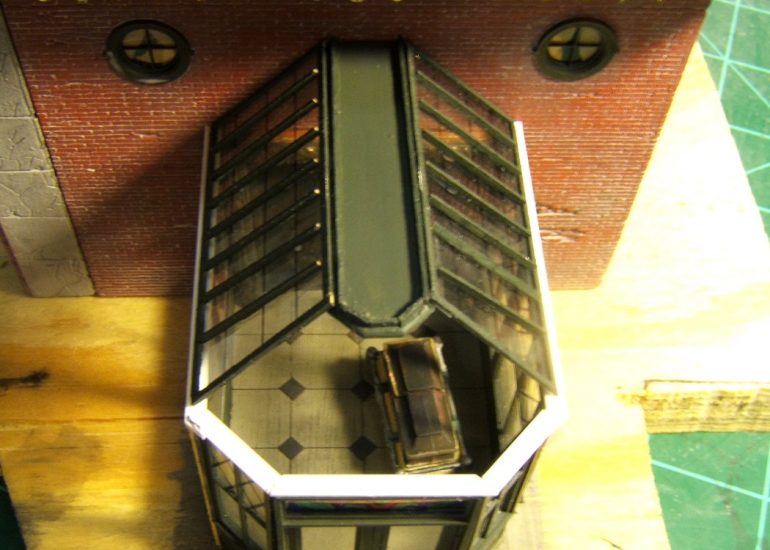
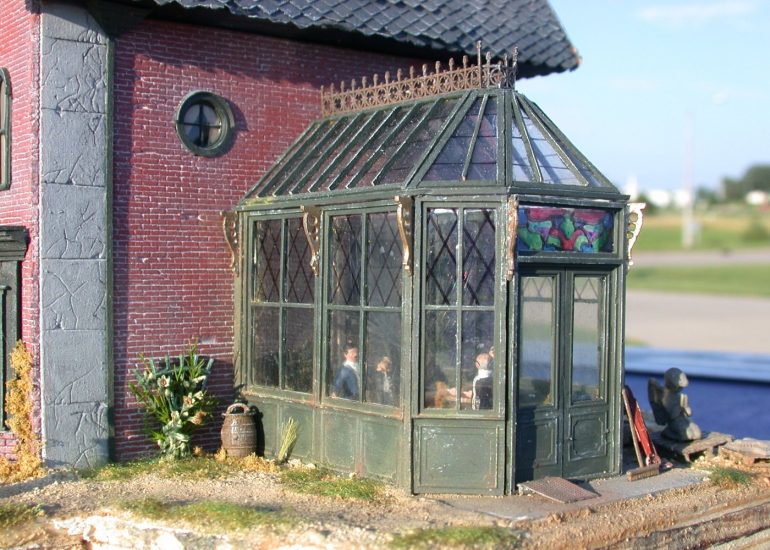
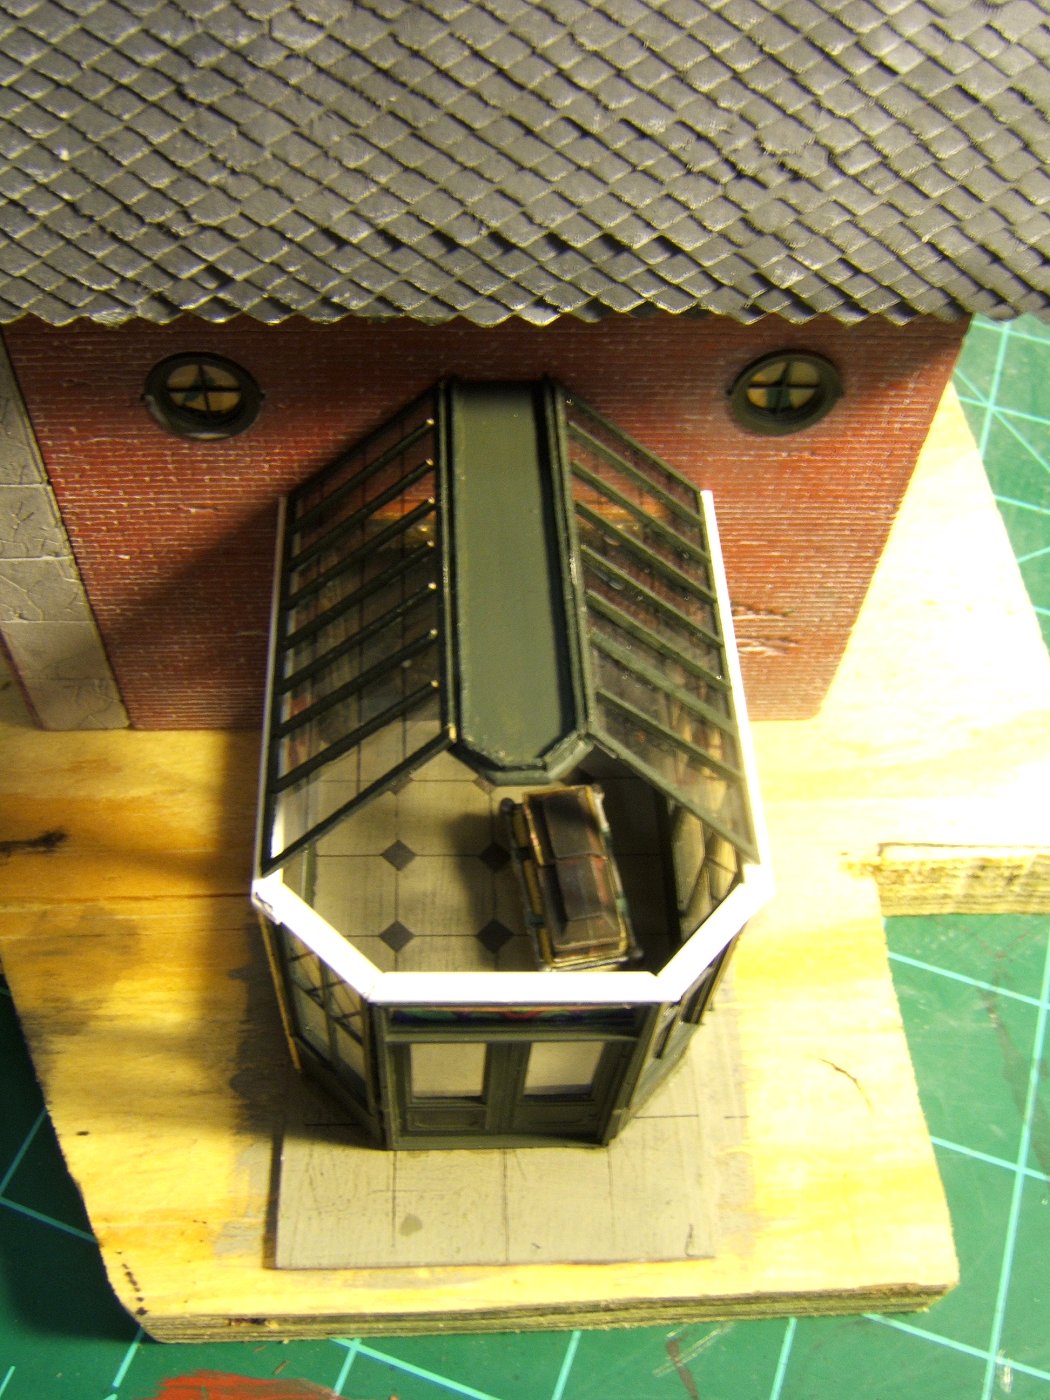
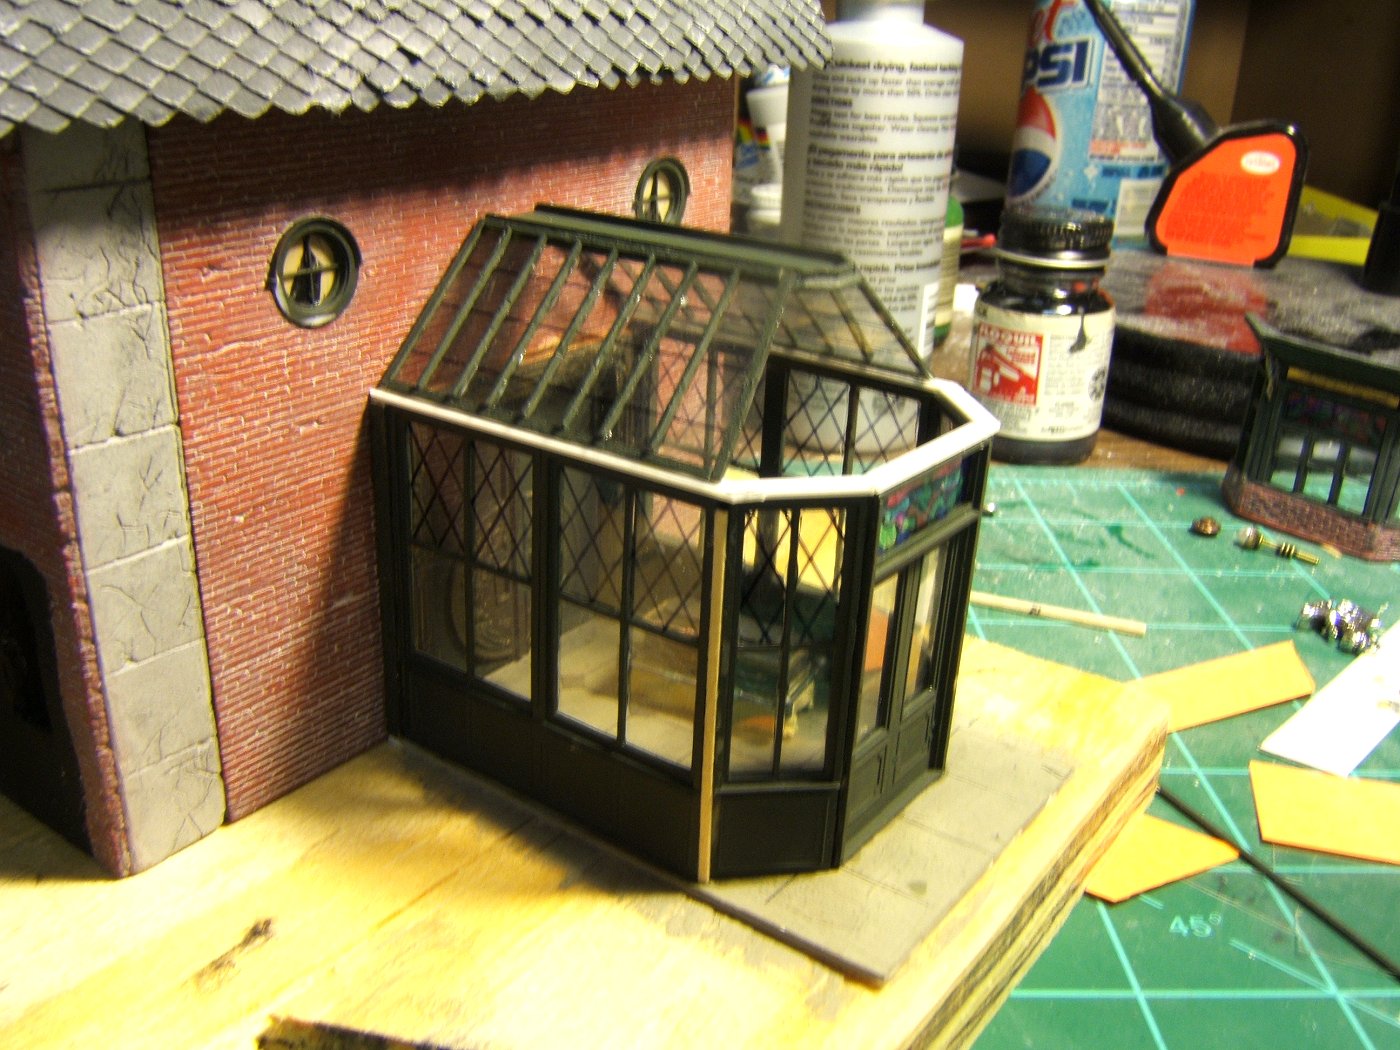
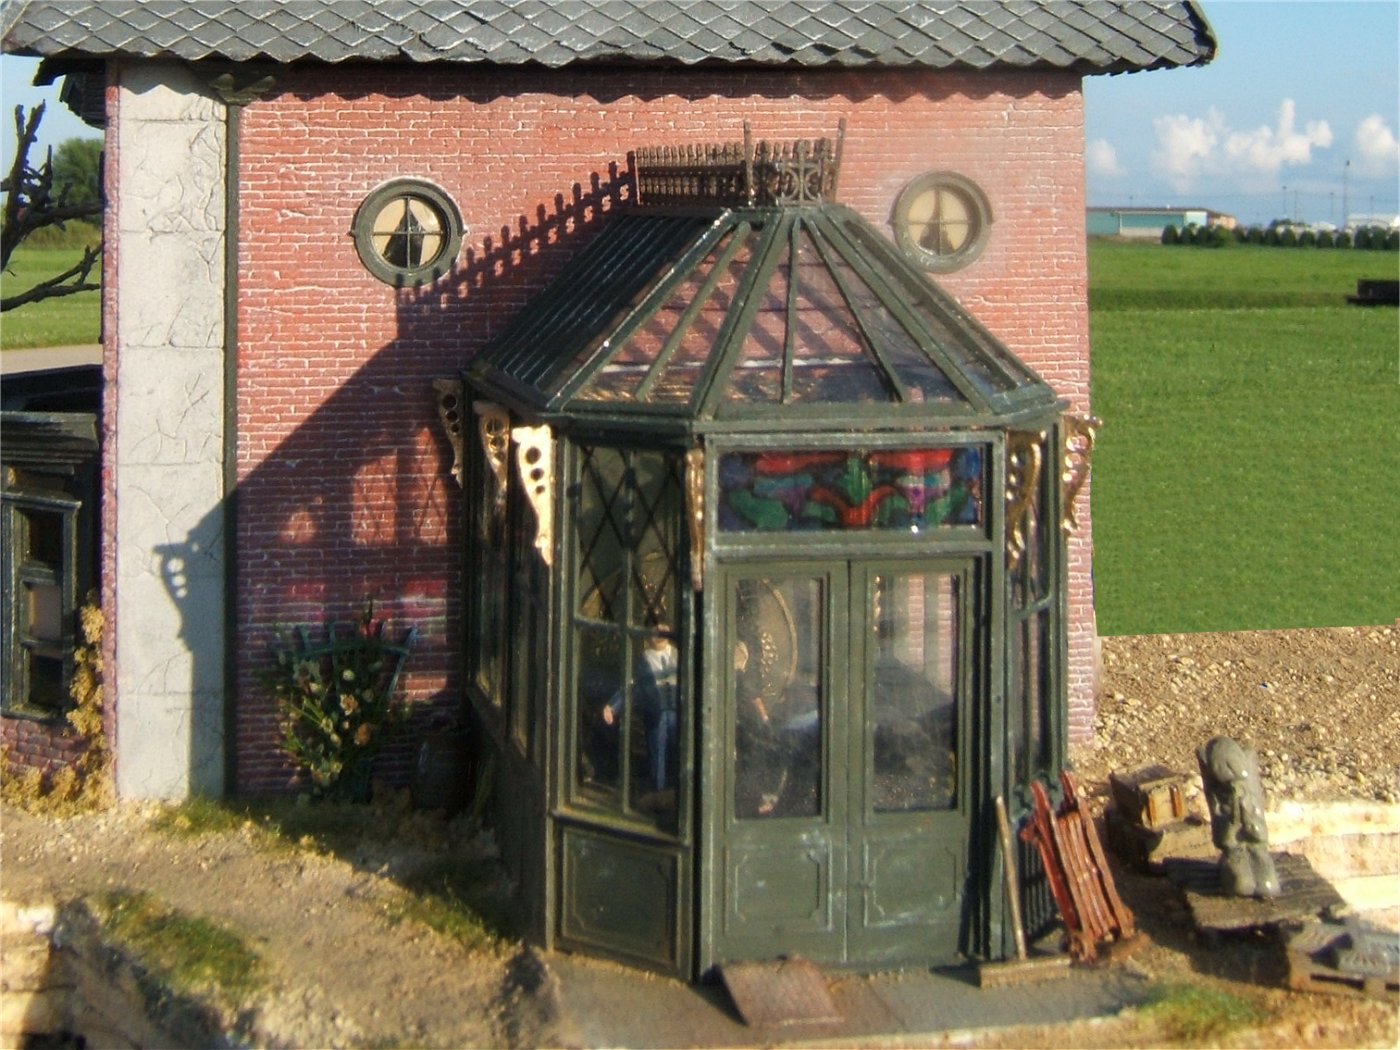
The stained glass really looks great outside. I'll have to add a light in the conservatory to illuminate it when it goes back inside.

With the roof removed you can see the visitation going on. The wreaths of flowers were made from strip wood and paper and ground foam with little flowers added. Well, I hope you liked this part - it was fin to make - albeit a little bit tedious! Now....