
Grimm's Build: The electronics!
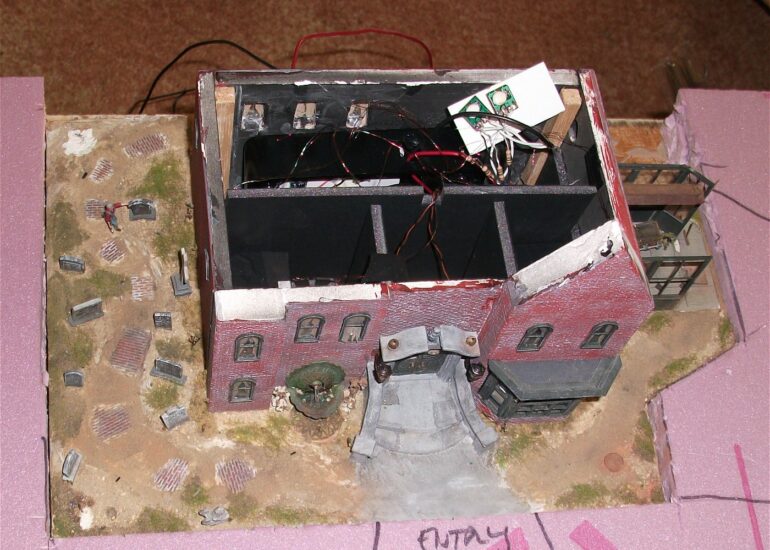
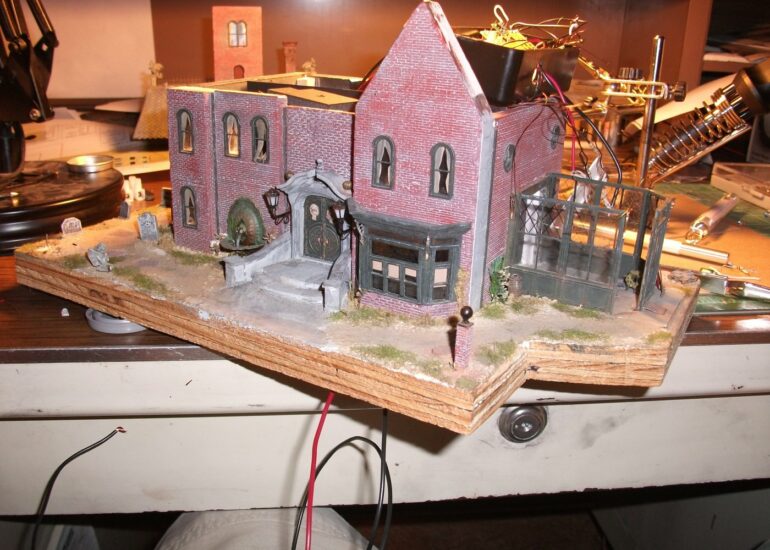
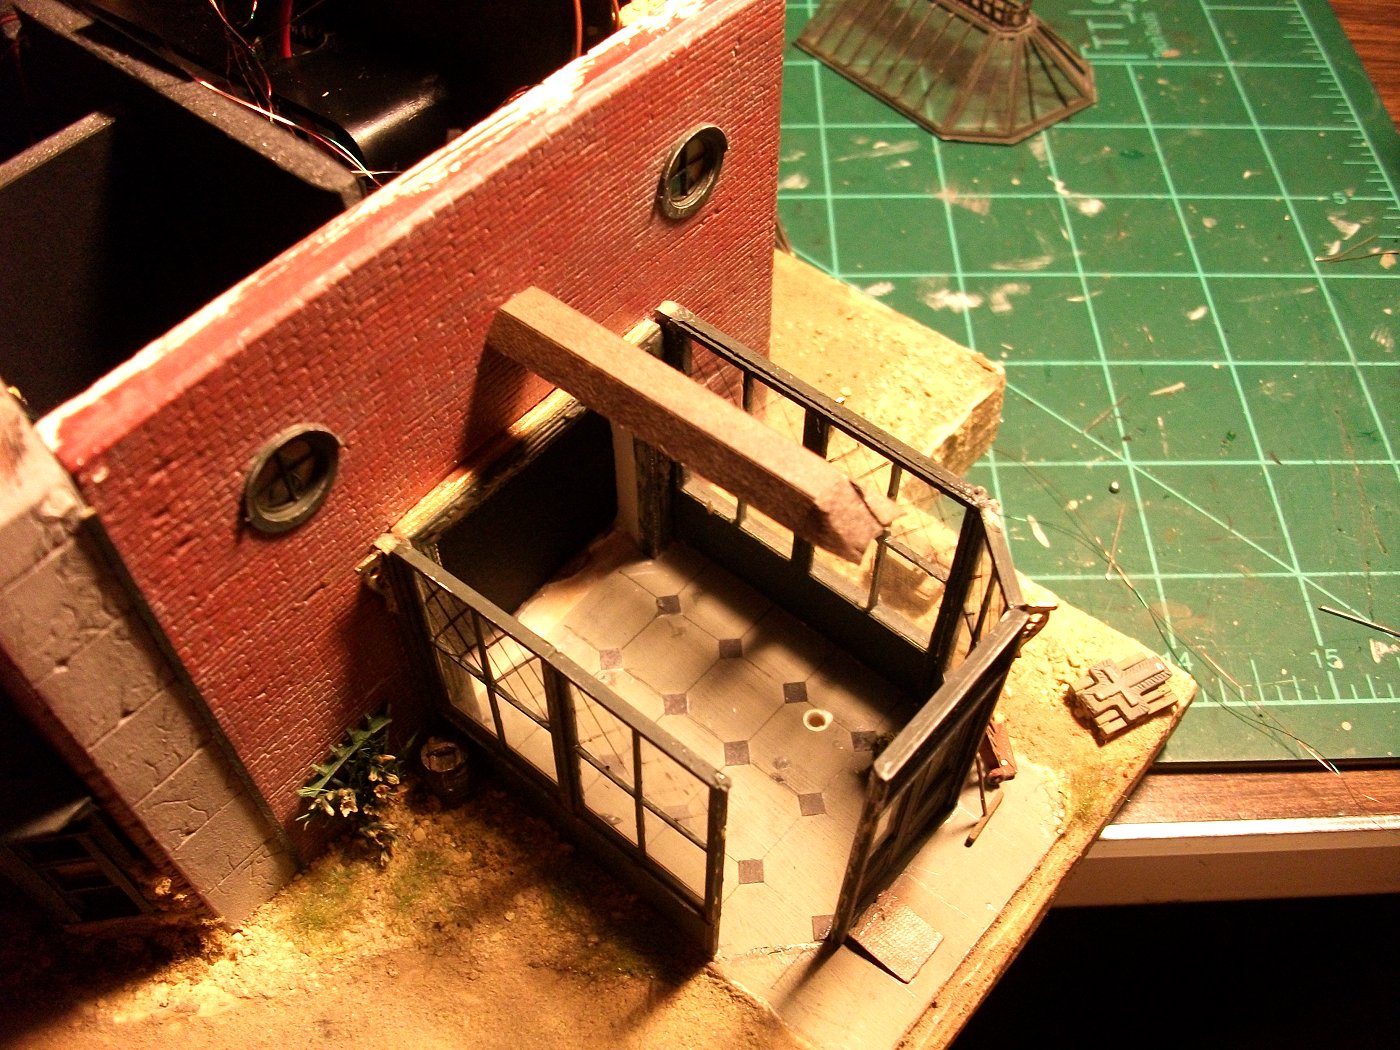
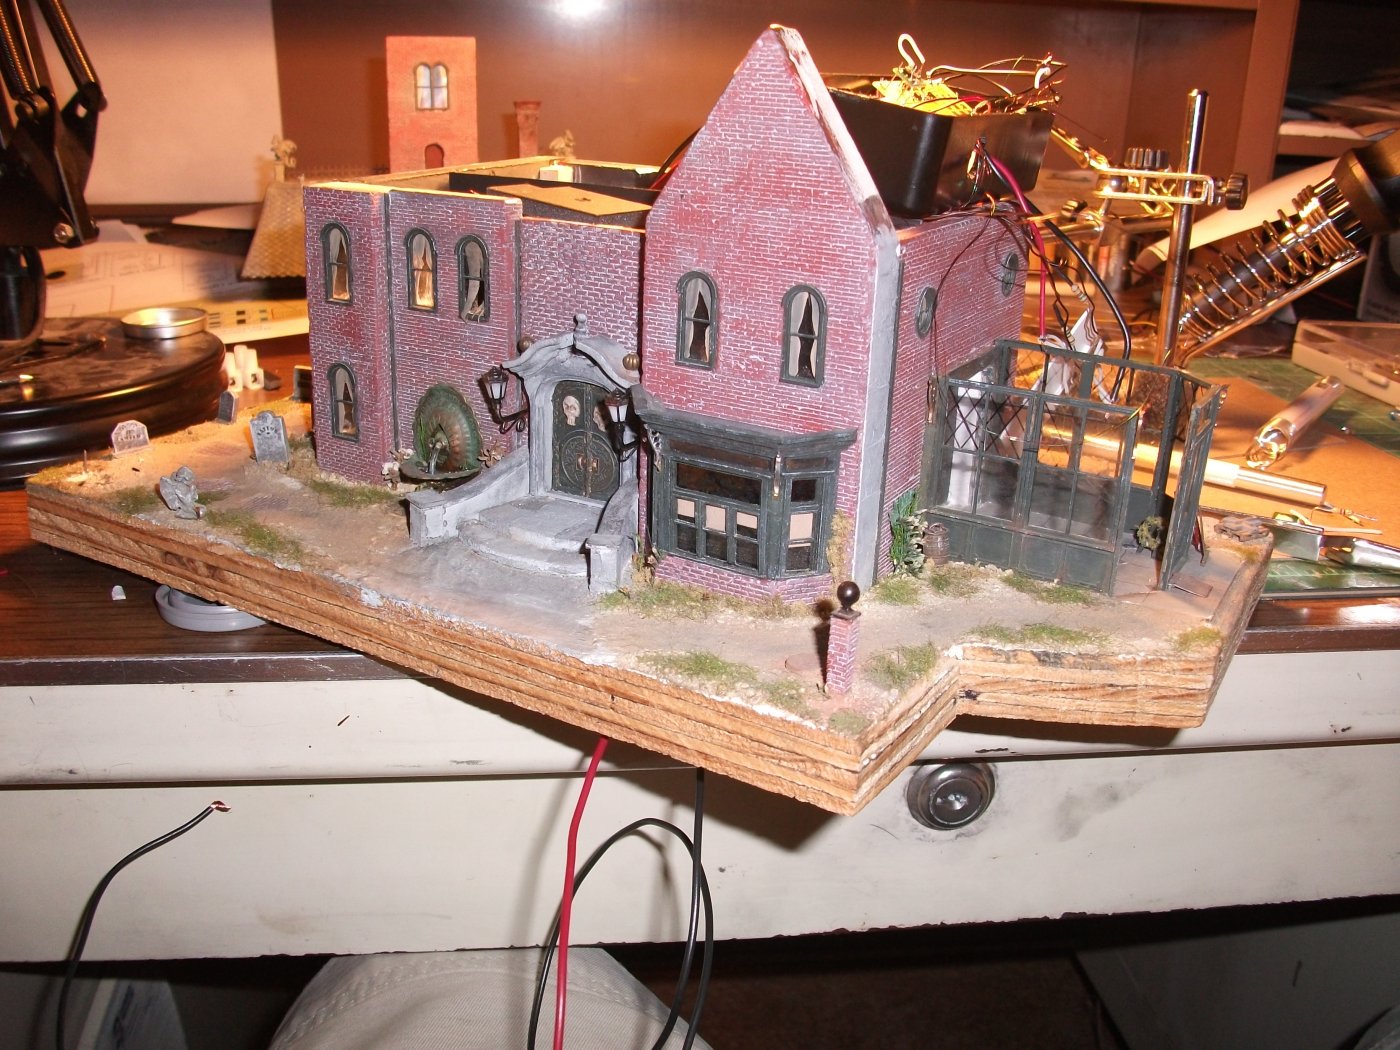
I knew from the beginning that Grimm's needed lighting. I hadn't done an involved wiring project like this before and I decided to use Ngineering's great slate of lighting effects products. Tim at Ngineering gave me some great help in determining how to integrate his products and we worked up the following wiring diagram together. The house lights all work off a single 12v supply and the booster board and structure simulator enable each "room" to randomly turn on and off. I used an arc sim and and a gas sim for two of the rooms. The arc sim flashes between two different color LED's and the gas sim slowly fades in and out. With those cool rooms ready, I added a few other "normal" lights to other rooms, using a flicker circuit I put together from cheap LED candles. The conservatory has a green coffin light and a room light that are always on.
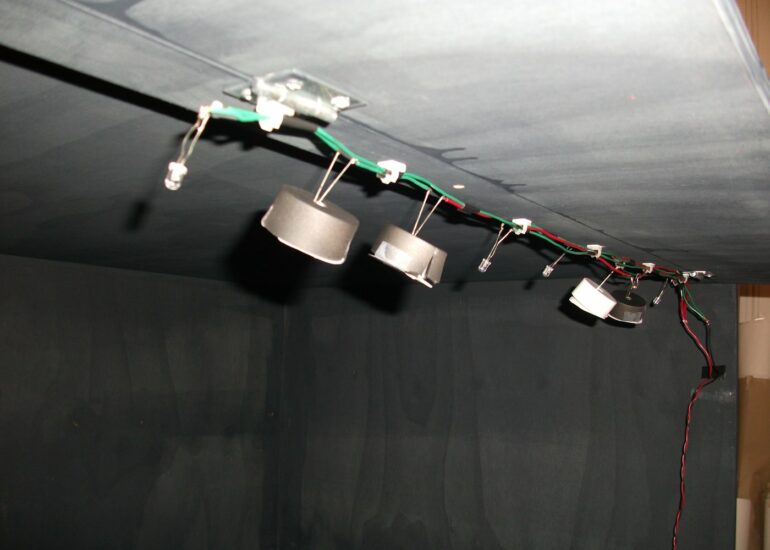
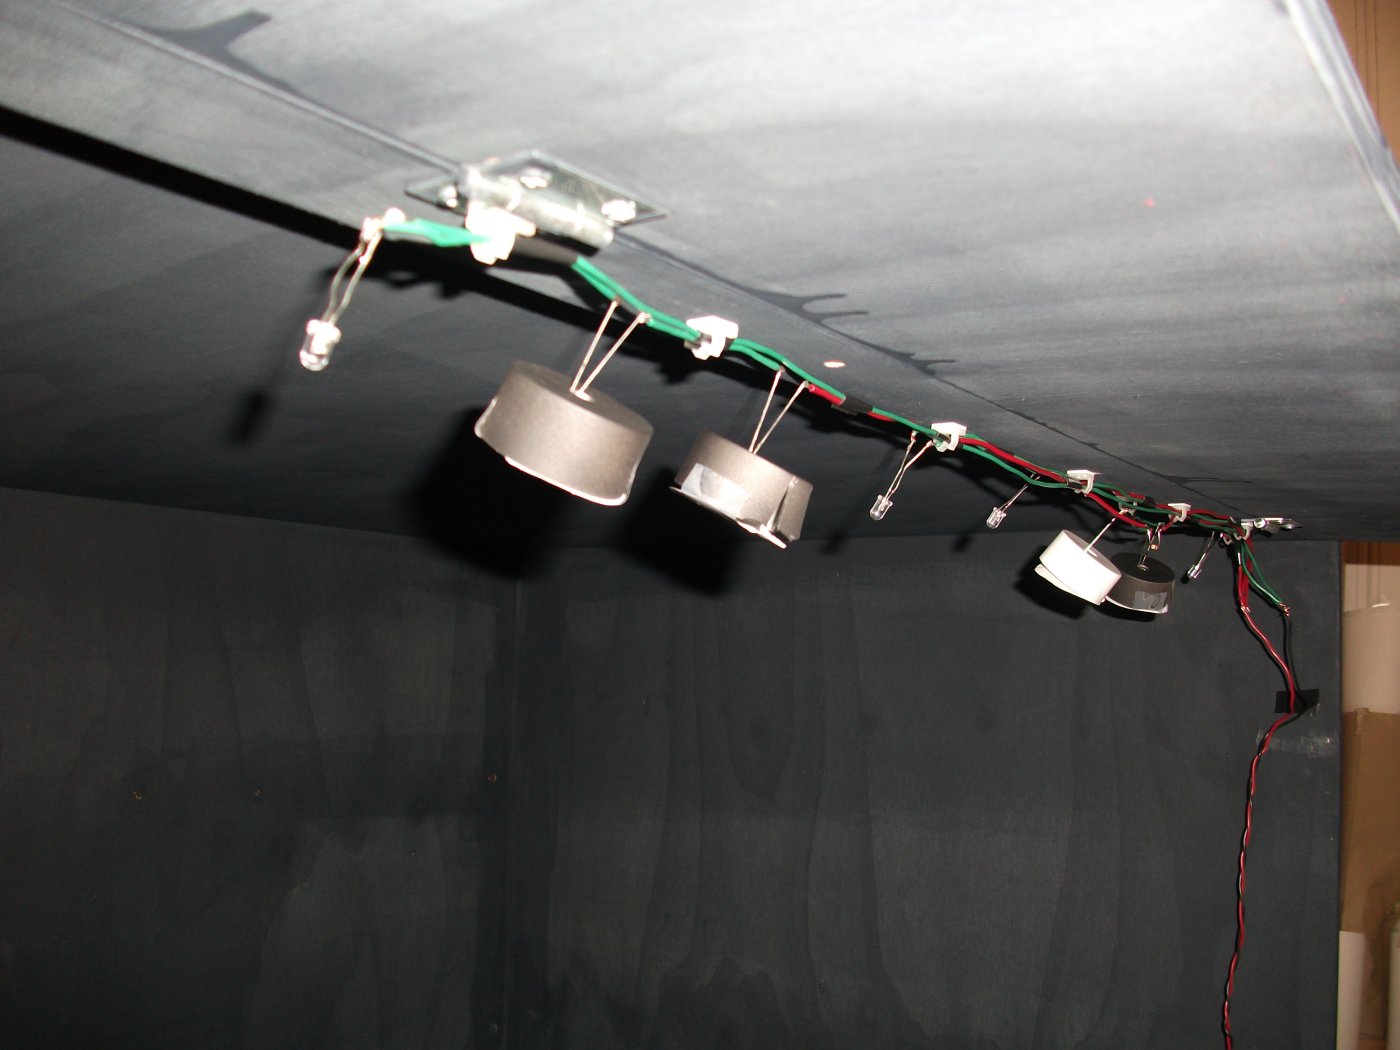
As far as the entire scene goes; I wanted to model a spooky night with an ongoing thunderstorm. For lighting, I made up a separate wiring schematic (shown below) that controls a row of "stage lights" that are hidden up in the valance. The stage lights are a combination of white, blue and UV LED's and the output and focus of each light is governed by home-made "hoods". As for the thunderstorm, that was more involved. At the time there were no commercially available "thunder and lightning in a box" solutions available. Being a big Halloween prop guy I turned to that community for ideas. And I found pieces of what I needed here and there. In the end my solution involved adding a three piece speaker system for sound, which is run from a tiny MP3 player. It plays a custom storm track that I put together from various real-life recordings. The audio output then goes into an old Christmas tree FX box (designed to make lights flash to your music). The box then drives a row of strobe LED's that mimic the lightning. It is amazing in person.
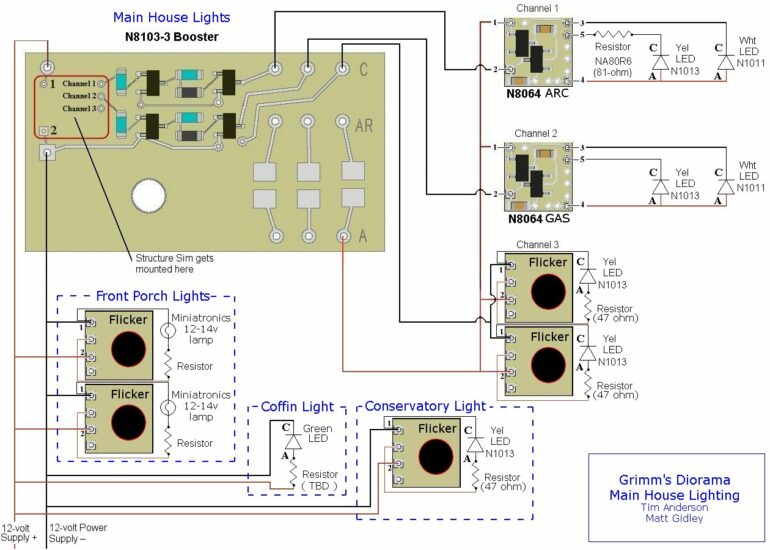
This is the schematic for the house itself. I used a lot of Ngineering products inside the house, so Tim was a great help in working out my schematic.
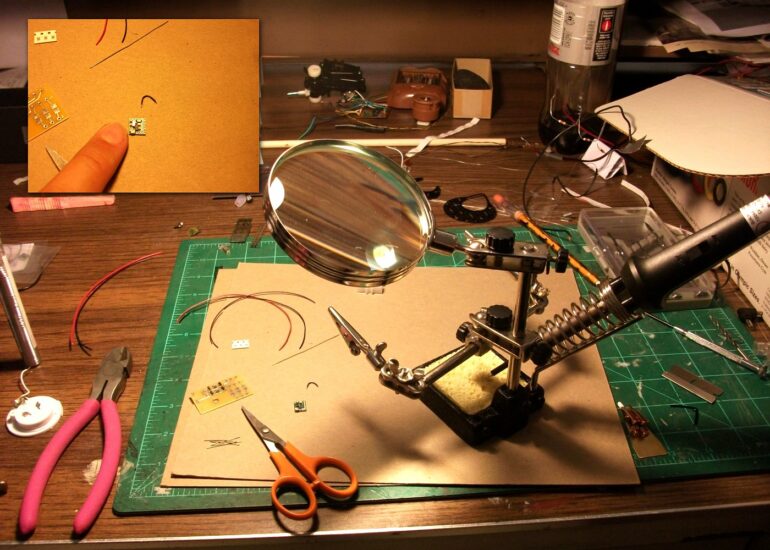
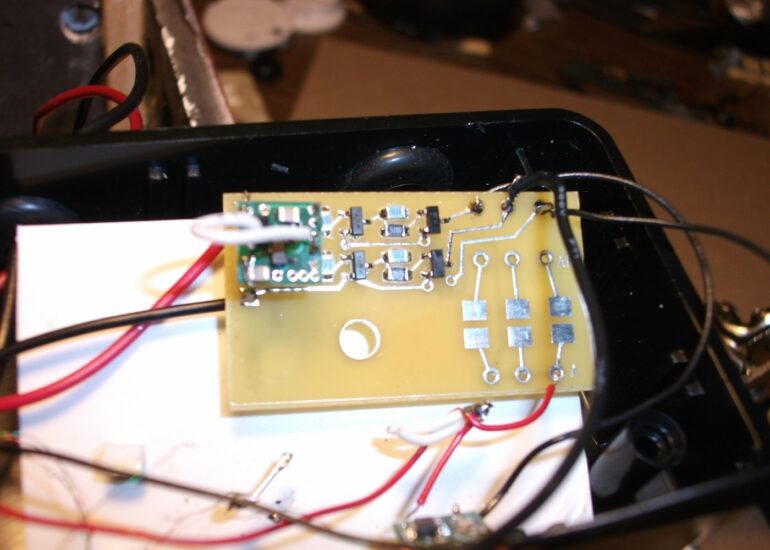
Working with the small boards and magnet wire and pico LED's was a real learning experience for me. Ngineering has some great learning articles though.
This is the main booster board. Once thing I wanted to add to all of the effects in the rooms was a random on/off effect.
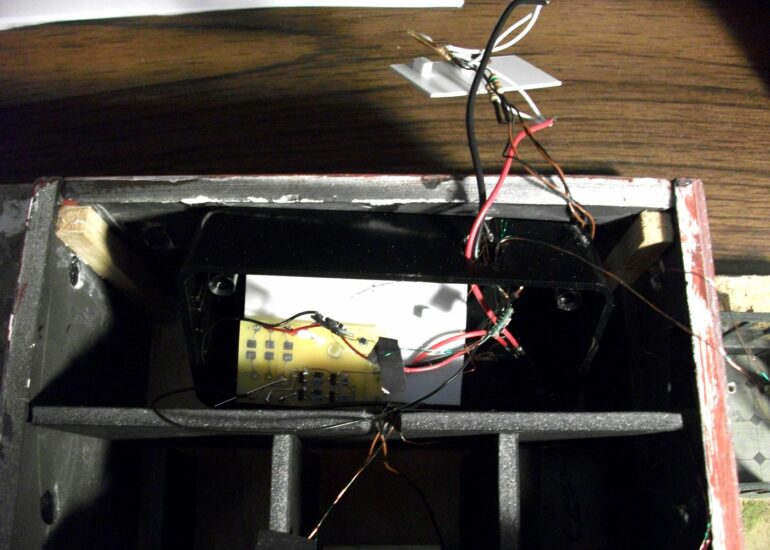
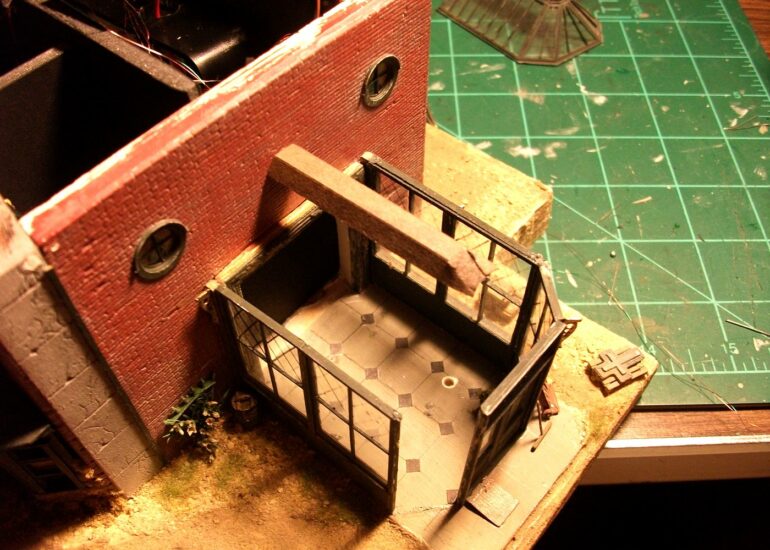
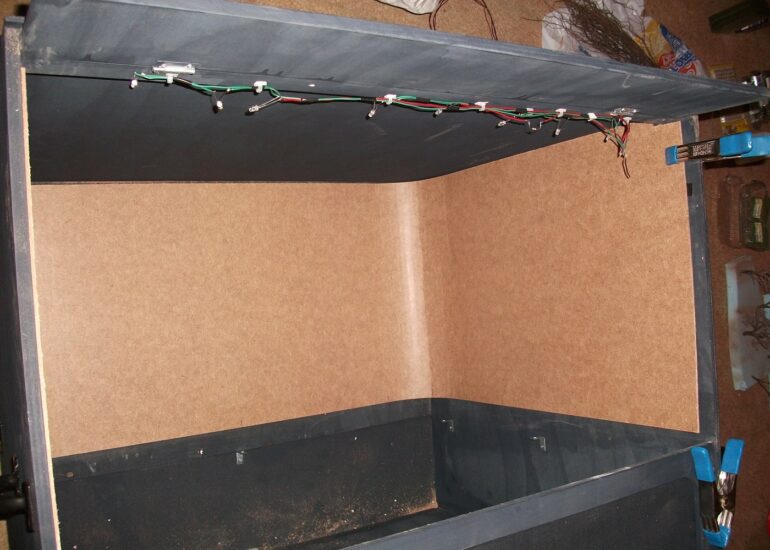
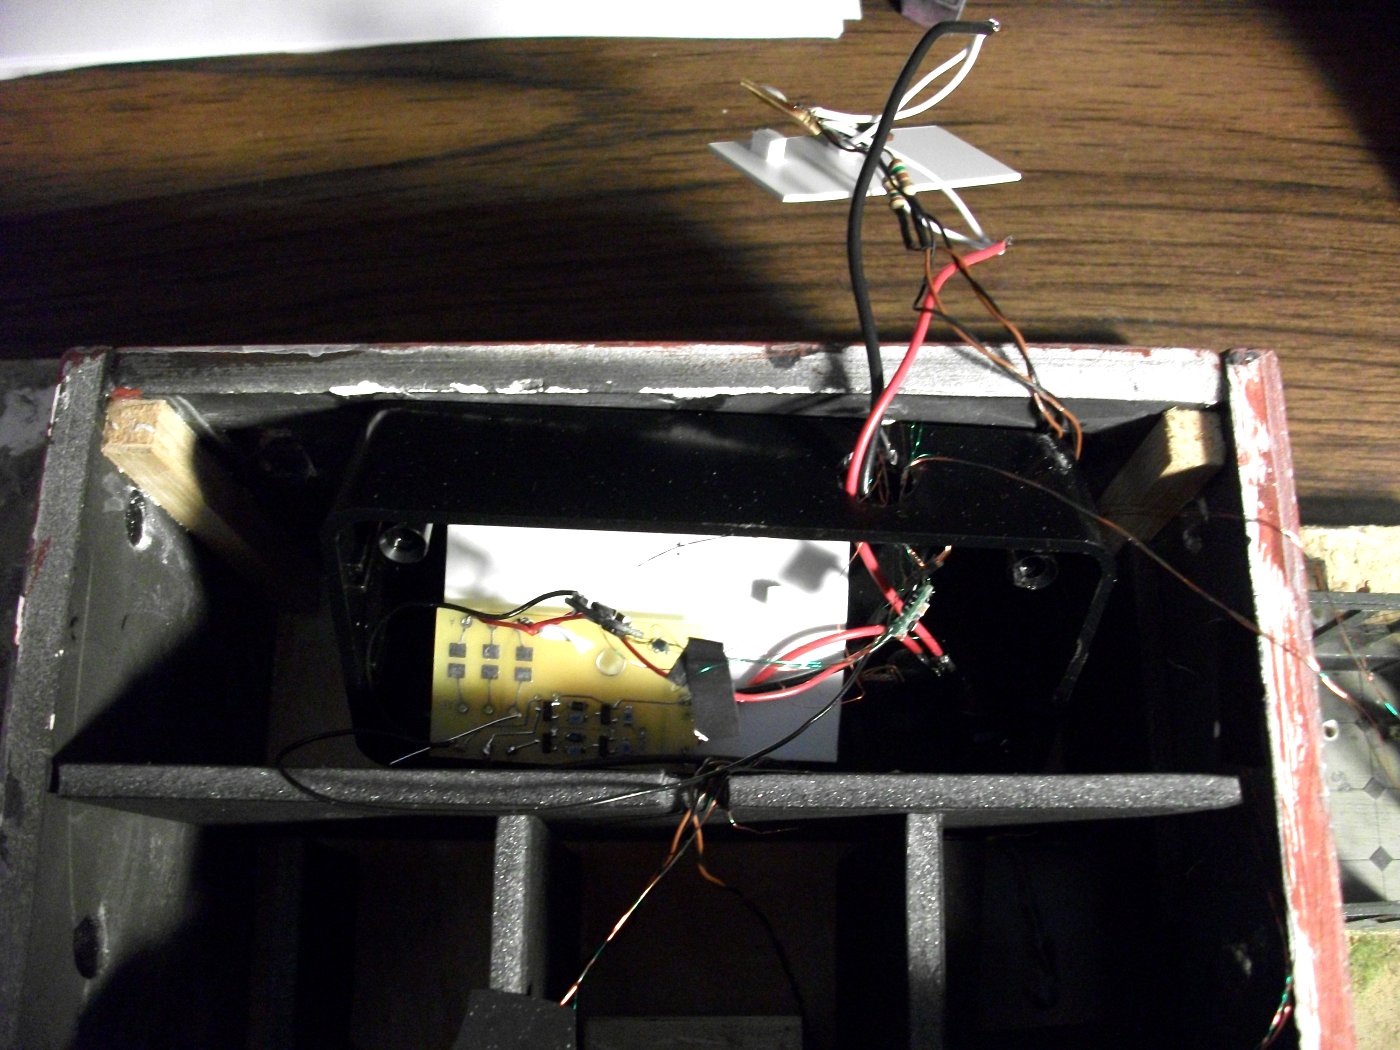
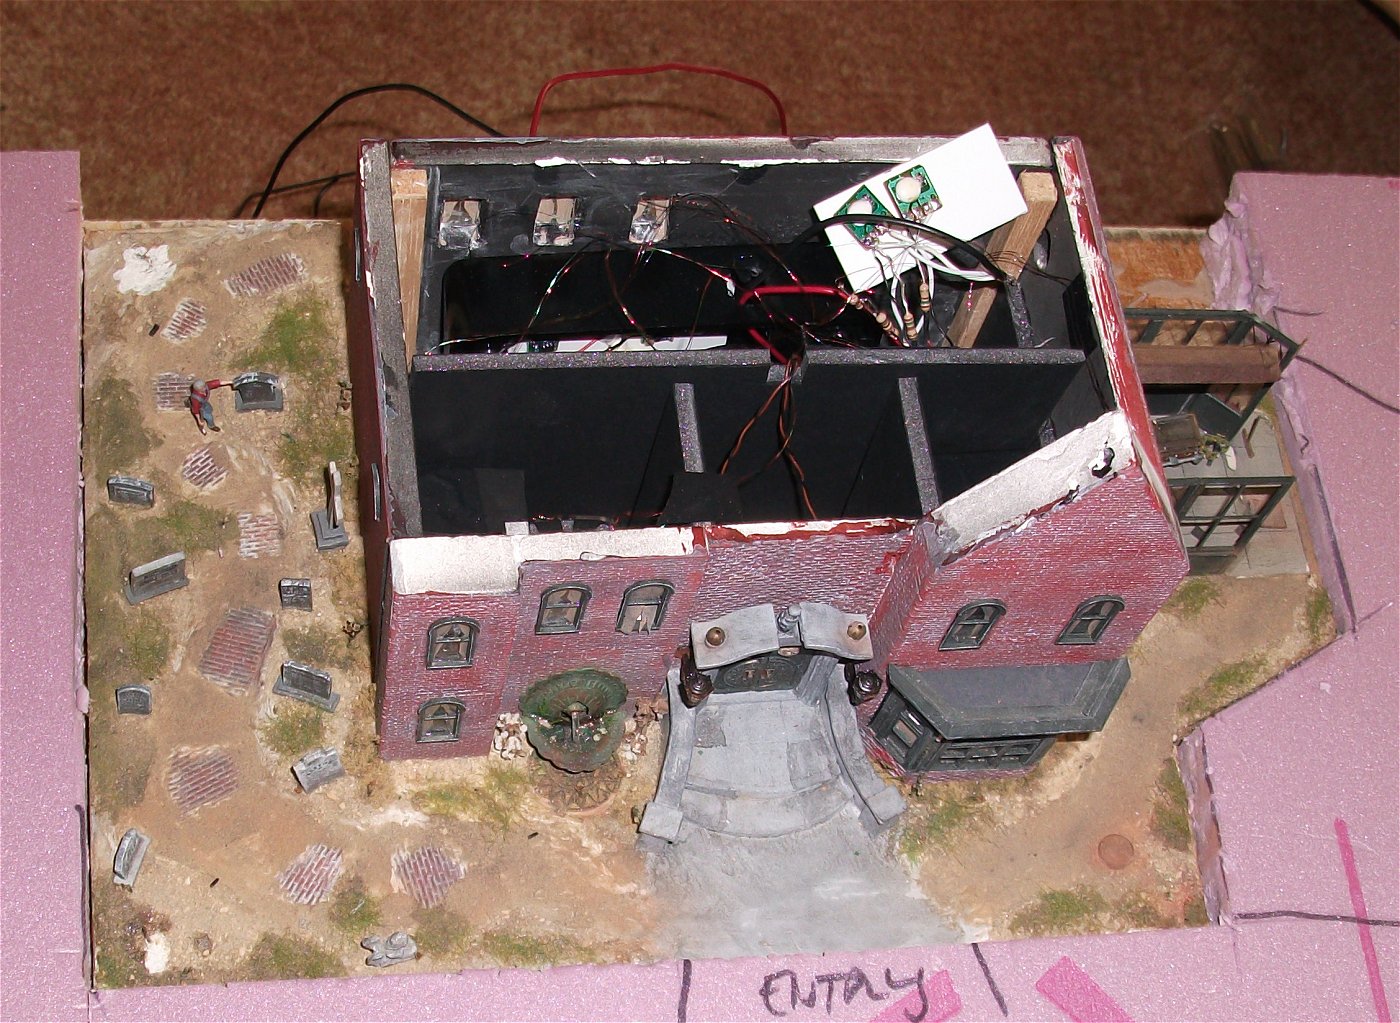
Here is most of the wiring getting tucked into the back of the house. Its way more crowded than I'd like.
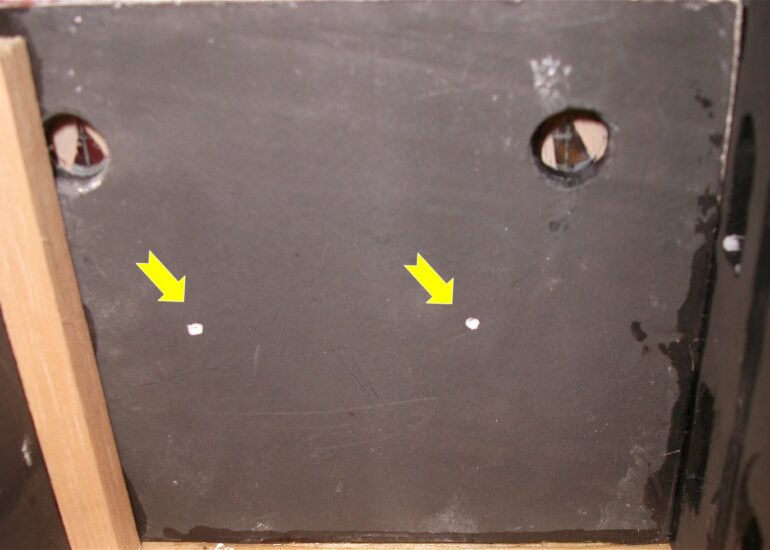
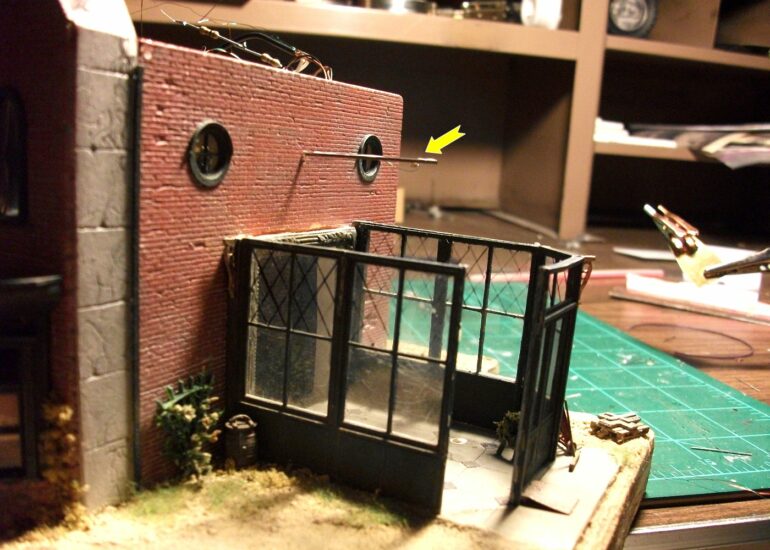
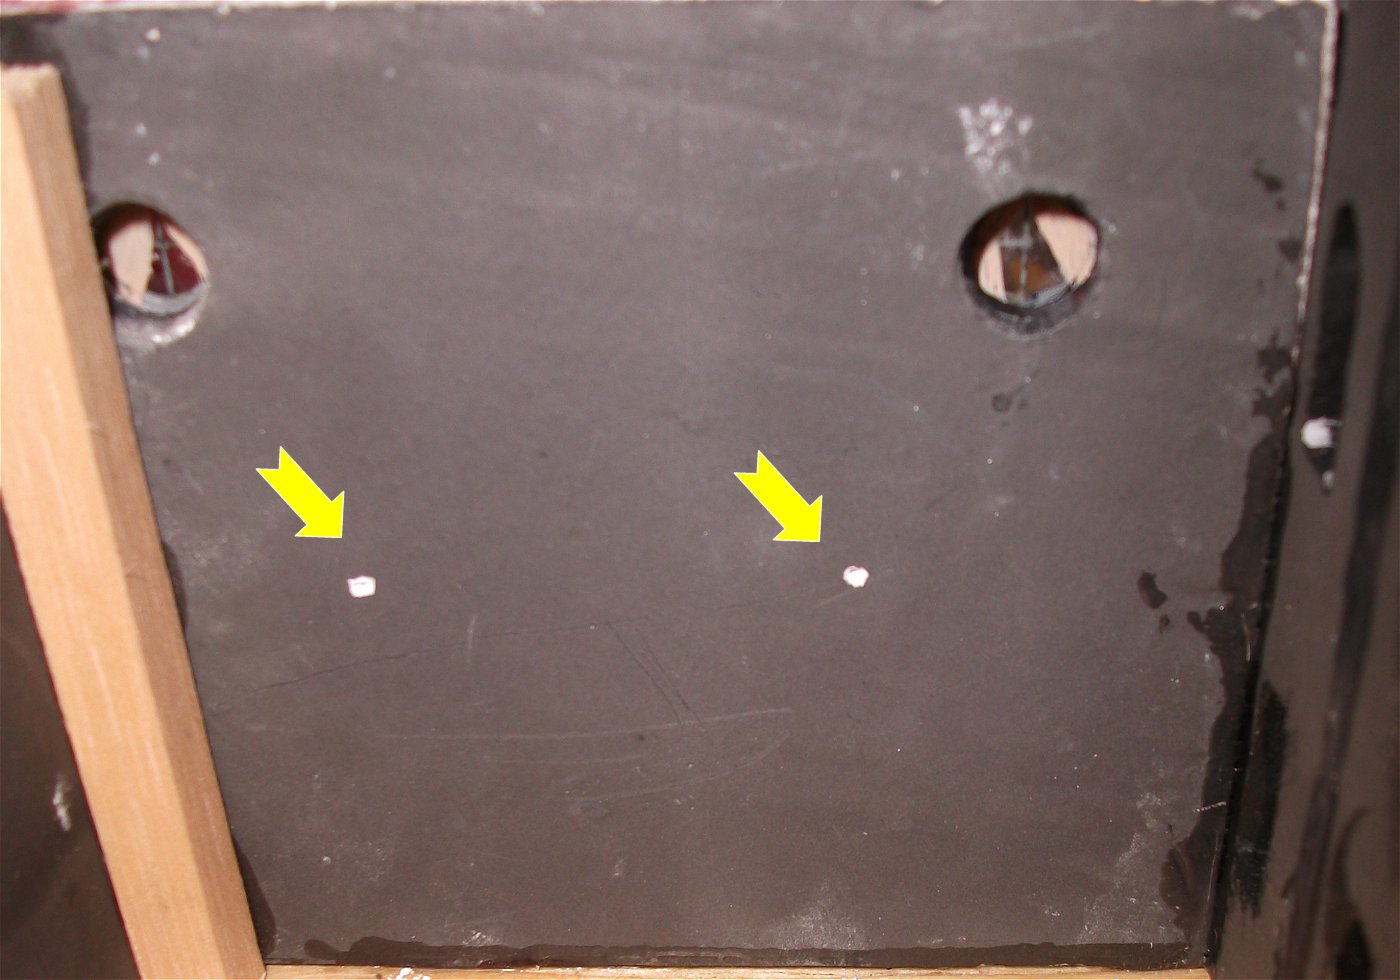
My memory fails me on why I had to cut the doors out. But, I did. Starting with these two drill holes.
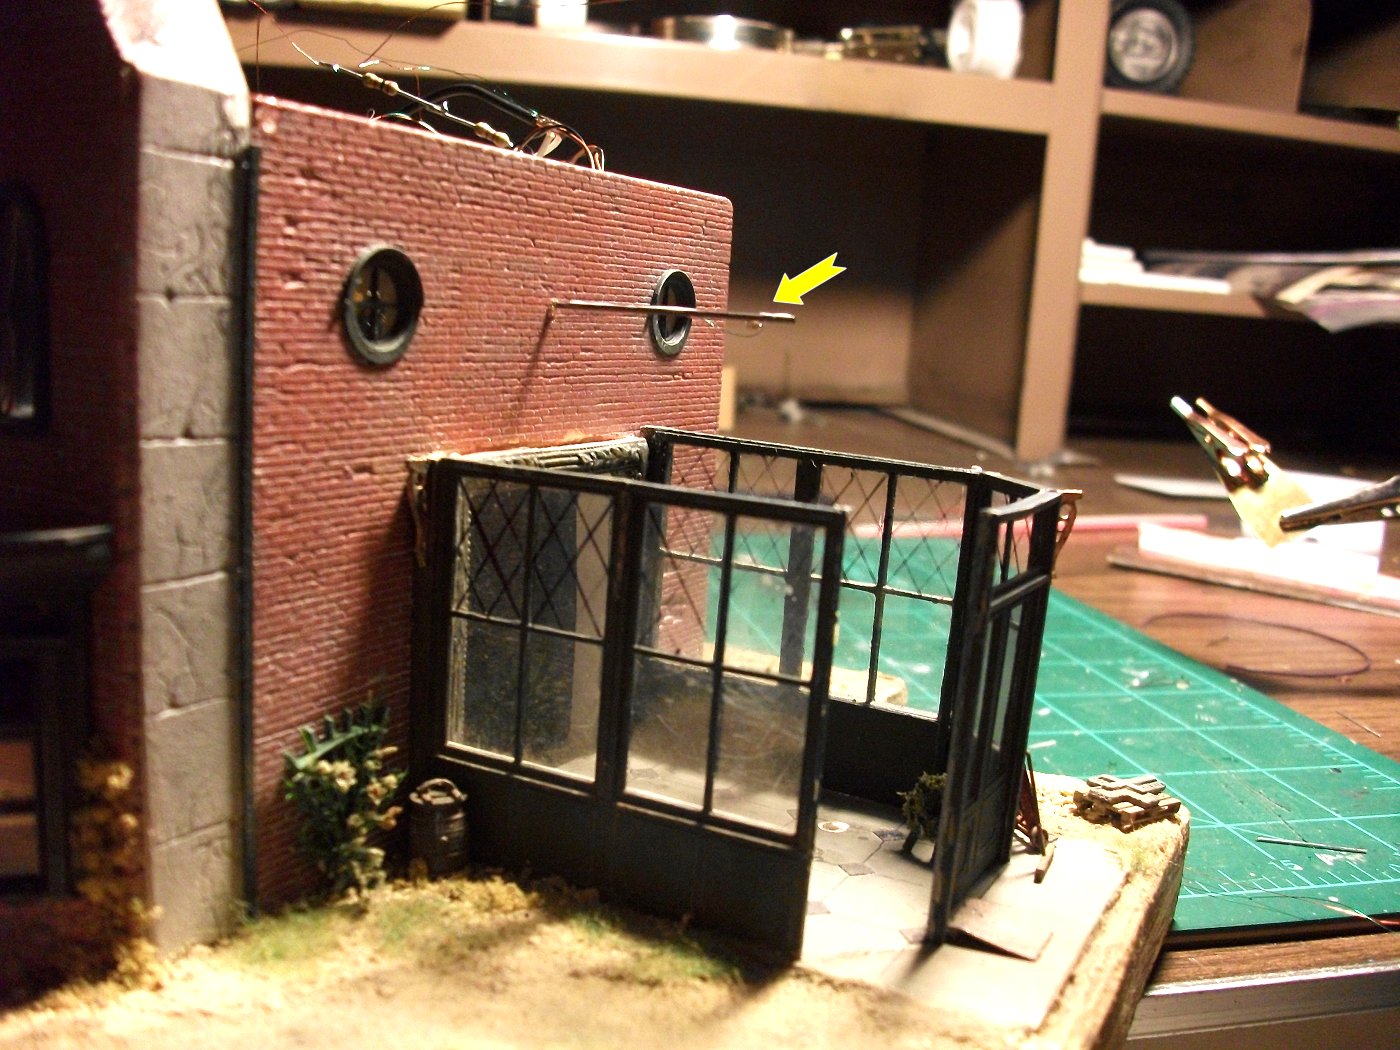
Here a cardstock cover has been added to focus the light downward. You can also see the hole for the coffin wiring.

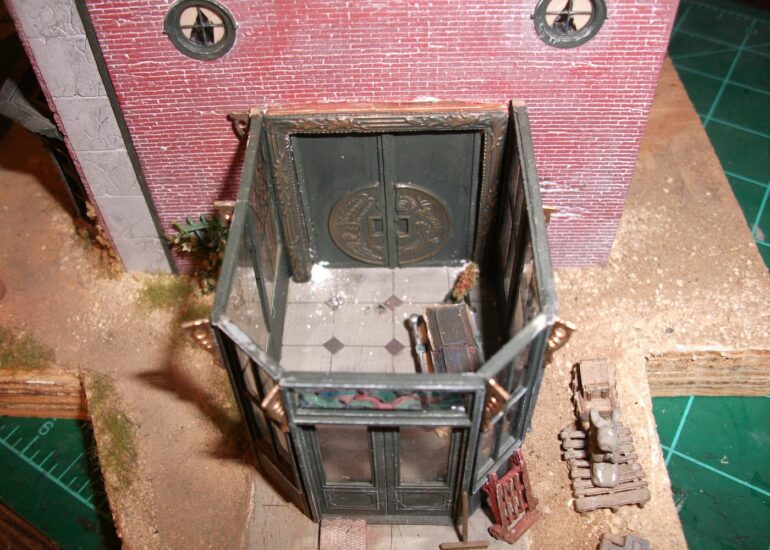
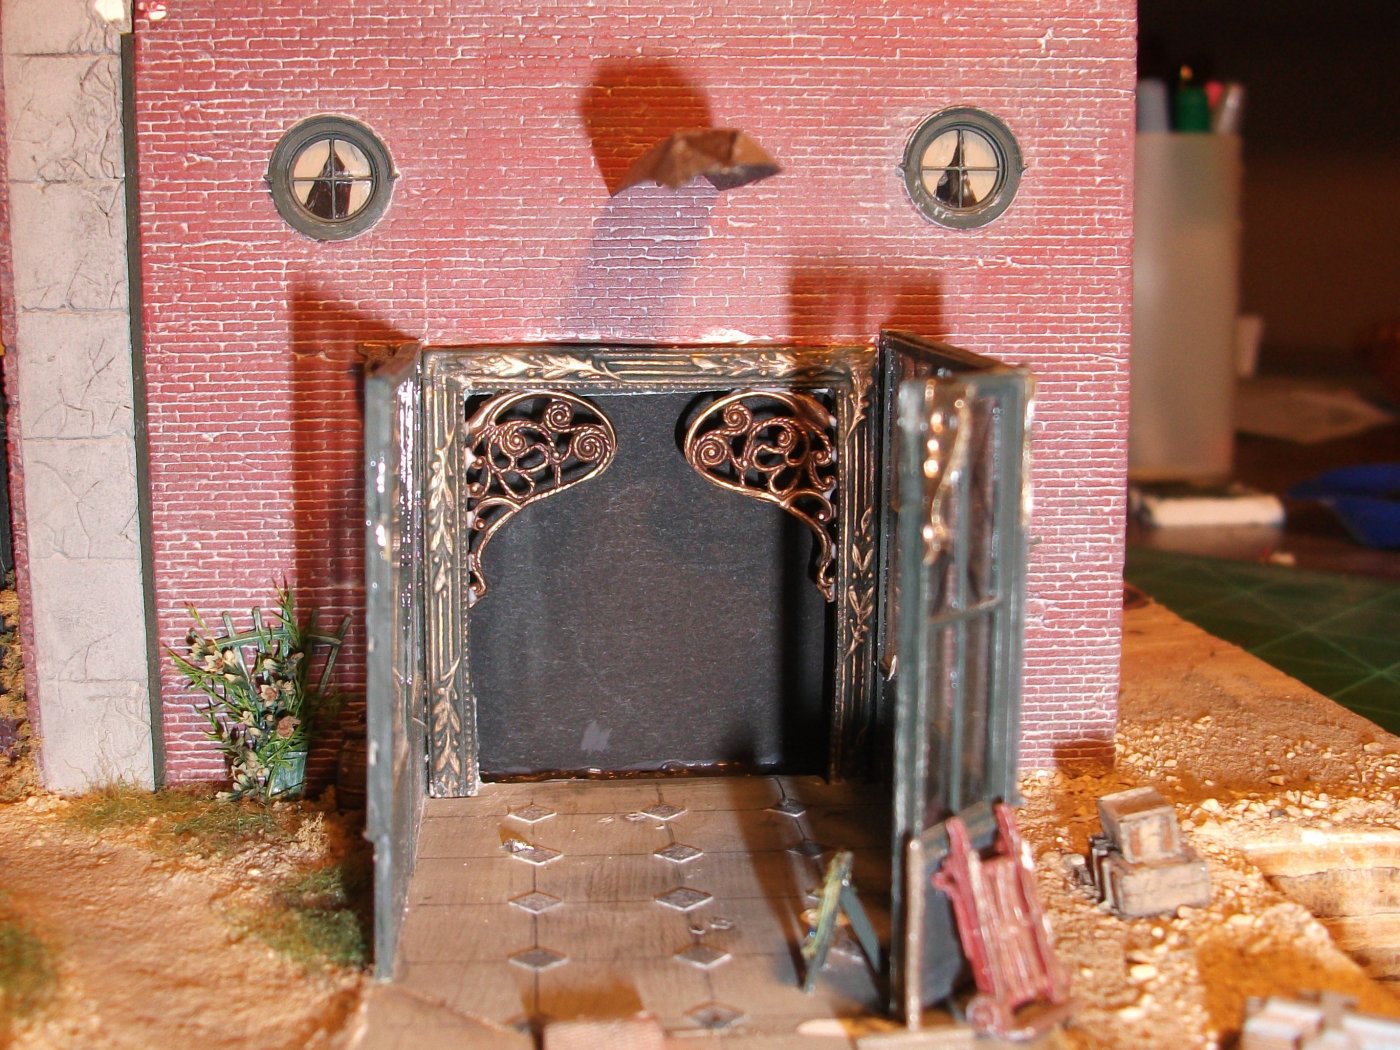
I wanted to have a zombie opening up a green-lighted coffin, so I started by cutting apart a Woodland Scenics one.
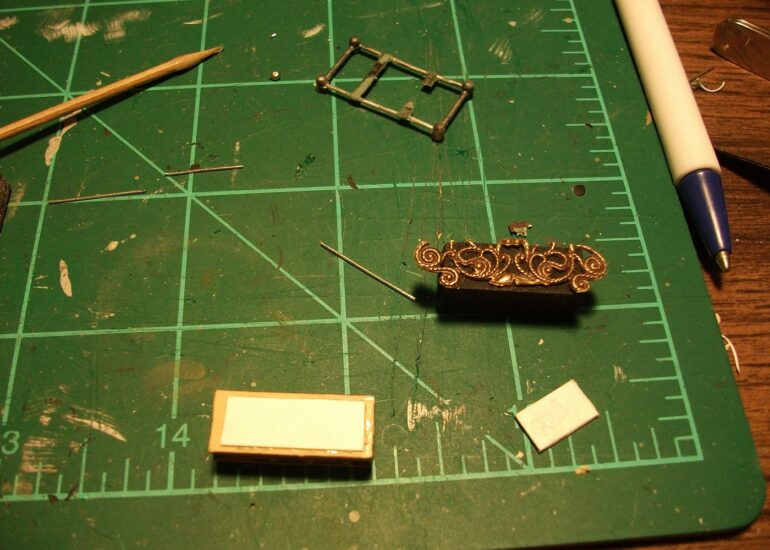
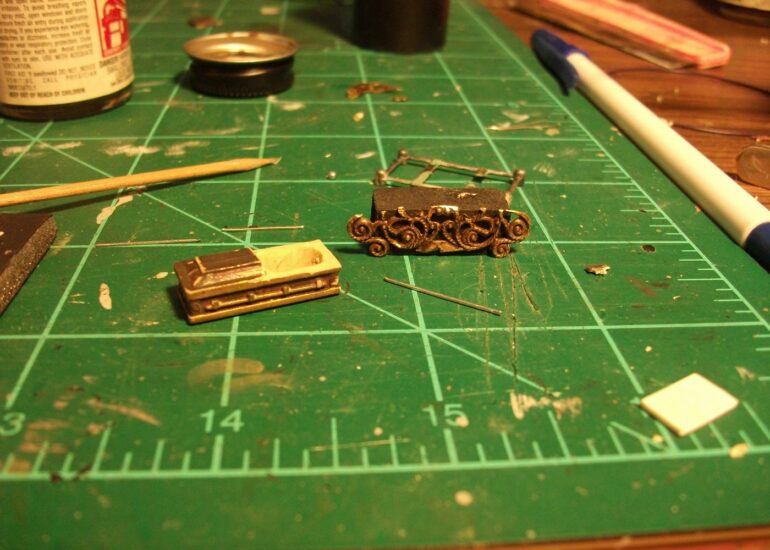
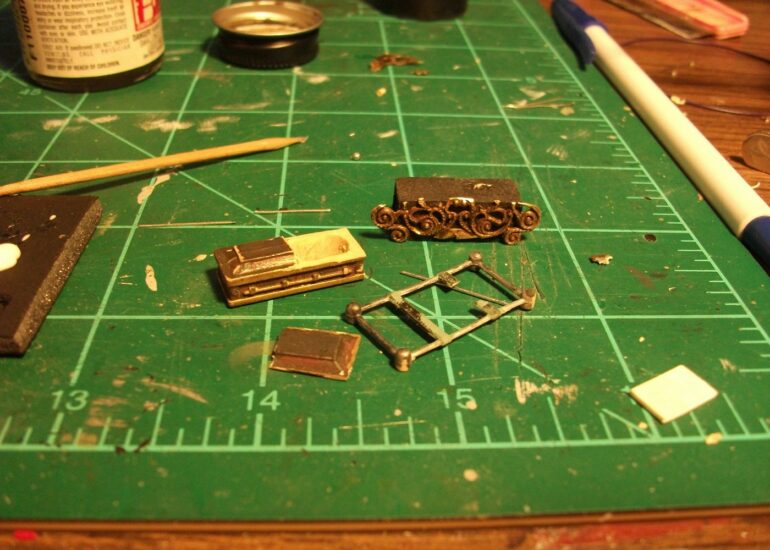
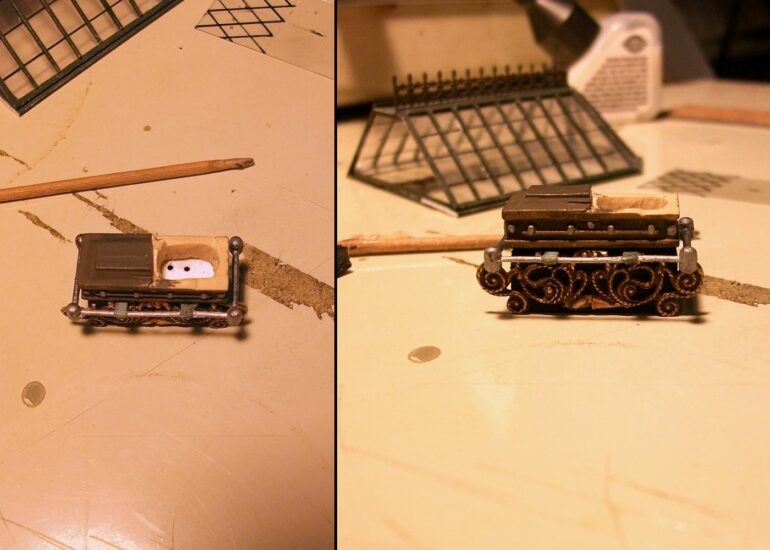
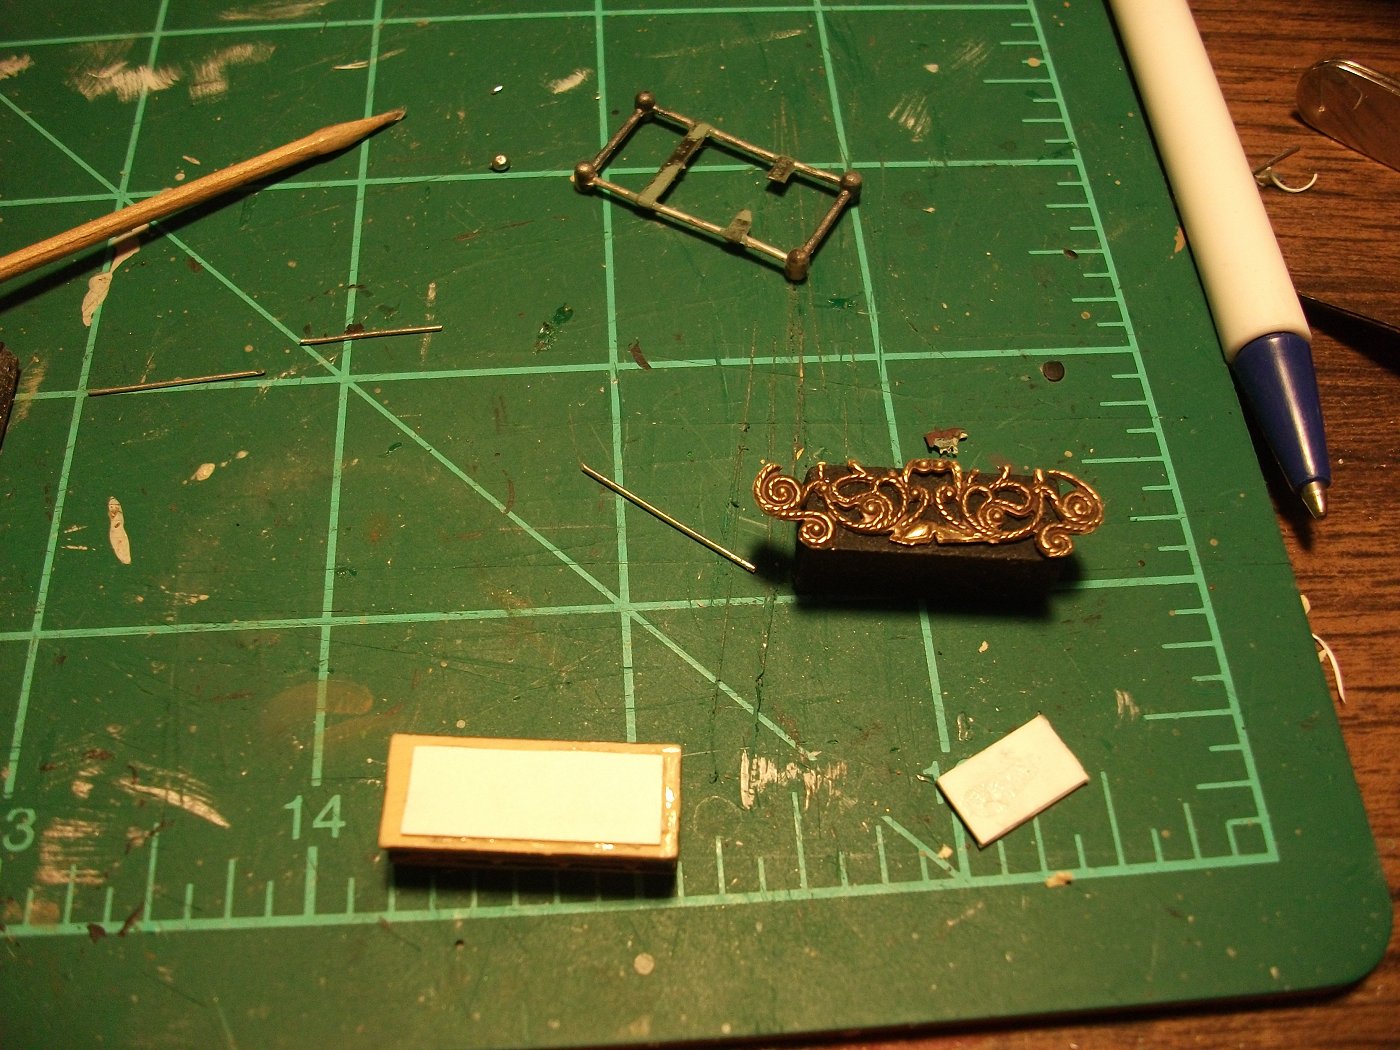
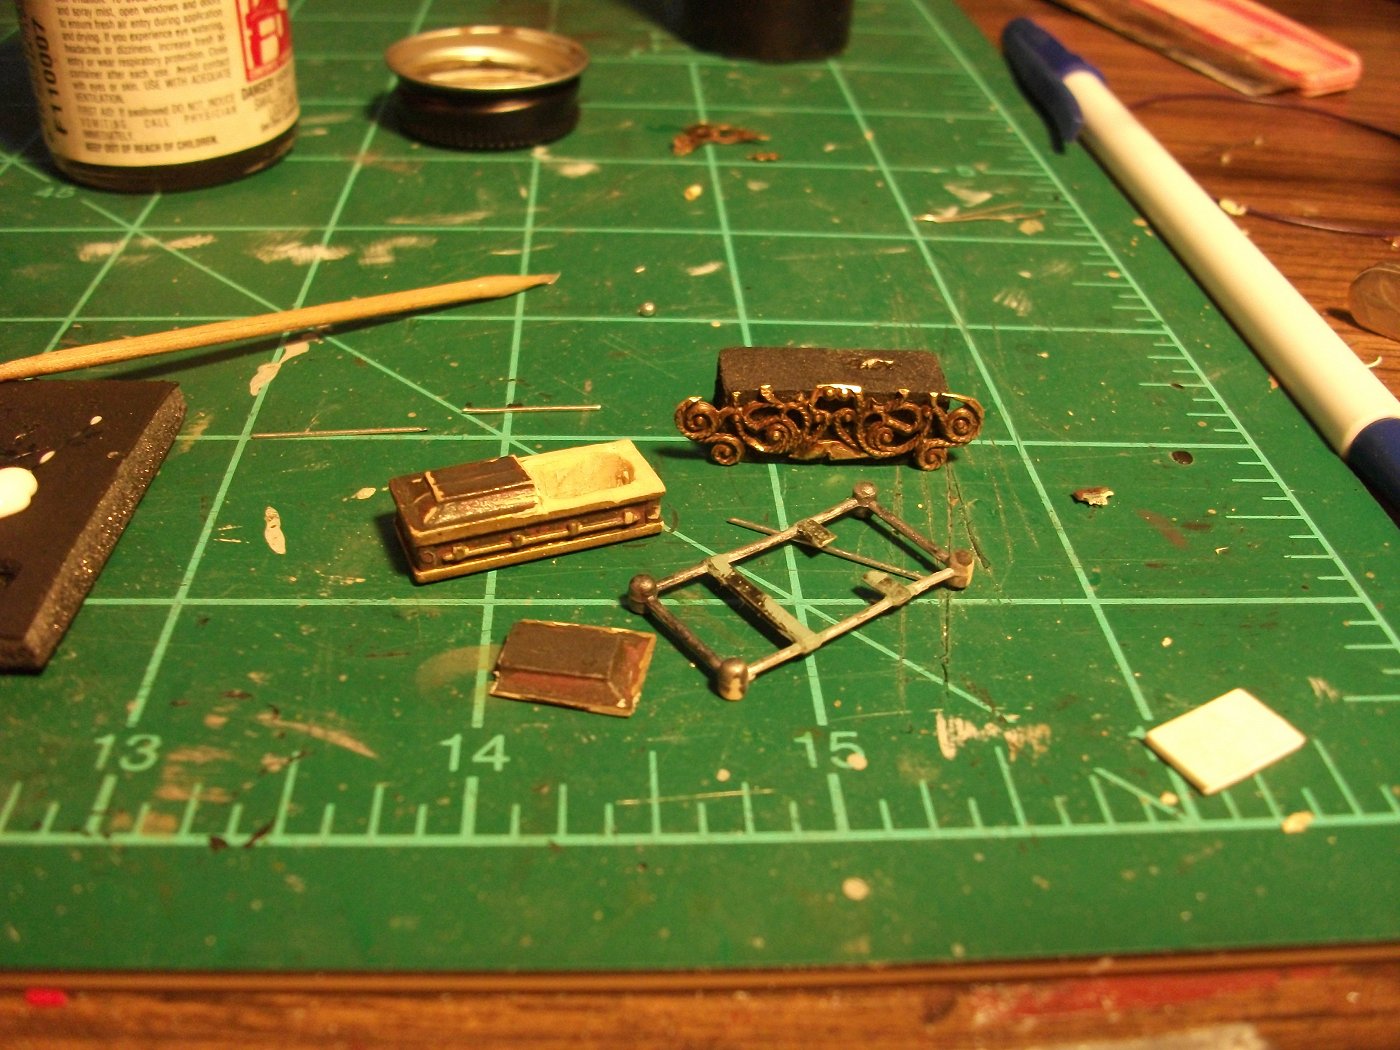
I adeed a thin bottom and started working on a display table (right). The intricate table is largely made from jewelery.
