
Grimm's Build: The Diorama Case
For these build pages, you can read comments about the picture and then click the picture to enlarge it. An easier way to work your way through all the pictures would be to click on the first one, which will launch the viewer. You can view the picture, read the comments and then just hit the NEXT arrow on the right side to go through all the rest of the pictures. At the bottom of each of these build pages, there's a link to go back to the "Building Grimm's Part II" main page, or you can click the "On to the next step" button to continue going through the build process.
Either way - enjoy!!~MCG

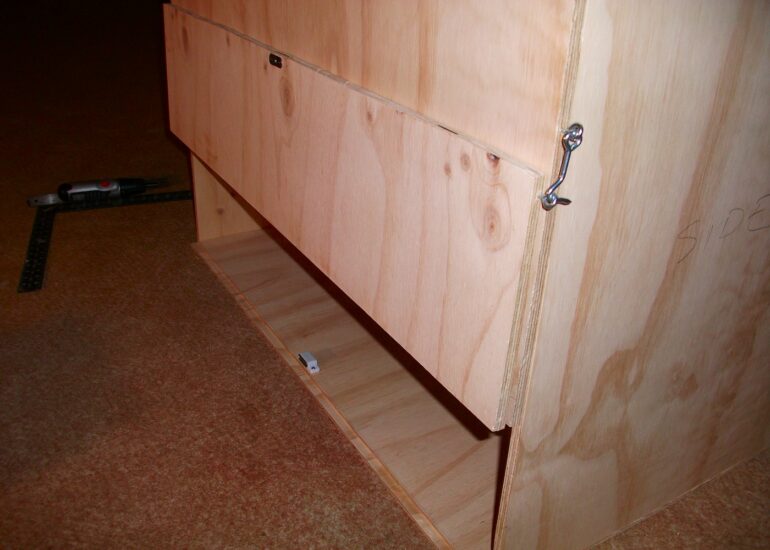
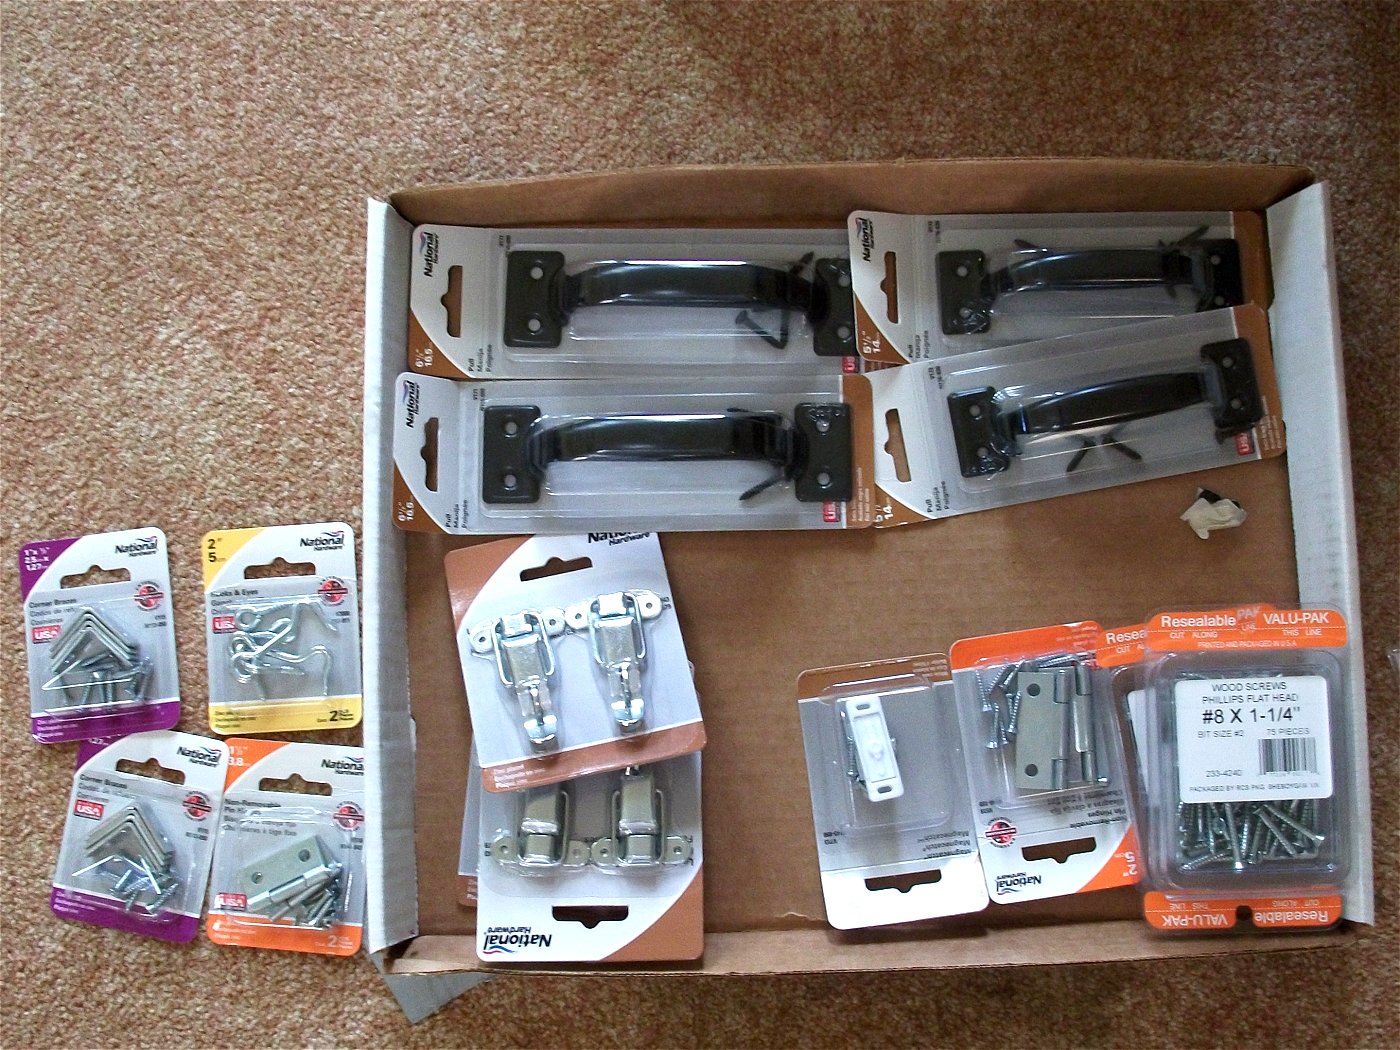
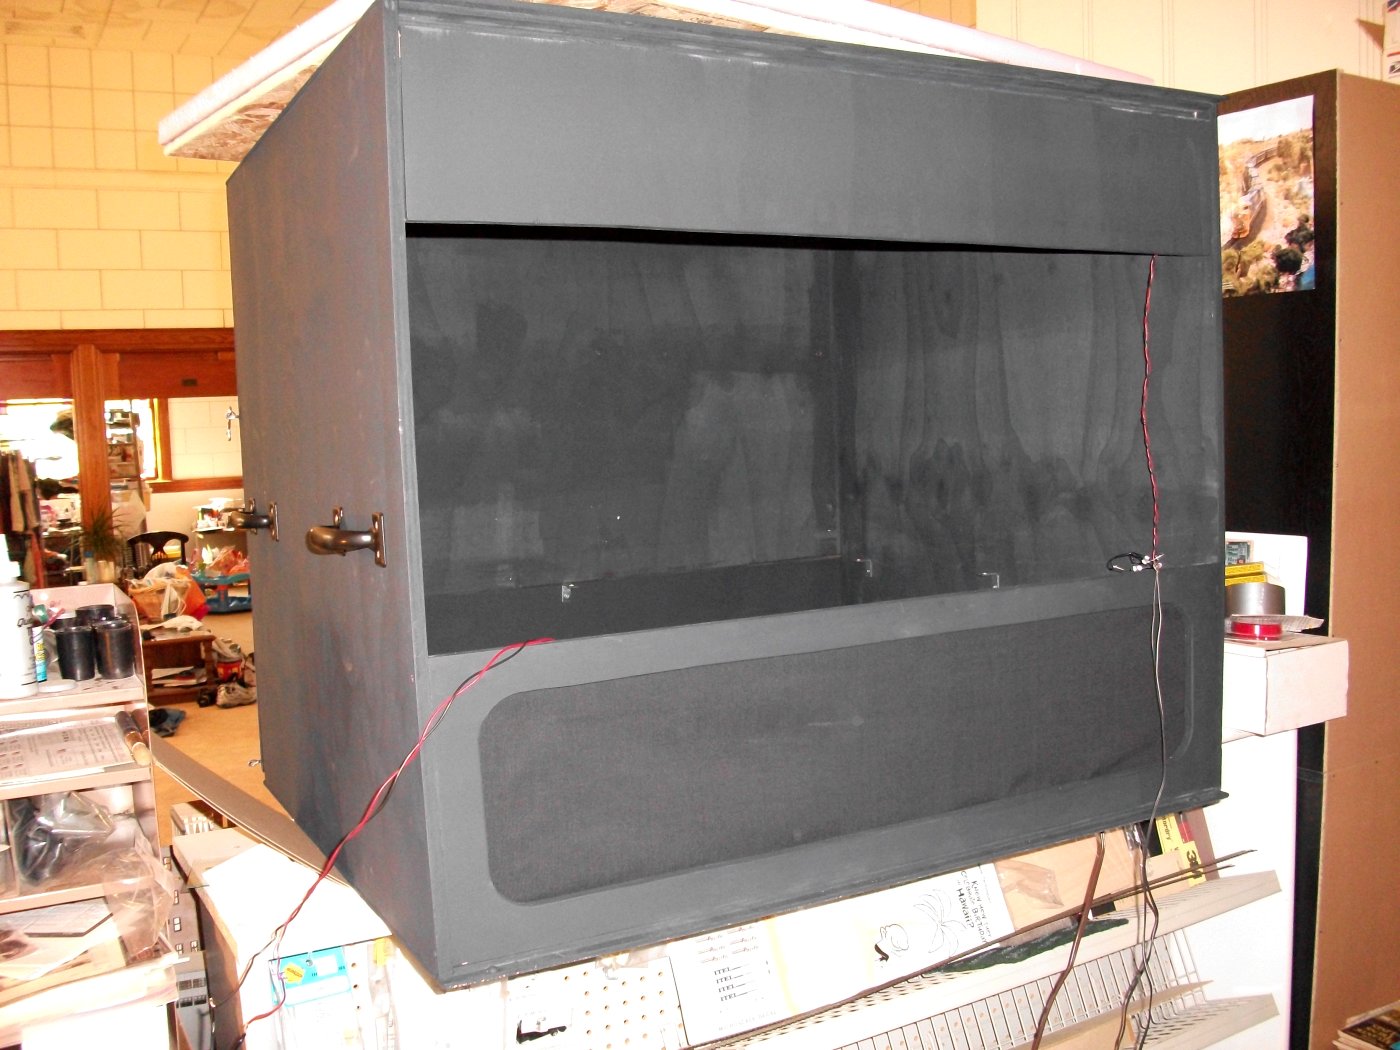
Here is the required hardware. Handles for each side, hasps for the front cover, and parts for the rear door.

