
Grimm's Build: The Walls
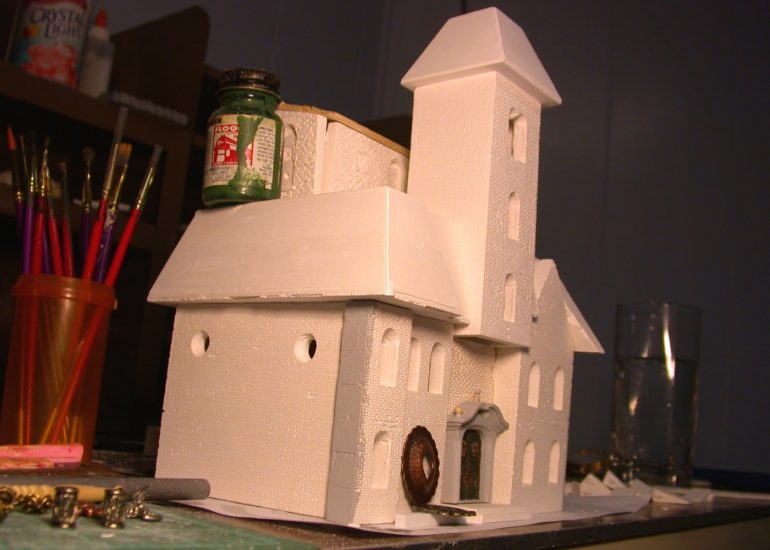
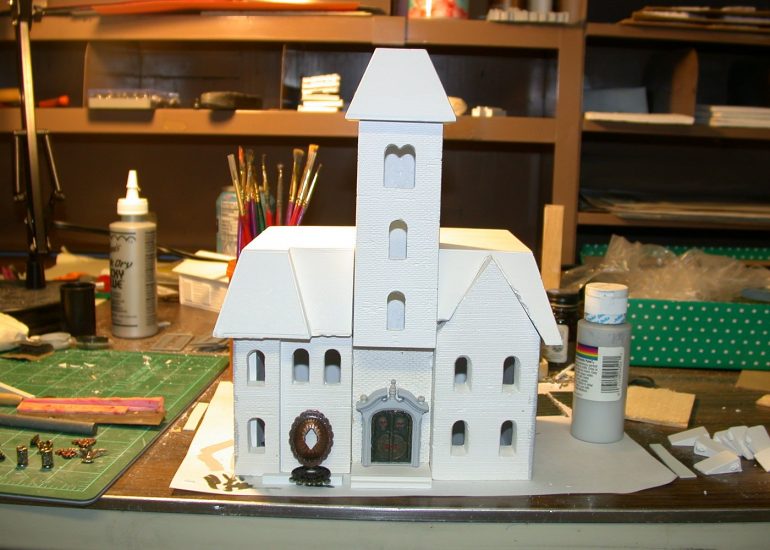
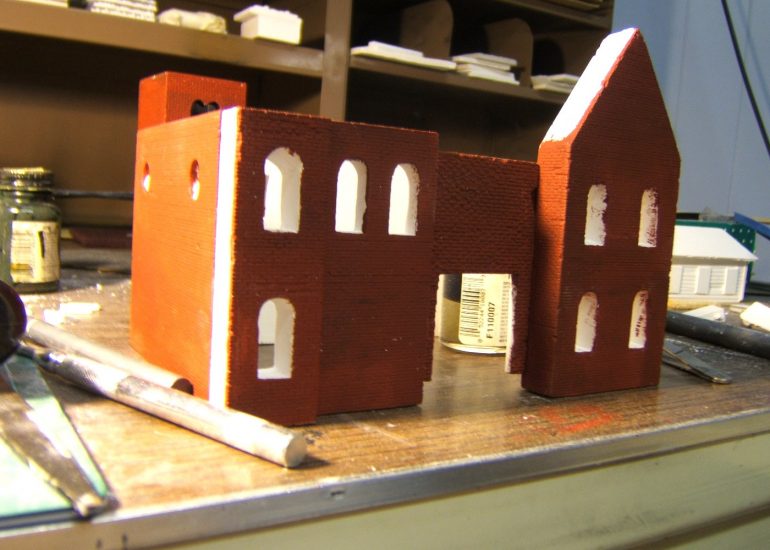
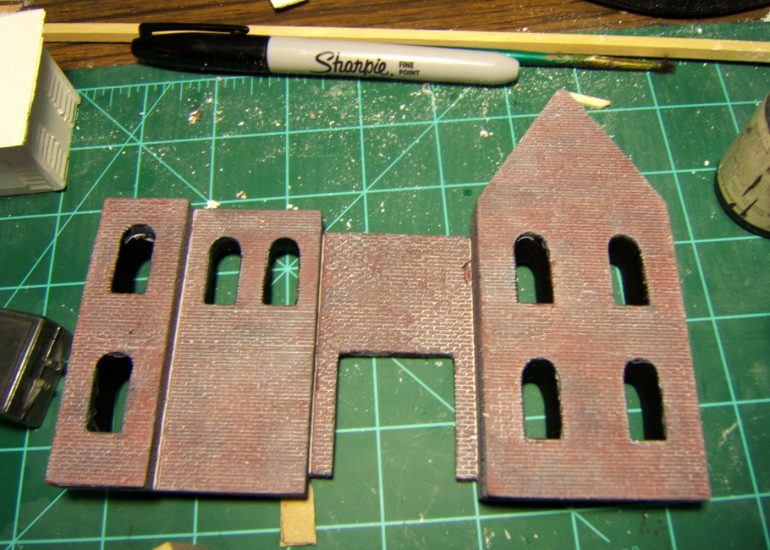
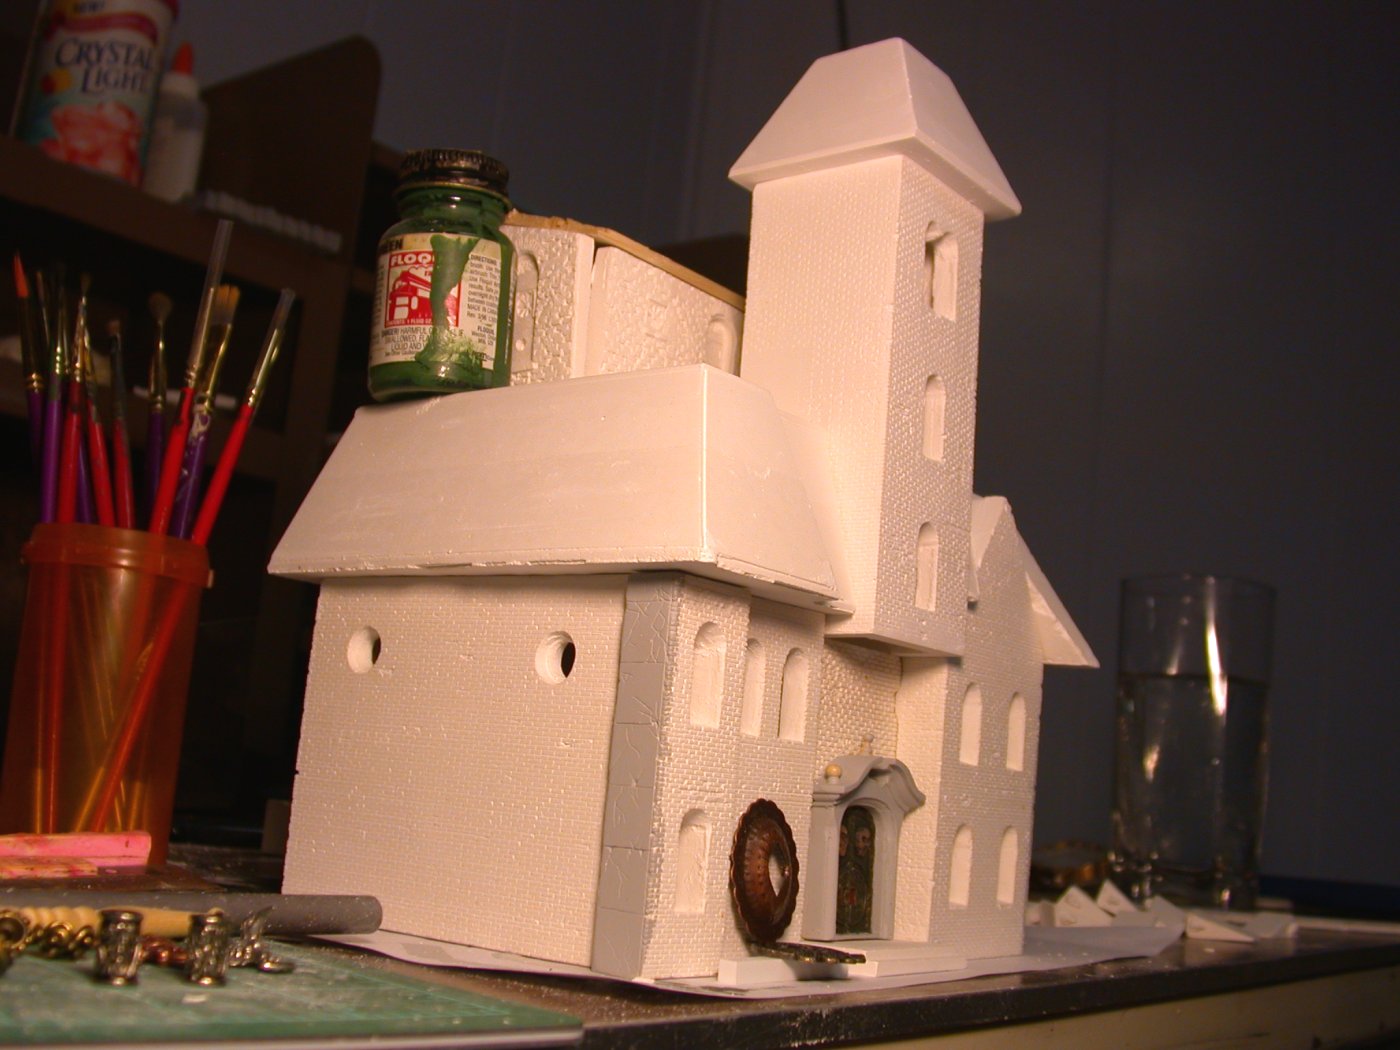
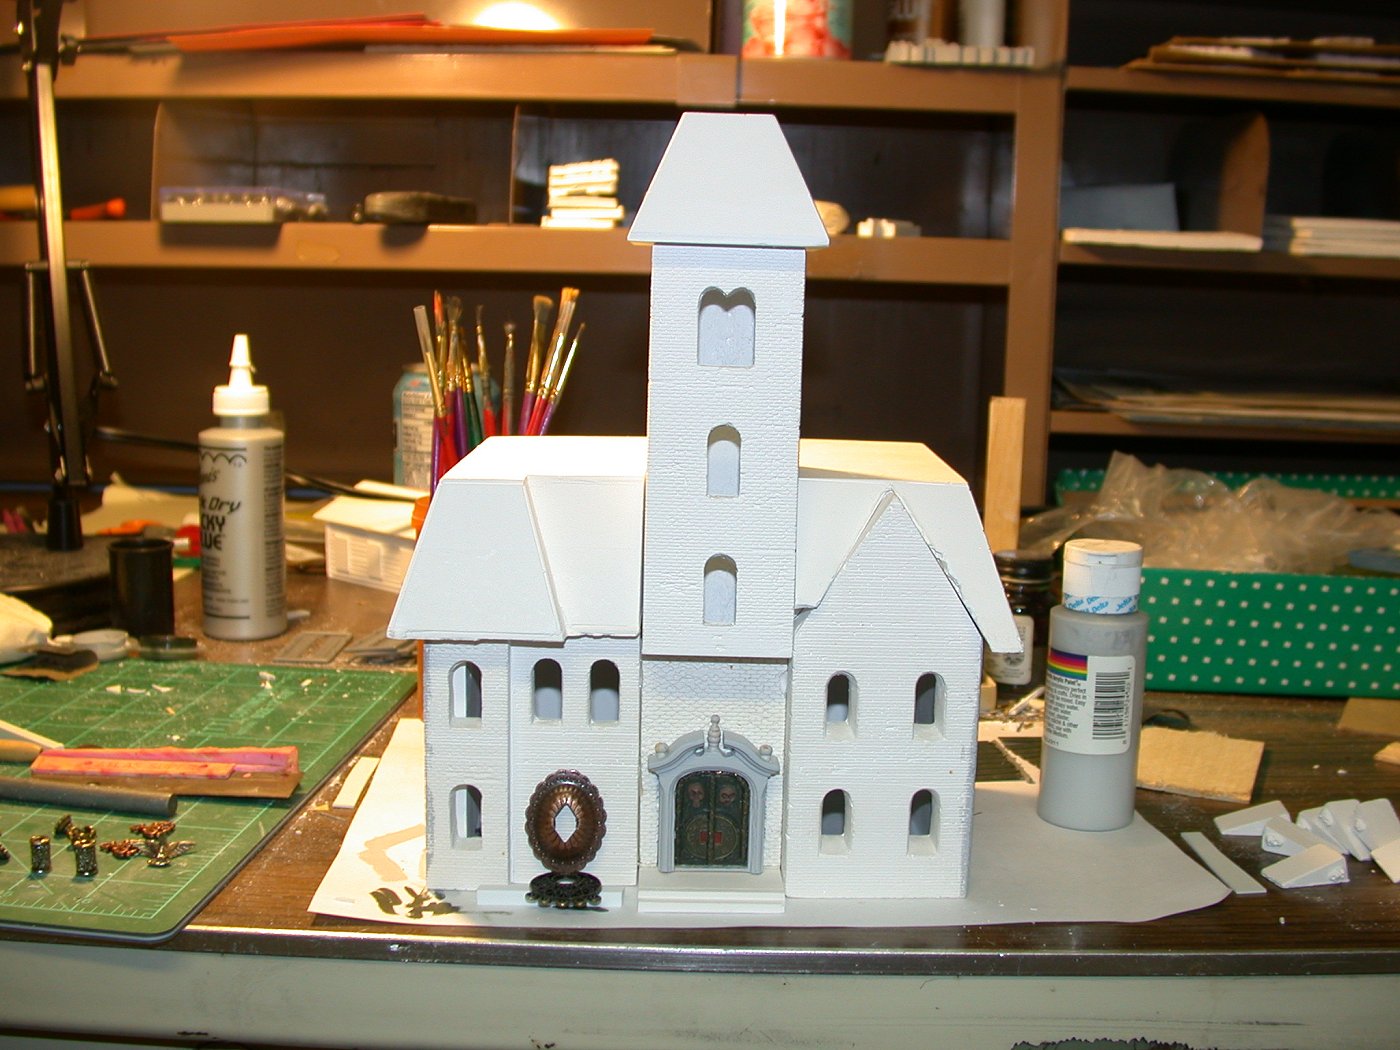
One of the first things I like to do is set the walls up and just see what I have to work with. In this case, you can see I was thinking of replacing the building on top with a brick one. I also had already painted the concrete piece with acrylic dove grey.
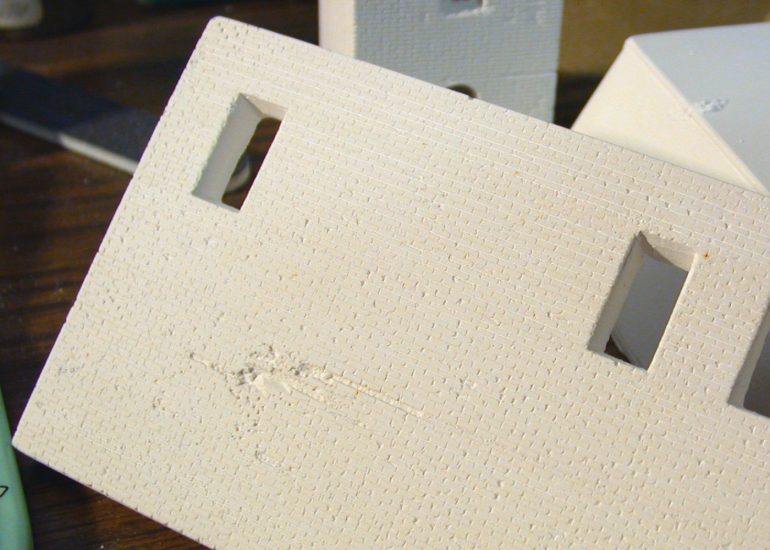
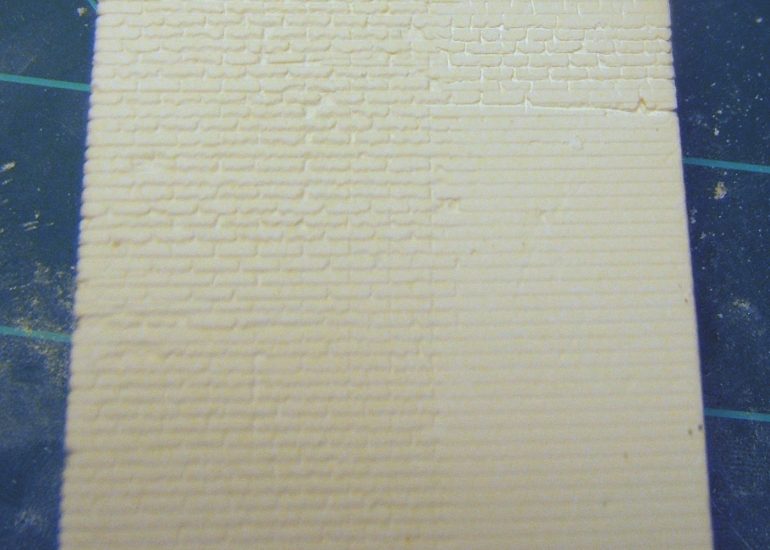
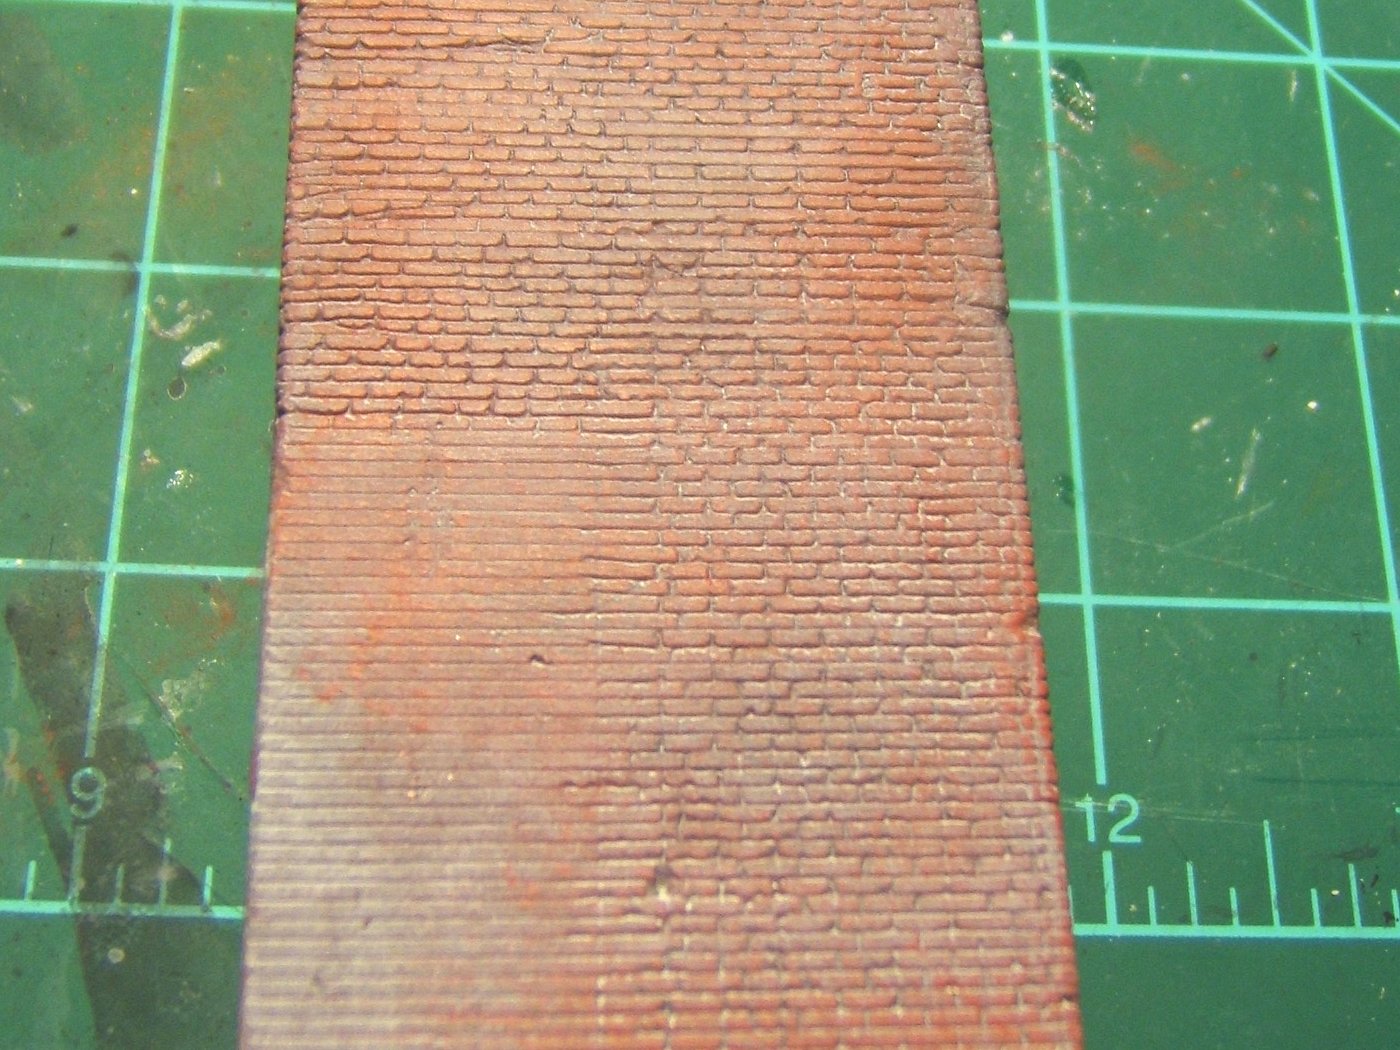
Welcome to the wonderful world of walls. I can hear Ben Stein saying that... Anyway, I took the walls and used sandpaper to file off the sides and then used a pick to trim the windows out. One thing that I like about Magnuson brick is that it has a deeper relief than Downtown Deco's. Now Downtown Deco's are probably prototypically correct, but I have found that I can get better looking weathering and paint effects if I have deeper brick so to speak. With that in mind, I used a pick to trace some of the brick rows and then go vertically as well. I also chipped a lot of corners off - which as you can see above just gives the wall a rougher texture.
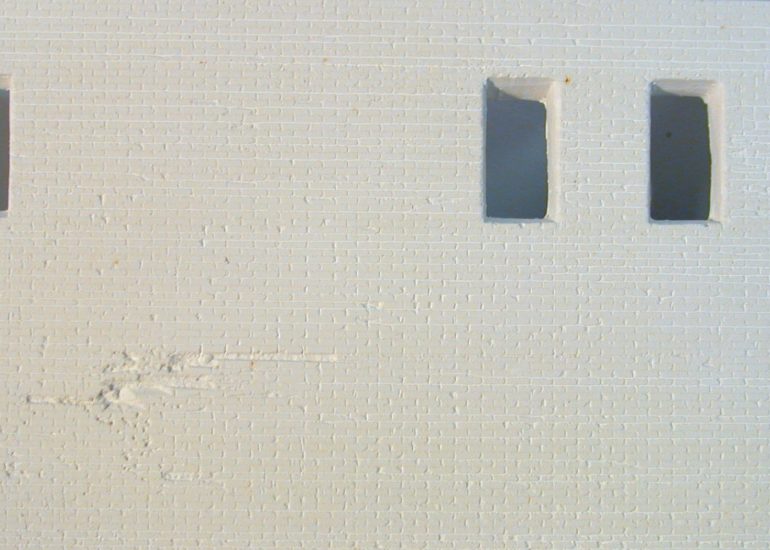
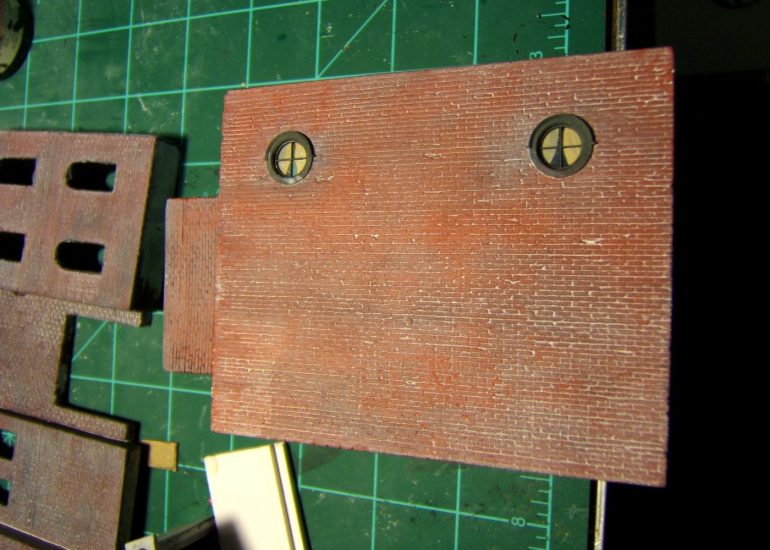
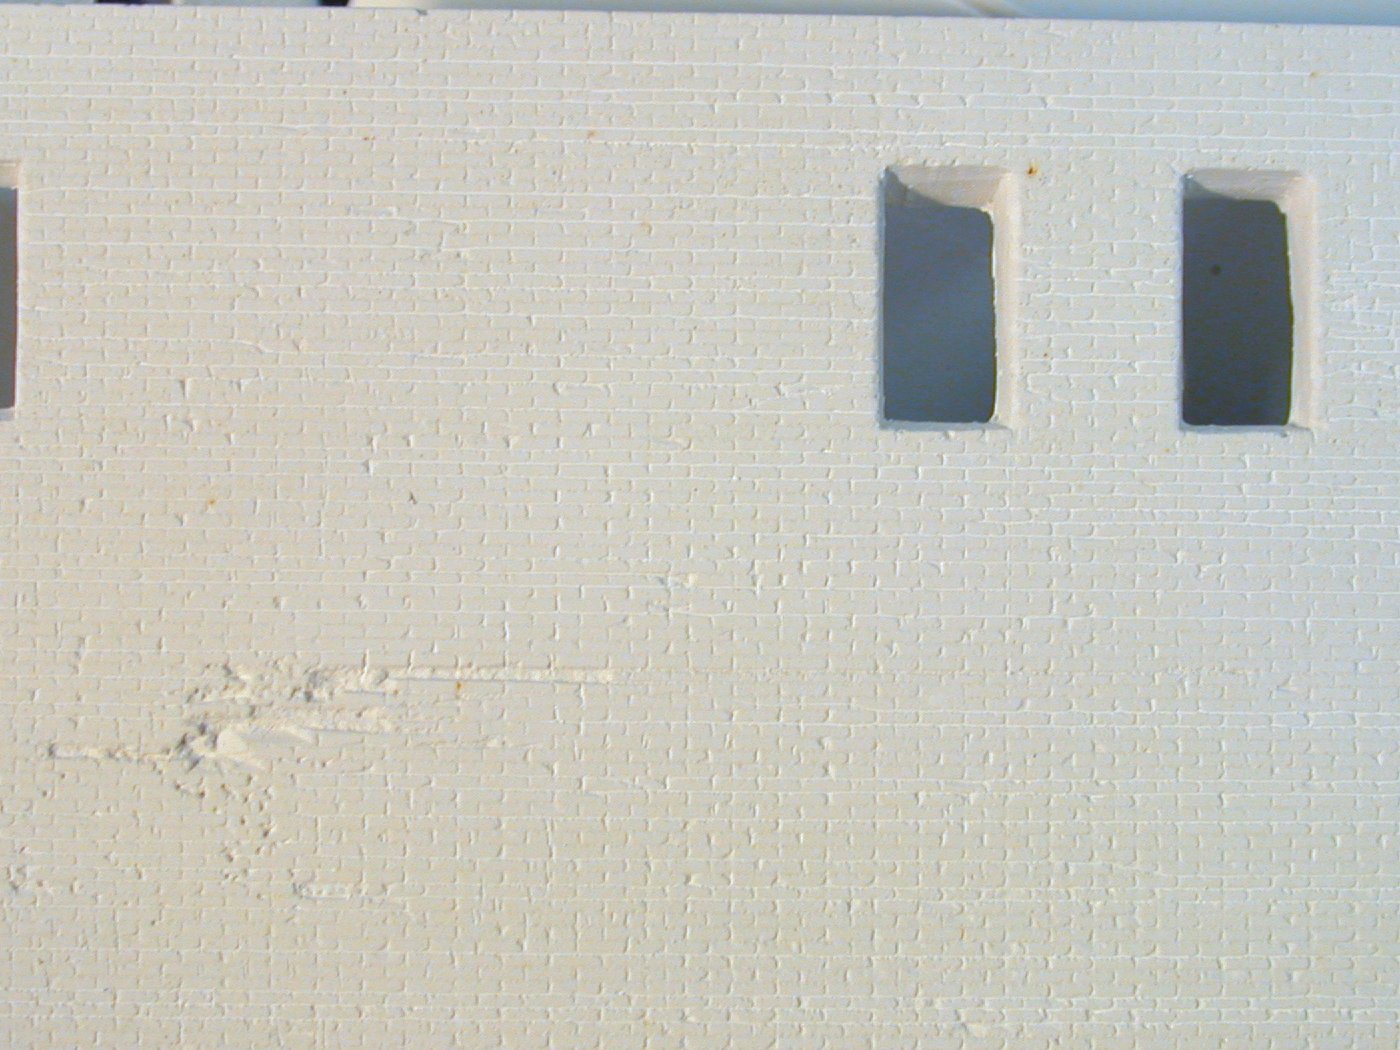
Here is a super close up that shows the horizontal scribing and the vertical chips and scribes. It just breaks up the monotony. It takes a lot of time and patience but I think it's worth it in the end.

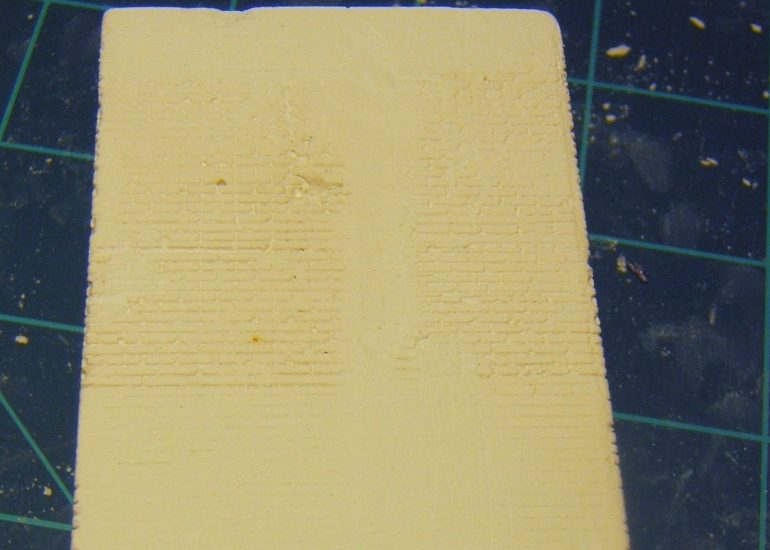
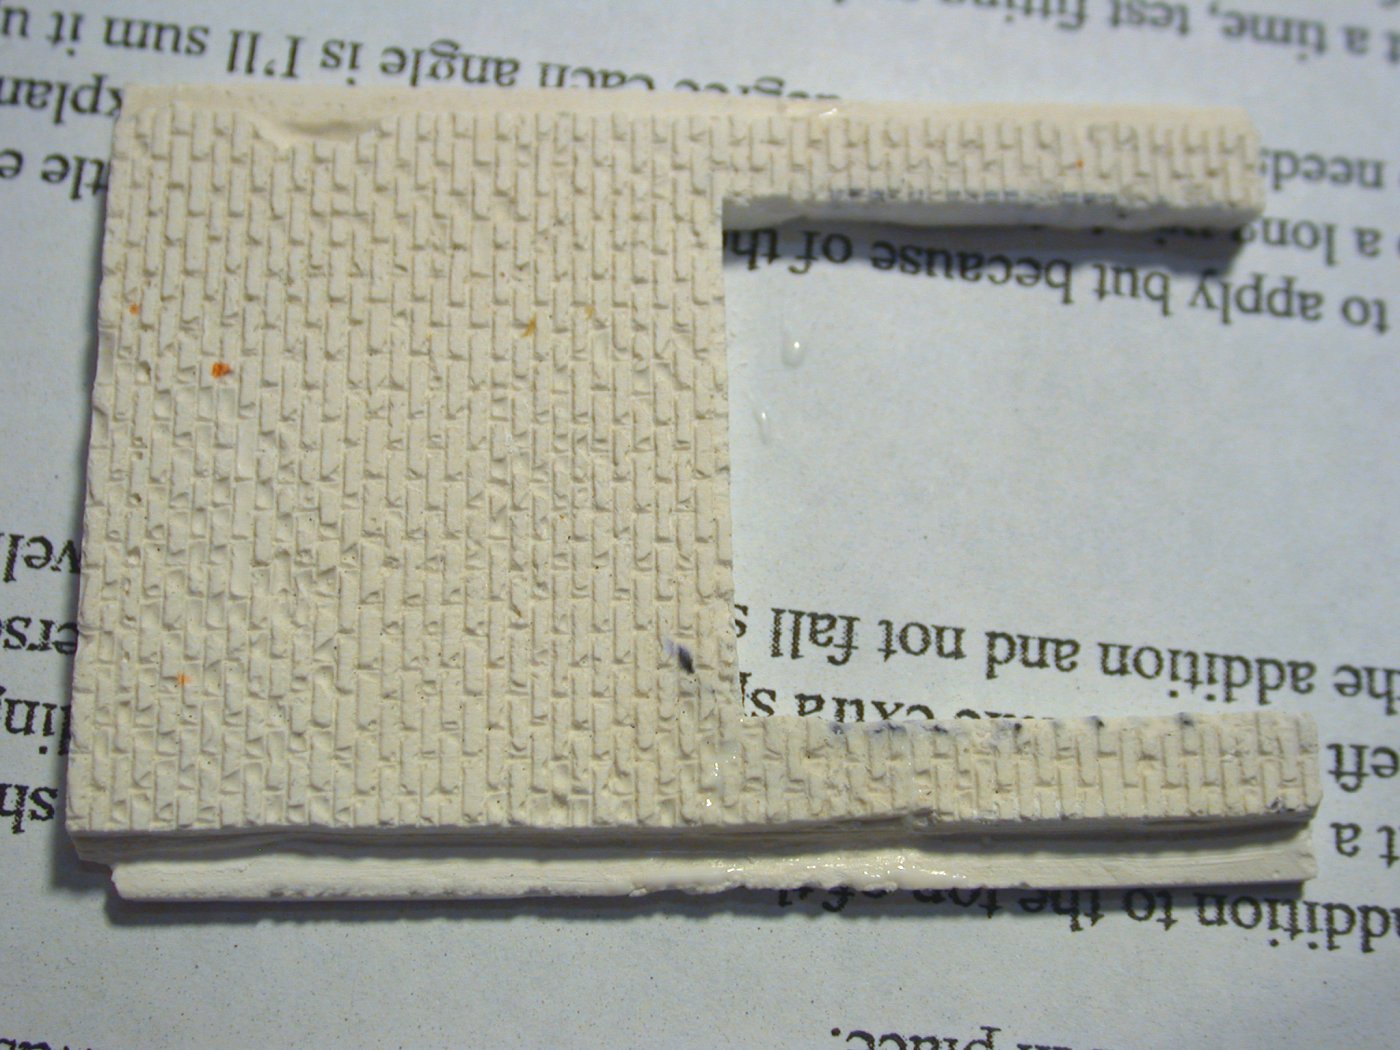
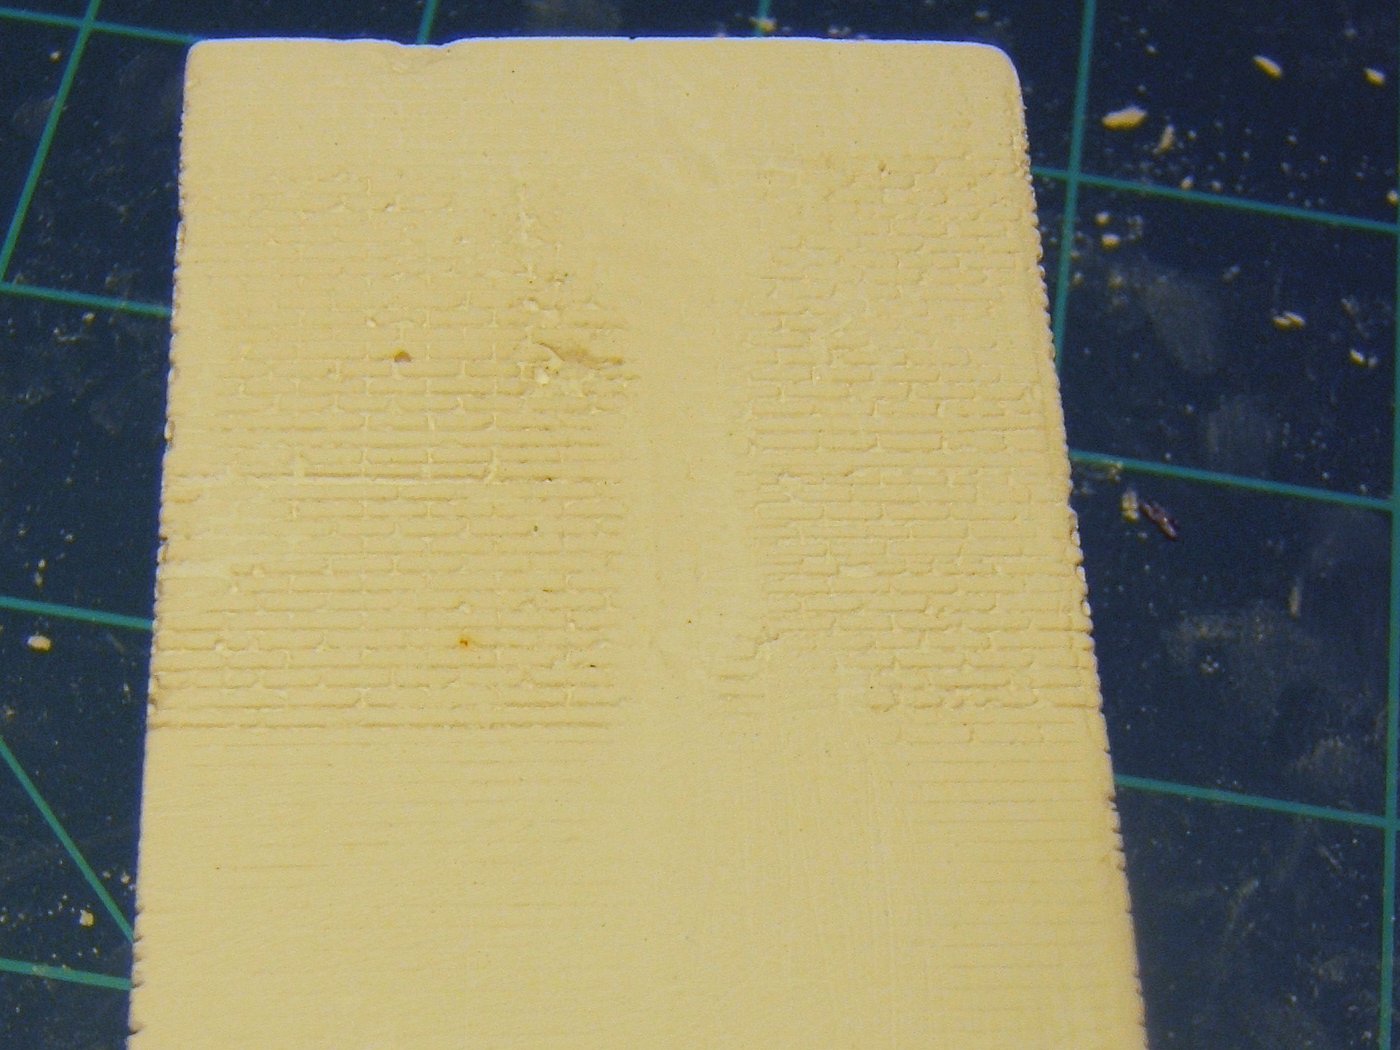
This is the middle section I made to replace the kit's original piece. I took a plaster casting of an old Magnuson wall and cut it to size. I cut the wings in it on the sides and managed to break both sides off. (I re-glued them with the tacky glue- which you can see glistening on the bottom leg.)
This is the tower section. It came as a four walled section. Randy left off bricks on the sections that butt up against the main roof to ease gluing. I wanted to raise the tower though, which created the issue of having a lot of bricks to scribe! More time.... You cans see the section on the right that I hand carved. They actually came out nicely.
This is the opposite side of the tower. You can see the smooth part on the lower left. If you follow that up you'll see that patch that I carved in.
This is the back of the tower; where I had the most carving to do. There was a pretty sizeable seam down the middle of the casting that I removed carefully with a file. I then re-carved those bricks as well.
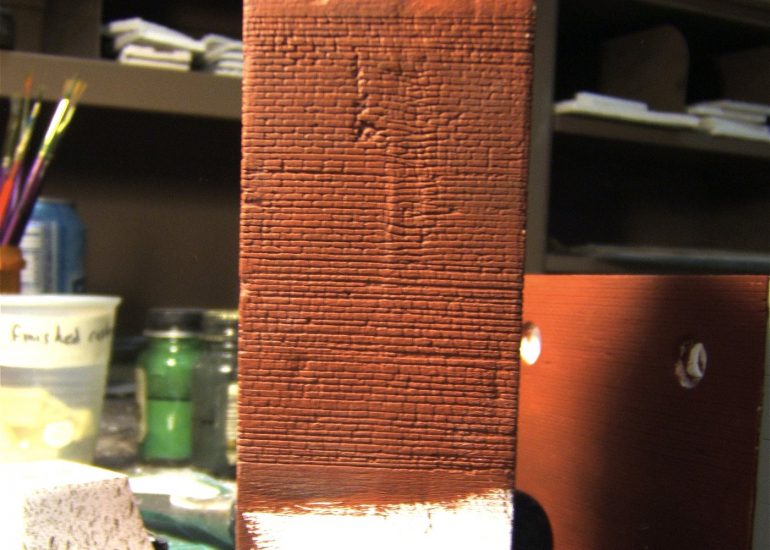
this is the same section with all the bricks carved in. You can see my carving over the seam as well. I made things "sag" a little here, which I like. They call it "crazed" brick and the method was used a lot in the "storybook style" houses of the 20's and 30's. This picture shows the wall after being painted with straight acrylic craft paint. Some kind of red: I can't remember what exactly. That's the first step. In fact, here's the general steps I used for painting this model: - Paint unsealed walls acrylic red. - Dry Brush some Grimy Black on for variation - A light acrylic black wash - A light wash of dove gray acrylic for mortar - Went over it again with a slightly heavier mortar wash - Lightly dry-brushed randomly with the original acrylic red paint I usually use some black charcoal, but this ended up looking nice as-is.
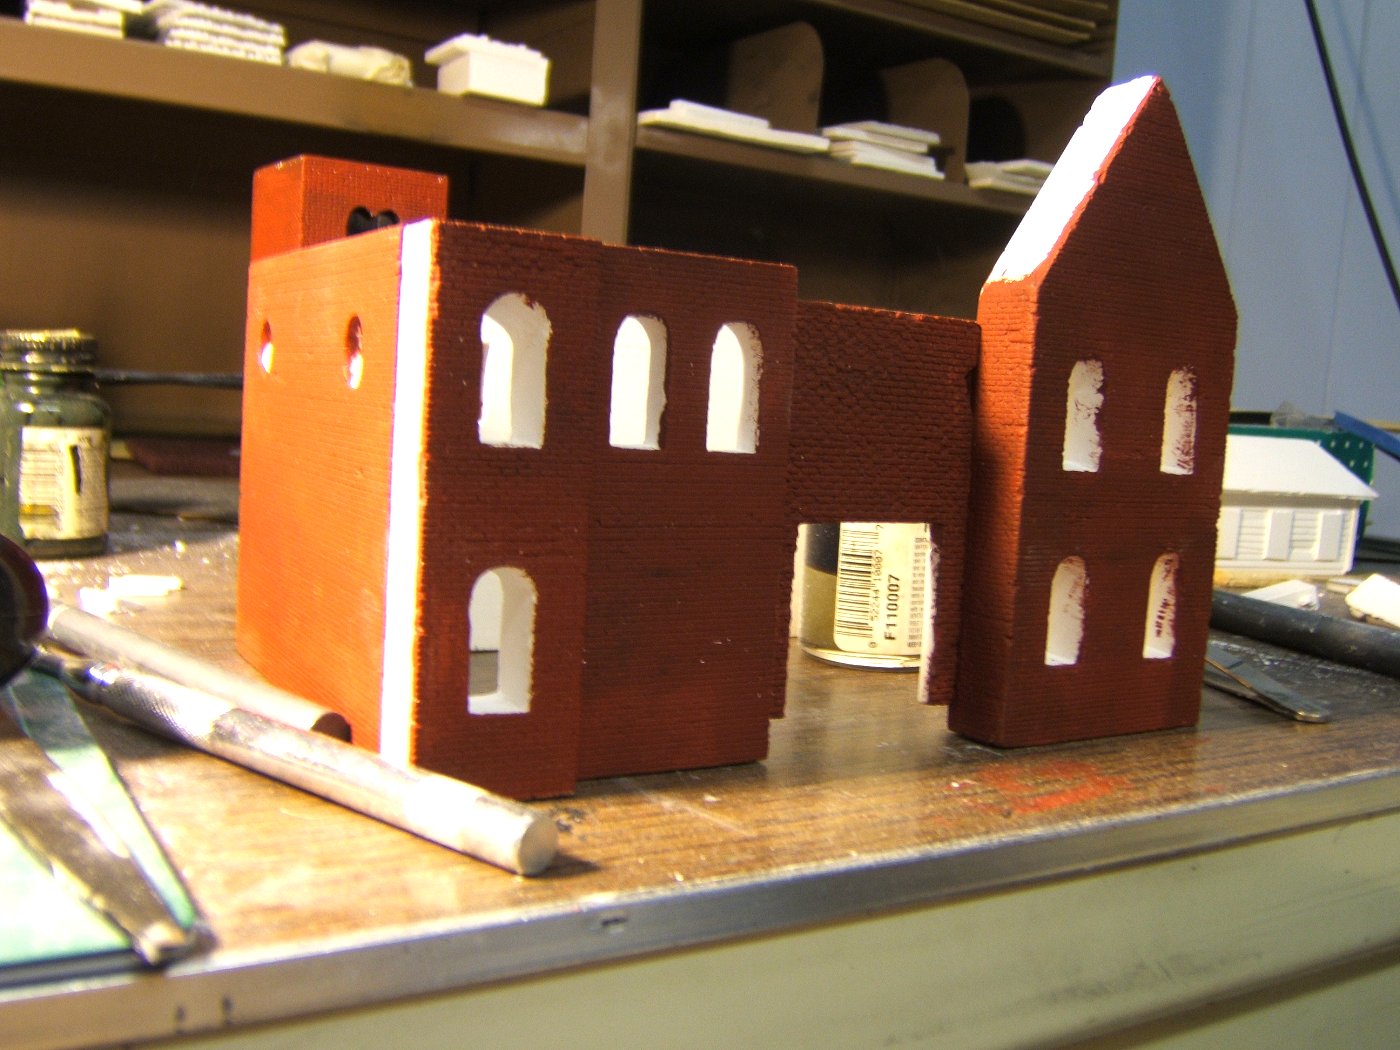
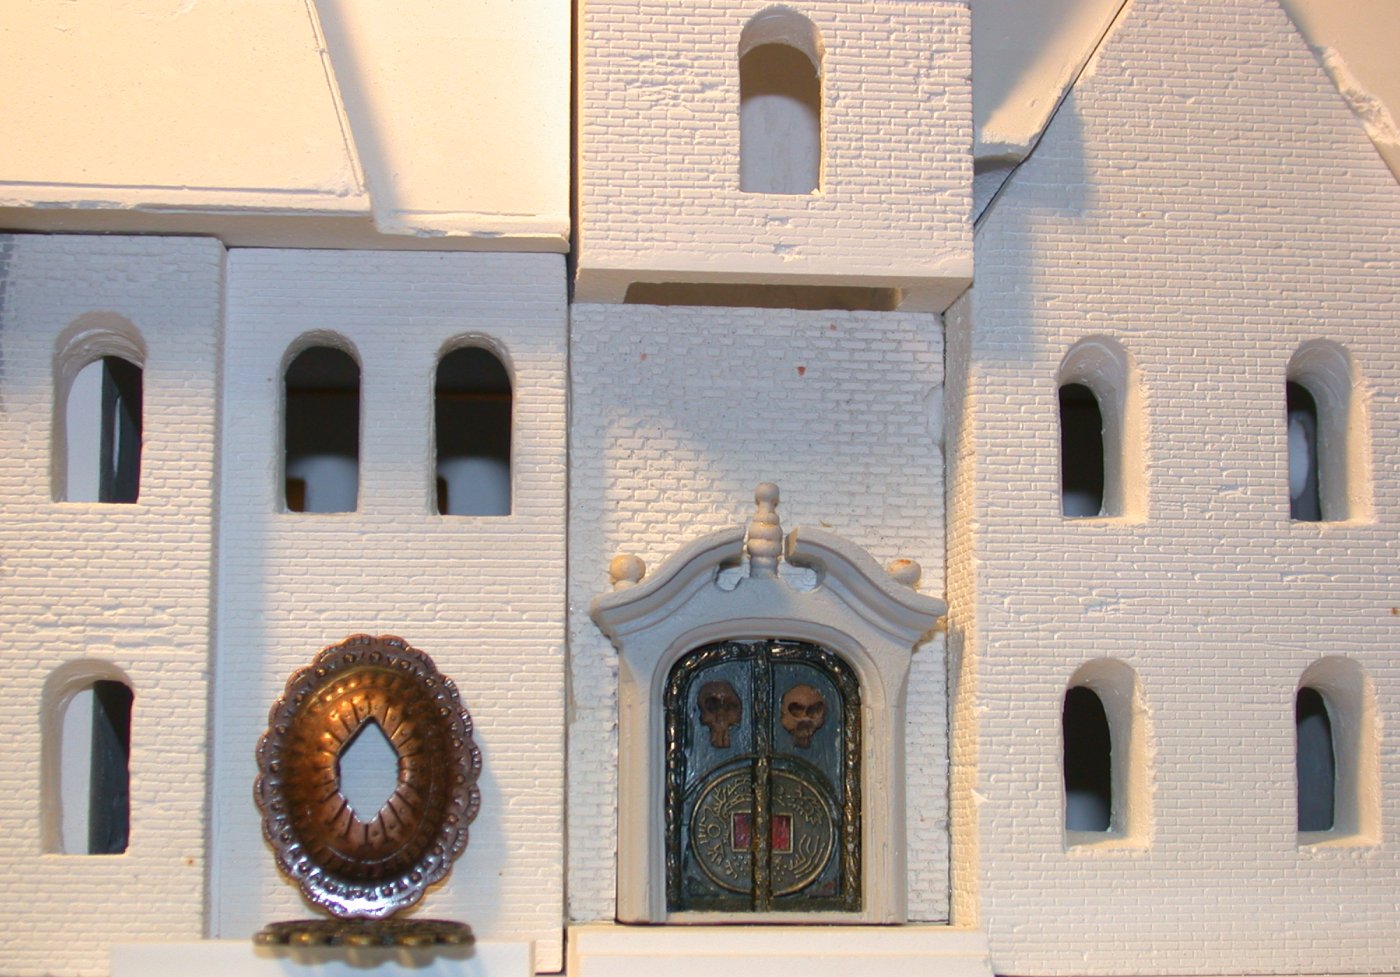
This is a poorly lit shot of the walls after they had been painted red. I sprayed the insides black later and painted the window wells black as well.
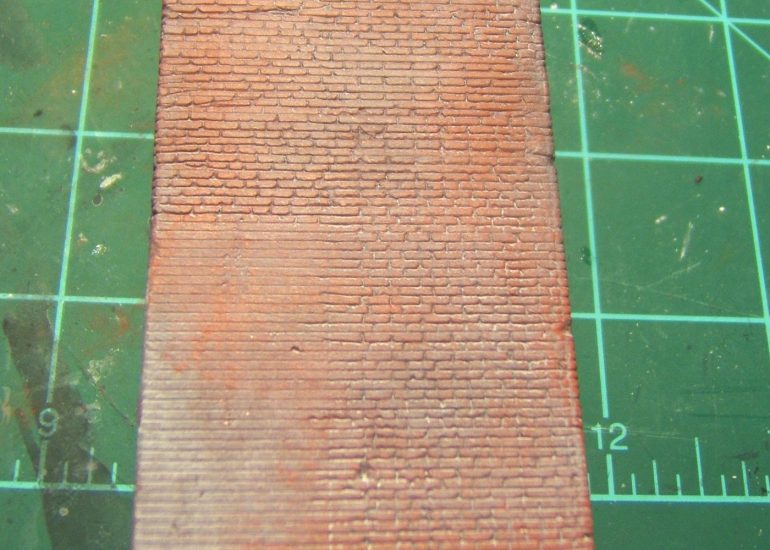
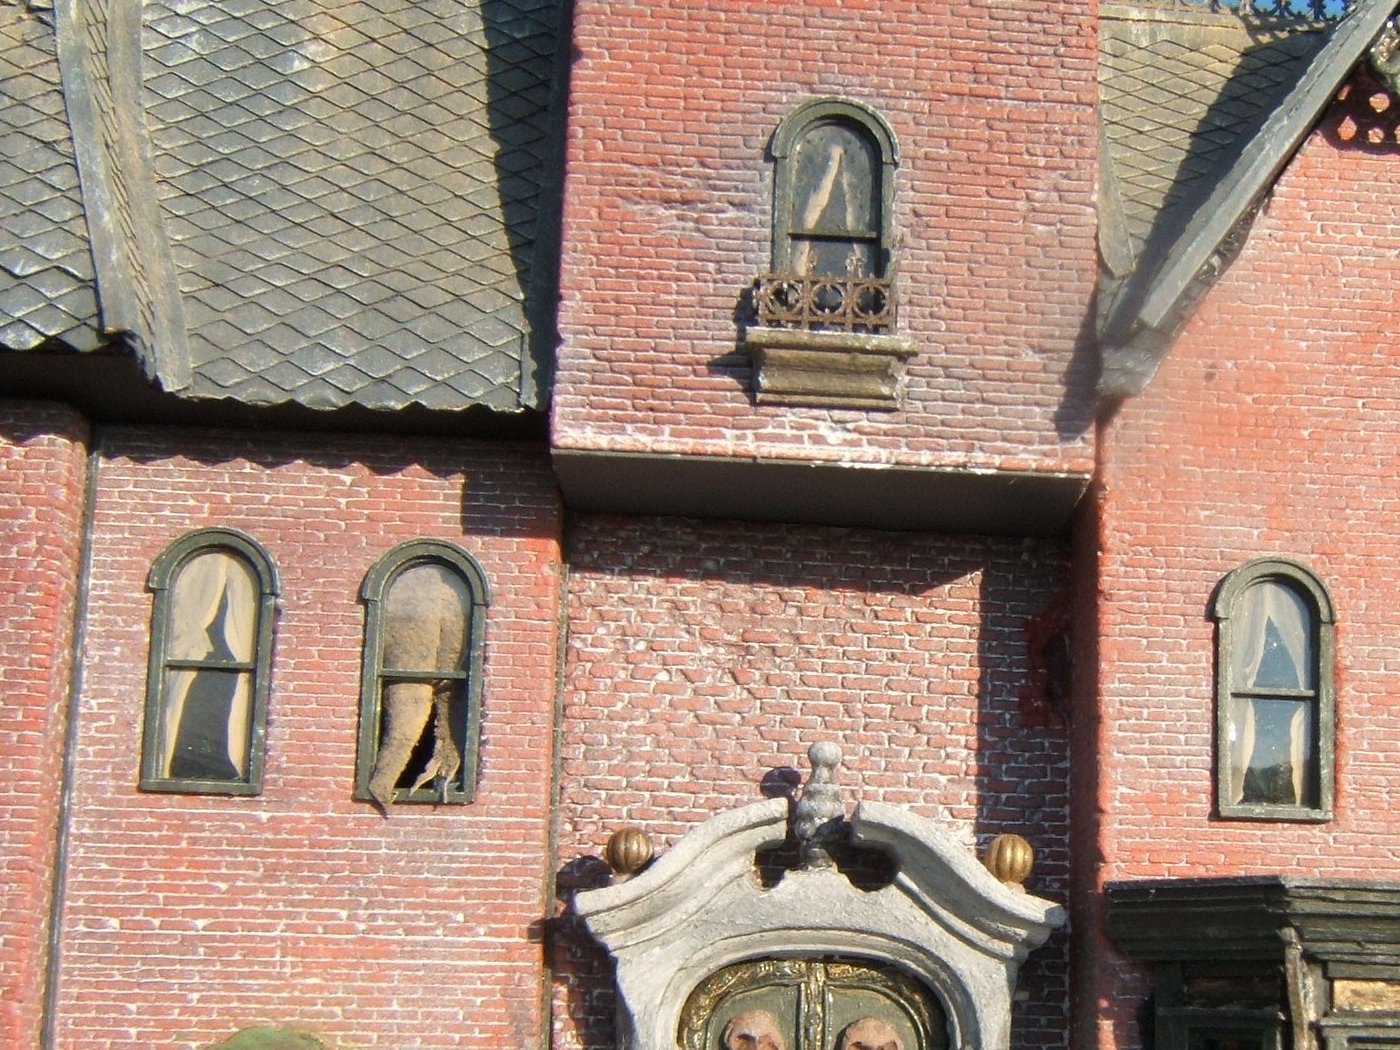
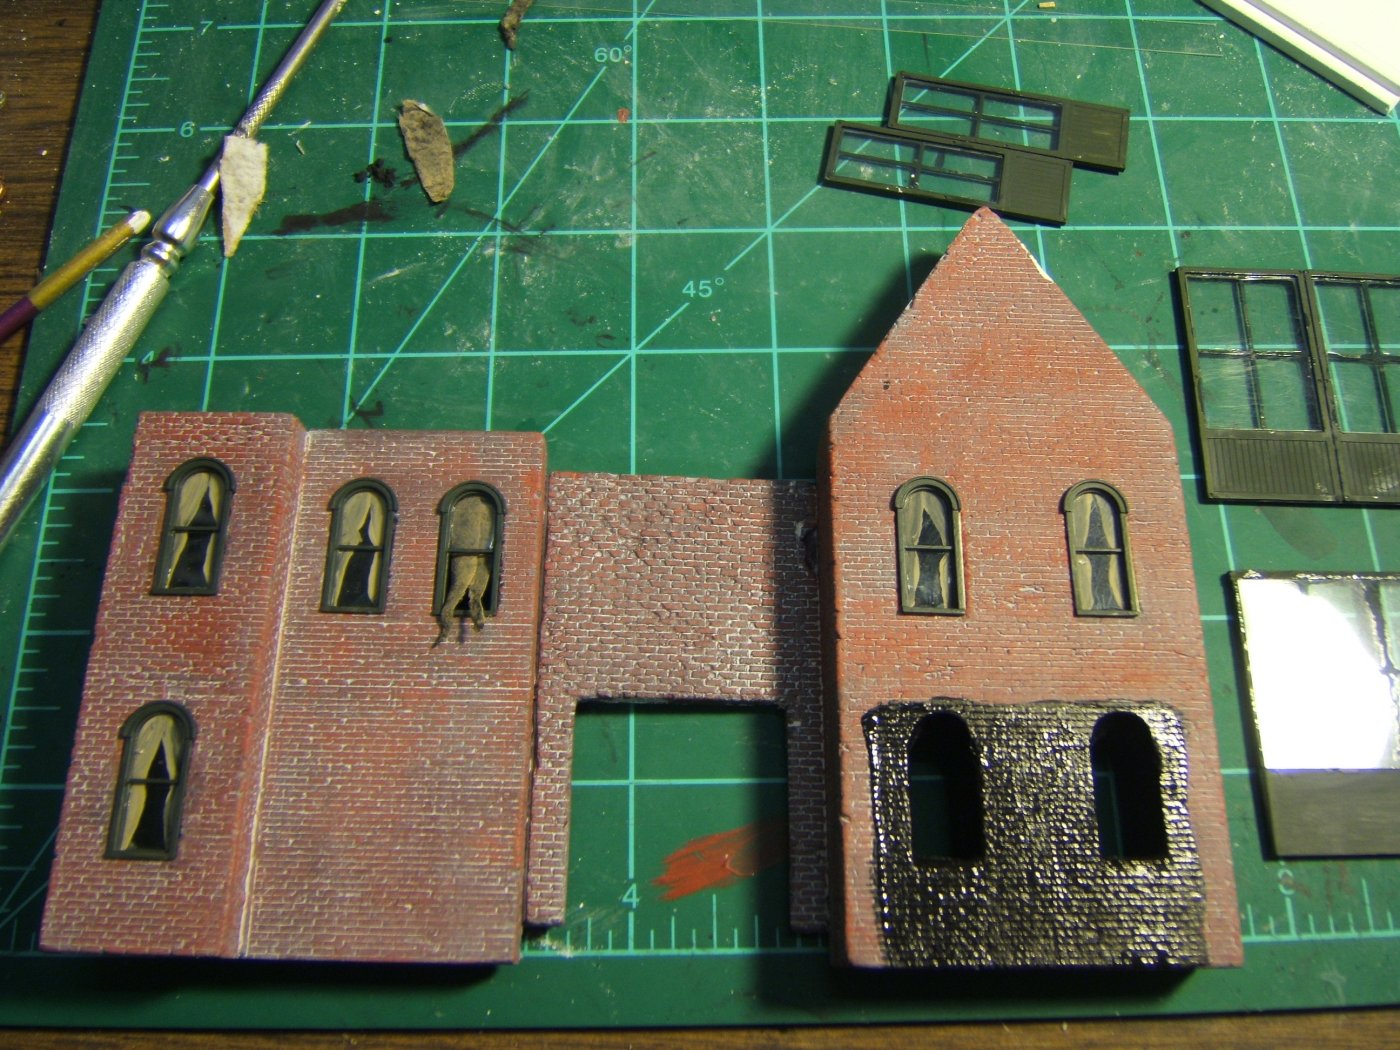
Here's the finished product. Notice the difference in the brick between the DD walls and the Magnuson piece in the middle. Also notice how the mortar pools in the area where I chipped the corners off of bricks - thus showing up better.
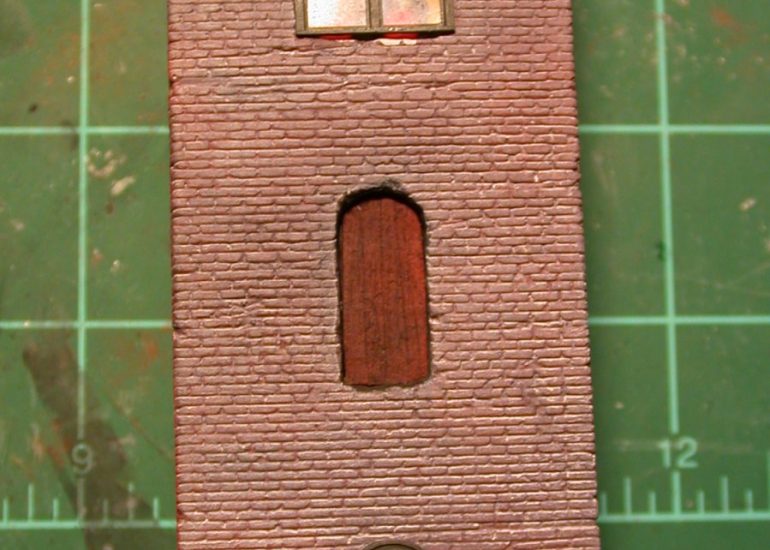
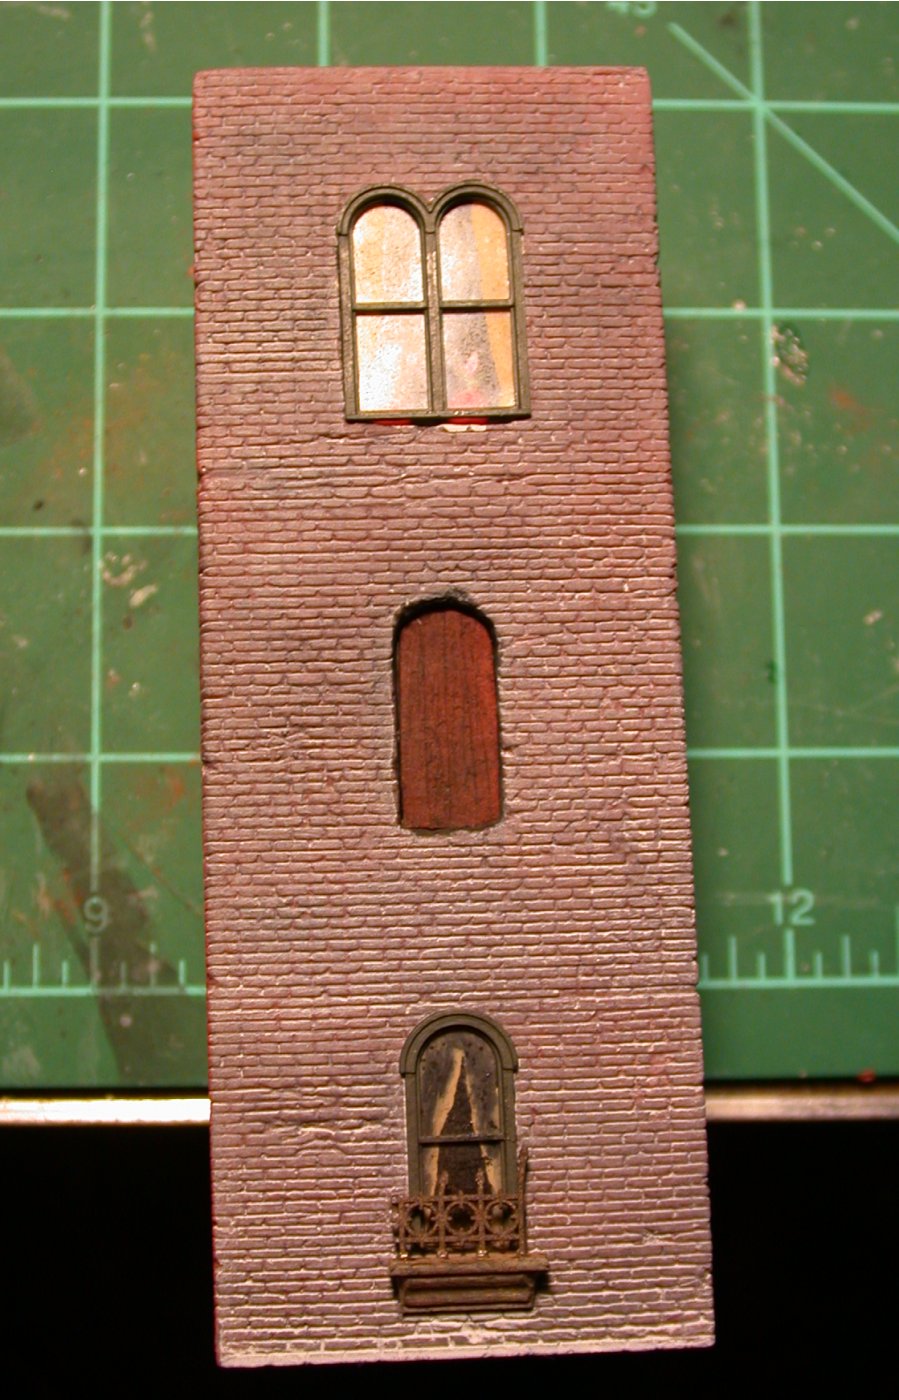
Here's the front of the tower with it's mortar wash applied. Looks like I hadn't yet gone back and dry-brushed the red. The lower window and it'd concrete cornice is in.
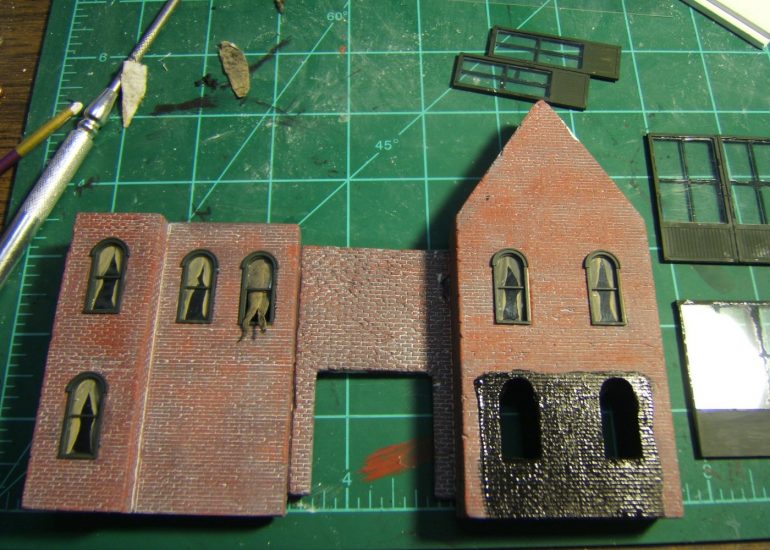
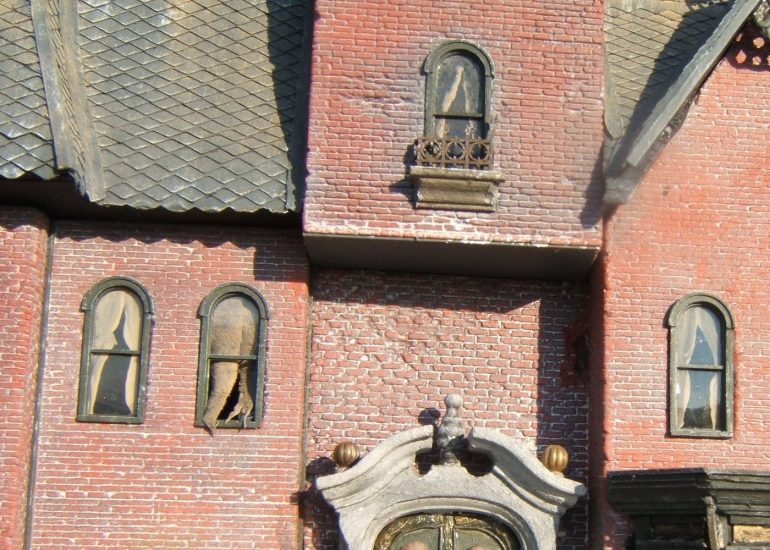
Probably the worst part of the kit was cutting the acetate to fit the curved windows. I HATE doing that. I glued the acetate on with Model Master Canopy glue. Then I painted drapes in with black and tan acrylic paint. The open window has curtains made from paper toweling. On the lower right you can see I painted a big square black. i SHOULD have cut that space out and made an interior room from scratch (which I will do in the future) so that I could light the inside. because I was running short of time though, I decided to paint the wall black and hope for the best.
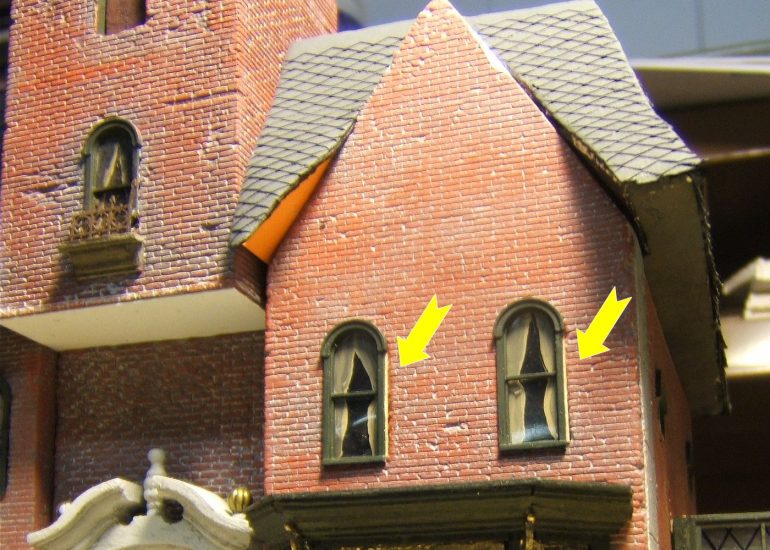
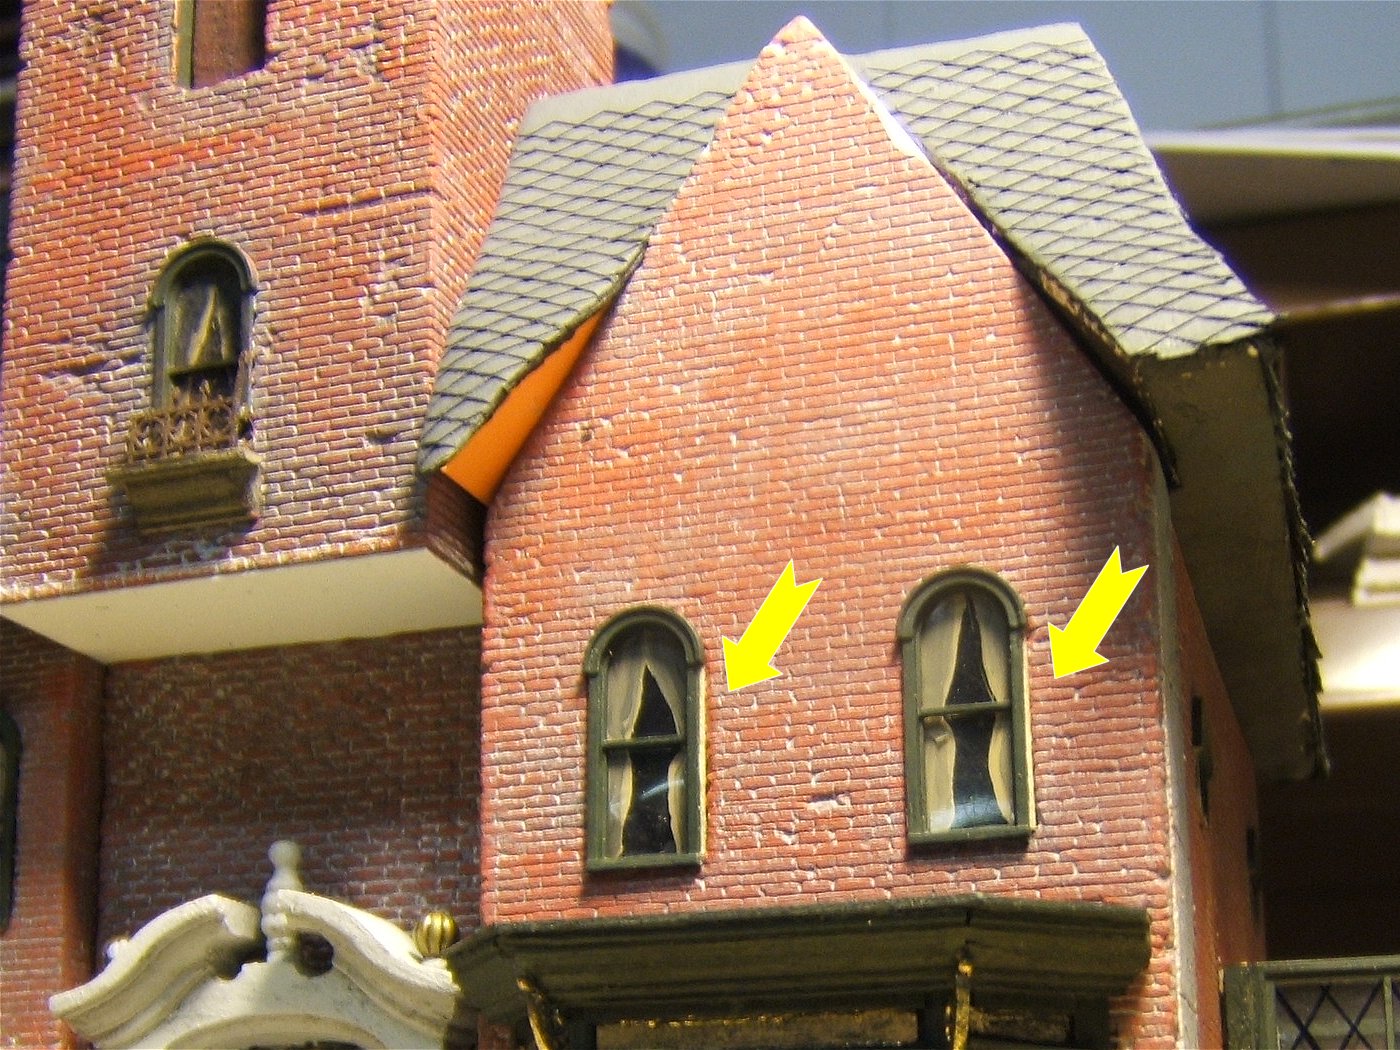
Now as a parting deal, I'll explain this pic. Bet you didn't notice the wood pieces in the final shots! Anyway, in cleaning the castings up to fit the windows I needed to carve a lot from the top arch. In the process I got too much on the sides of a couple of windows. I was just going to let it go, but I figured if I ever lit it from inside, the light would leak out. So, I cur strip wood to size and fit it in on one side. I painted it the same as the window casting and in the end it's almost un-noticeable. Well, the walls are prepped and done and I suppose we should tackle that mean looking door! So...